
Crochet Multi-Purpose Blouse, Shawl, Runner Model

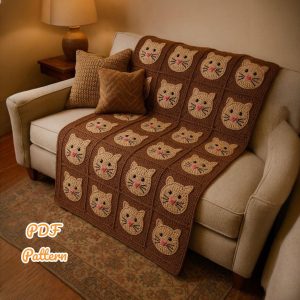
The Prairie Star Throw – Crochet Tutorial is a beautiful and intricate crochet project that combines traditional patterns with a modern touch.
This cozy throw is perfect for adding a decorative yet functional piece to your home. Whether you’re an experienced crocheter or a beginner looking for a new challenge, this tutorial will guide you through the process step by step.
Crocheting a Prairie Star Throw allows you to explore various techniques, including color changes, star motifs, and textured stitches.

With the right materials and some patience, you can create a stunning handmade piece that is perfect for gifting or personal use. This pattern is not only engaging but also rewarding as it enhances your crochet skills and creativity.
In this guide, we will cover everything you need to know about making your own Prairie Star Throw. From selecting the best yarn and hooks to understanding the pattern structure, this tutorial ensures a smooth and enjoyable crocheting experience. Let’s get started!
To create a beautiful Prairie Star Throw, it is essential to gather the right materials and tools. The quality of your supplies will significantly affect the final outcome of your throw.
Having all these tools ready will make the crocheting process much smoother and more enjoyable.
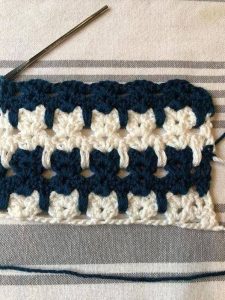
The Prairie Star Throw pattern consists of multiple star motifs connected together. This section will break down the structure to help you understand the design.
Understanding these components will help you follow the pattern more effectively and create a stunning crochet throw.
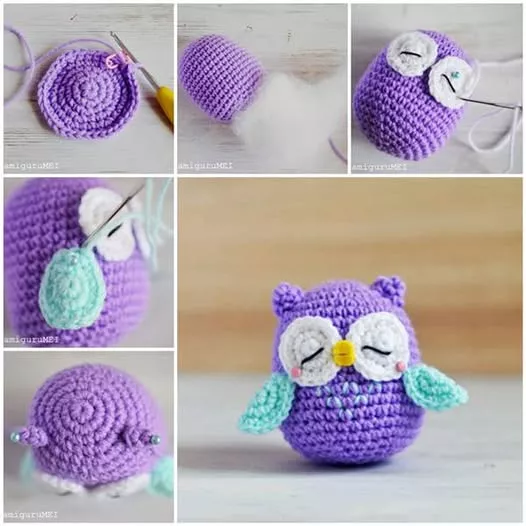
This step-by-step guide will walk you through making your own Prairie Star Throw from start to finish.
Following these steps carefully will ensure a well-made and visually appealing Prairie Star Throw.
To enhance your crocheting experience and achieve the best results, here are some expert tips.
By following these tips, you will create a Prairie Star Throw that is not only beautiful but also durable and well-crafted.
Q1: What type of yarn is best for the Prairie Star Throw? A1: Acrylic and cotton yarns are excellent choices because they provide durability and warmth.
Q2: Can I make this throw in different sizes? A2: Yes! You can adjust the size by increasing or decreasing the number of motifs.
Q3: How long does it take to complete the throw? A3: The time required depends on your skill level, but typically, it takes a few weeks to complete.
Q4: Is this pattern suitable for beginners? A4: While it requires some experience, beginners can follow the tutorial with patience and practice.
Q5: Can I use different hook sizes? A5: Yes, but using a different hook size may alter the size and texture of the throw.
Join our VIP broadcast list and gain access to exclusive patterns, all for free. As a VIP member, you’ll receive the best patterns daily, delivered directly to your device. ✨📱 It’s a unique opportunity to stay up-to-date with the latest trends and designs, curated just for you. Don’t miss out on enhancing your projects and discovering new inspirations with the best patterns every day! 🎨🔝
The Prairie Star Throw – Crochet Tutorial provides a step-by-step guide to creating a stunning and cozy handmade throw. With the right materials, patience, and creativity, you can crochet a unique piece that adds warmth and beauty to any space.
Whether you’re making it as a gift or for personal use, this project is a rewarding and enjoyable experience. If you’ve tried this pattern, share your thoughts and suggestions in the comments. Happy crocheting!


