
Pie Carrier Sewing Pattern

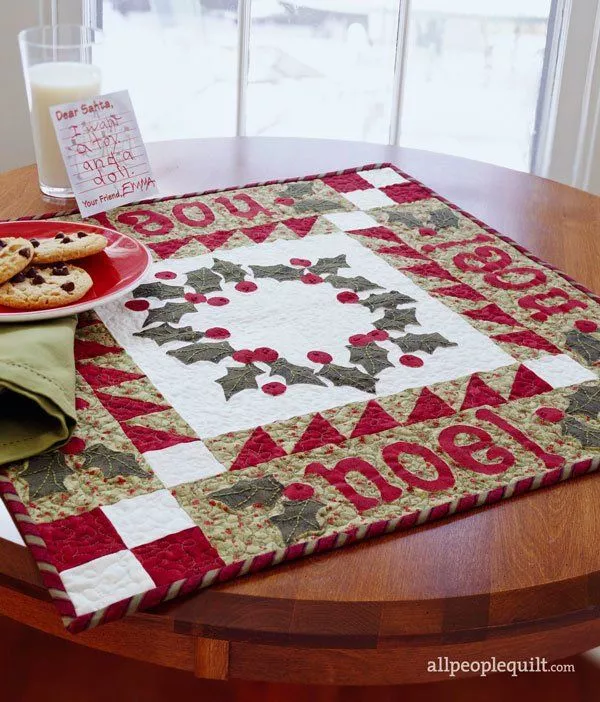
If you’re a quilting enthusiast, the All Roads Quilt Tutorial – Quilt by Teresa Ponder is an incredible project that blends traditional techniques with modern design.
Teresa Ponder’s approach to quilting is known for its ease and beauty, making it a favorite for both beginners and experienced quilters.
In this tutorial, we’ll guide you step-by-step through creating this stunning quilt, ensuring you understand every technique and detail involved.
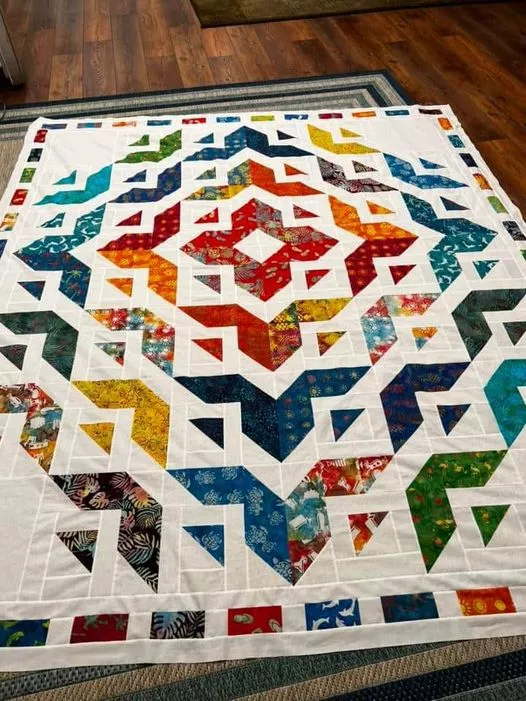
Image from google.
Whether you’re creating this quilt for a gift, to decorate your home, or simply for the joy of quilting, you’ll find the process rewarding.
This All Roads Quilt tutorial is designed to help quilters navigate through each stage of the project with ease.
By following the instructions provided, you will not only learn the methods behind constructing the quilt top but also how to finish it beautifully.
Teresa Ponder’s designs are often praised for their elegance and simplicity, making this quilt pattern an excellent choice for anyone who wants to create something special.
Before diving into the tutorial, it’s essential to understand some of the fundamental terms used in quilting, as well as the materials and techniques involved.
The All Roads Quilt is an example of how color, shape, and pattern come together to create a work of art that is both functional and visually striking. Now, let’s get started with the first steps of this exciting quilting journey.
Before beginning any quilting project, it’s essential to gather all the necessary materials. For the All Roads Quilt Tutorial, Teresa Ponder recommends a set of basic quilting tools and fabric. You will need quilt fabric in various colors, rotary cutters, rulers, and a sewing machine. The fabric should be pre-washed to avoid shrinkage and ensure your quilt retains its size after completion.
When selecting fabrics, it’s best to choose a mix of light and dark colors to create the contrast that will make your quilt stand out. The pattern itself calls for large squares and strips of fabric, which you will cut and arrange into blocks. Additionally, consider choosing fabrics with complementary patterns and textures to add dimension to your quilt. You can also include fabrics from the same color family for a more cohesive design.
If you’re new to quilting, you may want to invest in quilting pins and a cutting mat to ensure precise cuts and avoid fabric shifting during sewing. A rotary cutter is also highly recommended for cutting fabric strips and squares with accuracy.
Once you’ve gathered all the materials for the All Roads Quilt, the next step is to cut your fabric into the appropriate shapes. The cutting process is essential for making sure all your quilt pieces fit together correctly. Teresa Ponder’s tutorial includes clear measurements and cutting instructions for both the blocks and sashing.
To begin, use a rotary cutter to cut your fabric into strips. These strips will then be cut into squares of various sizes. It’s crucial to measure carefully and cut precisely to ensure that each piece will fit perfectly together in the final quilt top. You should also label each piece or block as you cut them, as this will help you stay organized as you progress with the quilt.
If you’re new to quilting, it’s a good idea to practice cutting on scrap fabric first. This will help you get used to using a rotary cutter and ruler without the pressure of cutting your main fabric.
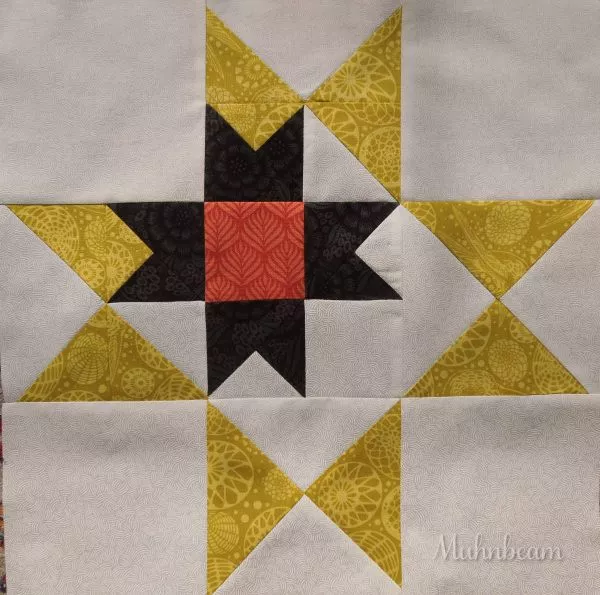
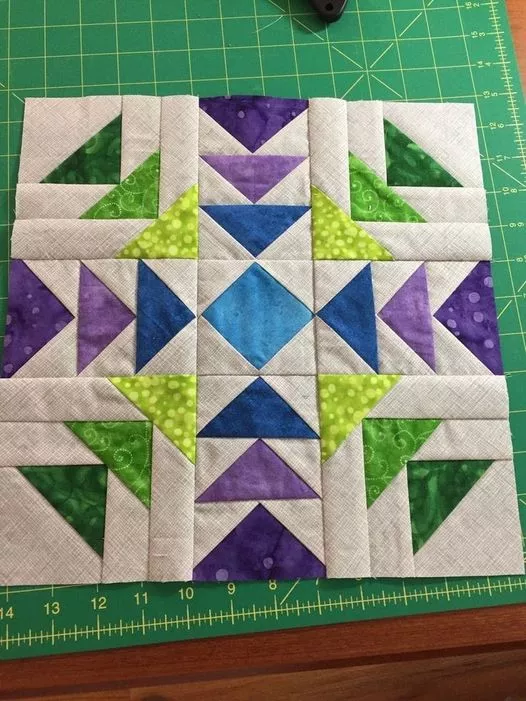
Now that you have all your fabric pieces ready, it’s time to assemble your quilt top. The All Roads Quilt features a series of blocks that are arranged in a grid pattern, with each block composed of smaller pieces of fabric. The beauty of the quilt lies in how the blocks are positioned next to each other, creating an intricate design that looks complex but is relatively simple to construct.
Start by sewing the small squares and strips together to form individual blocks. Once you have a block completed, press it to remove any wrinkles, then continue with the next block. It’s essential to press as you go to ensure that your seams are flat and aligned.
After assembling the blocks, arrange them in rows and sew them together to form the quilt top. Be sure to match up the seams carefully to maintain the pattern and keep everything aligned. Once the rows are complete, sew them together to form the finished quilt top.
The final stage of creating the All Roads Quilt is quilting and finishing. Teresa Ponder’s tutorial walks you through the steps for adding batting and backing fabric to your quilt top, as well as the actual quilting process. Quilting is the act of sewing through all three layers—quilt top, batting, and backing—to secure them together.
To begin, you will need to cut your backing fabric to the size of your quilt top and lay it out flat. Place the batting over the backing fabric and then position your quilt top on top of the batting. Use quilting pins to secure the layers in place.
Now, it’s time to quilt! You can either hand quilt or machine quilt, depending on your preference and skill level. If you’re machine quilting, you can choose a straight stitch or a free-motion quilting technique. Be sure to quilt along the seams or in patterns that complement the overall design.
Once the quilt is fully quilted, trim the edges and bind the quilt with a fabric strip to finish it off. The binding is an essential part of the quilt as it provides a clean edge and a polished look. Finally, give your quilt a good press to ensure everything is flat and neat.
1. How long does it take to complete the All Roads Quilt?
The time it takes to finish the All Roads Quilt depends on your quilting experience and the time you can dedicate to the project. On average, it can take a few days to a few weeks to complete the quilt, depending on your skill level.
2. What is the best fabric for this quilt?
The best fabric for the All Roads Quilt is quilting cotton, which is durable and easy to work with. You can choose any fabric colors and patterns that fit your style, but it’s recommended to use a mix of light and dark fabrics to create contrast.
3. Can I modify the pattern to make the quilt larger or smaller?
Yes, you can adjust the size of the All Roads Quilt by adding or removing blocks or by changing the size of the individual pieces. Just be sure to adjust the measurements accordingly.
4. Do I need any special tools for quilting?
While you can get by with basic sewing tools, it’s highly recommended to use a rotary cutter, cutting mat, and quilting ruler for precision. These tools help you make accurate cuts and assemble the quilt more efficiently.
5. What is the best way to care for my finished quilt?
To care for your quilt, wash it in cold water on a gentle cycle and tumble dry on low heat. It’s a good idea to use a quilt-safe detergent and avoid harsh chemicals. Over time, the quilt will become softer and more comfortable.
Join our VIP broadcast list and gain access to exclusive patterns, all for free. As a VIP member, you’ll receive the best patterns daily, delivered directly to your device. ✨📱 It’s a unique opportunity to stay up-to-date with the latest trends and designs, curated just for you. Don’t miss out on enhancing your projects and discovering new inspirations with the best patterns every day! 🎨🔝
In this All Roads Quilt Tutorial – Quilt by Teresa Ponder, we’ve gone through all the essential steps to create a beautiful quilt, from gathering materials and cutting fabric to assembling the quilt top and quilting. Whether you’re a seasoned quilter or just starting, this quilt pattern offers a wonderful opportunity to hone your skills and create something meaningful.
We hope you’ve found this tutorial helpful and inspiring. If you have any questions or suggestions, feel free to leave a comment below! We’d love to hear your thoughts and experiences with the All Roads Quilt.


