Quilted Table Runner Made Simple: Step-By-Step Tutorial
Advertising
Creating a quilted table runner is an excellent way to enhance your home decor while showcasing your creativity.
This step-by-step tutorial simplifies the process, making it approachable for both beginners and experienced quilters.
Advertising
A beautifully crafted table runner can transform your dining or coffee table, adding a touch of warmth and personality.
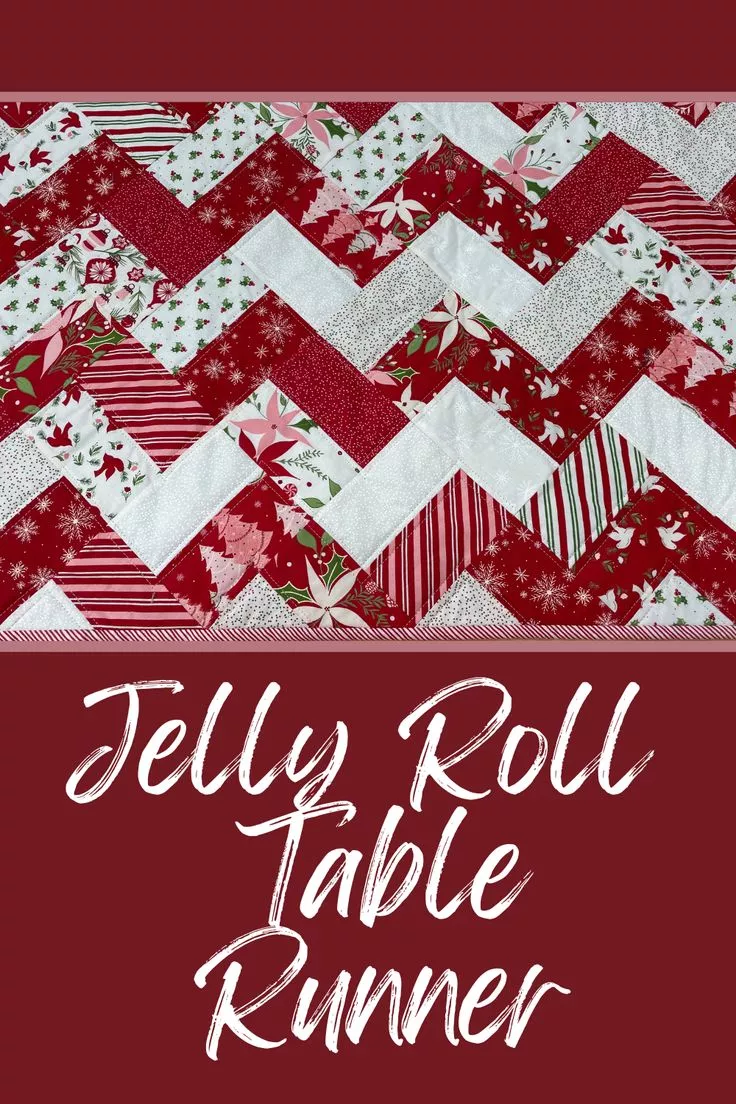
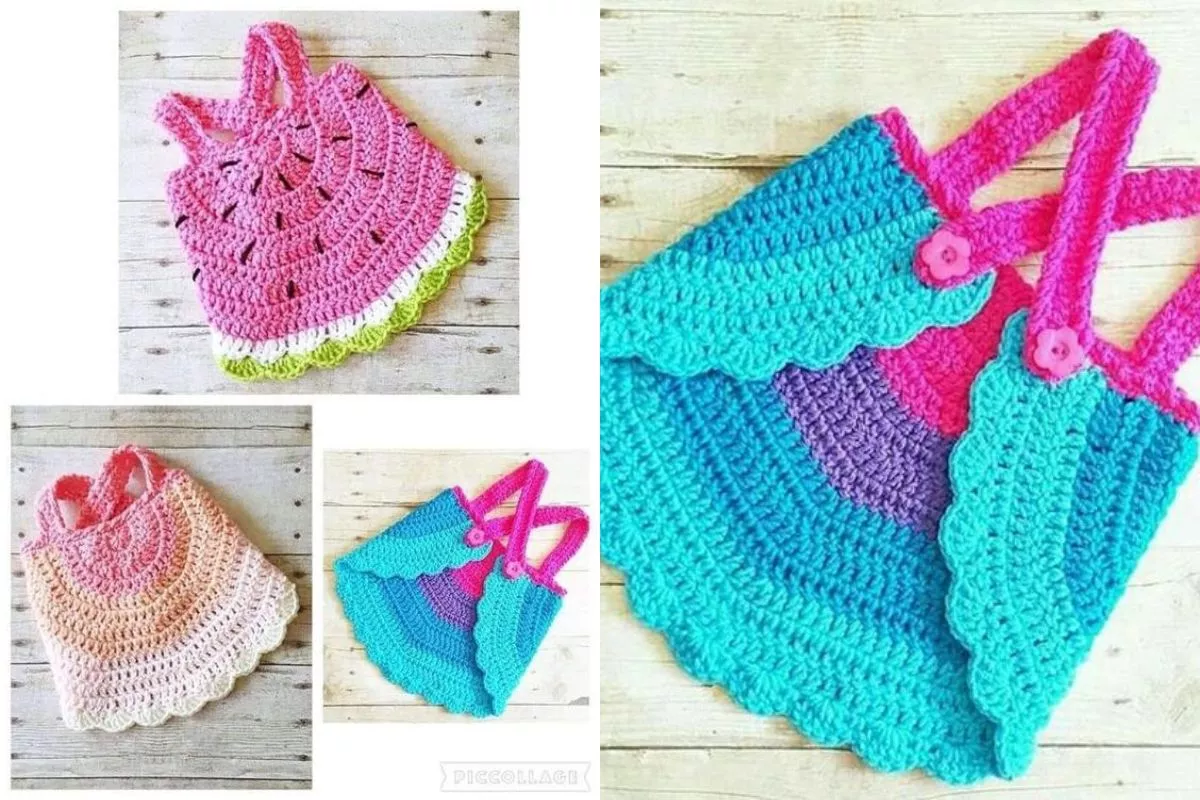
Image from google.
With the holidays or seasonal changes approaching, a custom quilted table runner is a perfect project to reflect the festive mood or the beauty of nature.
The best part? This tutorial focuses on making it simple yet elegant, so you don’t have to be a quilting expert to create something stunning.
In this guide, you’ll find detailed instructions on selecting materials, assembling your quilt, and finishing it with professional polish. Let’s dive into this enjoyable project and create a masterpiece that you’ll be proud to display in your home!
Advertising
1. Choosing Materials for Your Quilted Table Runner
The success of your quilted table runner depends on selecting the right materials. Here’s what you’ll need to get started.
Fabric
Choose high-quality cotton fabrics in complementary colors and patterns. Seasonal or themed fabrics can add a festive touch to your table runner.
Batting
Batting provides the softness and structure between the top fabric and the backing. Opt for a lightweight batting that’s easy to work with.
Backing Fabric
Pick a sturdy but attractive fabric for the back of your table runner. This adds durability and ensures a neat finish.
Thread
Use high-quality thread that matches or contrasts your fabric colors, depending on your desired look.
Rotary Cutter and Ruler
A rotary cutter and quilting ruler are essential tools for cutting your fabric accurately.
Sewing Machine
While you can sew by hand, a sewing machine speeds up the process and ensures precise stitching.
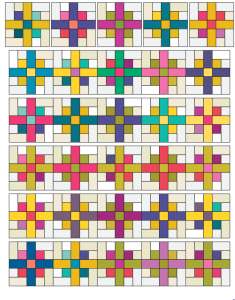
Once your materials are ready, the fun part begins—assembling the fabric pieces!
2. Preparing and Cutting Fabric
Preparation is key to creating a quilted table runner with clean lines and a professional appearance.
Wash and Iron Your Fabric
Before cutting, wash and iron your fabric to prevent shrinking and ensure it lies flat during assembly.
Measure the Desired Length and Width
Decide on the size of your table runner. Standard dimensions are around 12–14 inches wide and 40–60 inches long, but you can adjust based on your table.
Cut Fabric Strips or Squares
Use your rotary cutter and ruler to cut fabric into strips, squares, or other shapes depending on your design. Precision is crucial for a clean finish.
Create a Layout
Lay out your fabric pieces on a flat surface to plan the design. Experiment with different arrangements until you’re happy with the pattern.
Pin the Pieces Together
Pin the fabric pieces in rows or blocks to keep them aligned while sewing.
Sew the Pieces Together
Using a sewing machine, stitch the fabric pieces together with a 1/4-inch seam allowance. Press the seams flat after sewing.
With your fabric pieces assembled, you’re ready to move on to layering and quilting.
3. Assembling and Quilting the Layers
This step involves creating the quilt sandwich and adding decorative stitching.
Layer the Fabric
Lay the backing fabric right side down, add the batting layer, and place the quilted top right side up. Smooth out any wrinkles.
Pin or Baste the Layers
Secure the three layers together using safety pins or basting stitches. This prevents shifting while quilting.
Choose a Quilting Design
Decide on a quilting pattern, such as straight lines, diagonal stitching, or free-motion designs. Simple patterns work well for beginners.
Quilt the Layers Together
Sew through all three layers along your chosen pattern. Take your time to ensure smooth stitching and even spacing.
Trim the Edges
After quilting, trim the edges of the fabric layers so they’re even.
Prepare for Binding
Cut strips of fabric for binding the edges of your table runner.
Now it’s time to give your table runner a polished finish with binding.
4. Finishing Touches: Binding the Edges
Binding the edges gives your quilted table runner a neat and professional look.
Attach the Binding Strips
Sew the binding strips to the edges of the table runner, leaving a small overlap at the ends.
Fold and Secure the Binding
Fold the binding over the edge and secure it to the back with pins or clips.
Hand-Sew or Machine-Sew the Binding
For a traditional look, hand-sew the binding to the back. Alternatively, use a sewing machine for a faster finish.
Check the Corners
Ensure the corners are neatly mitered for a crisp appearance.
Press the Finished Table Runner
Iron the table runner to smooth out any creases and give it a polished look.
Display Your Creation
Place your quilted table runner on the table and admire your handiwork. It’s ready to impress your guests!
FAQ
1. What fabrics are best for a quilted table runner?
Cotton fabrics are ideal due to their durability, ease of sewing, and wide range of patterns and colors.
2. How long does it take to make a quilted table runner?
The time required depends on the complexity of the design and your experience. It typically takes 5–8 hours.
3. Can I quilt a table runner by hand?
Yes! While it’s more time-consuming, hand quilting adds a personal and traditional touch to the project.
4. How do I care for my quilted table runner?
Wash it gently in cold water with mild detergent and air dry or tumble dry on low.
5. Can I use scraps for this project?
Absolutely! A quilted table runner is a great way to use fabric scraps and create a unique, eco-friendly design.
6. Do I need special tools to make a table runner?
Basic sewing tools are sufficient, but a rotary cutter and quilting ruler make the process easier and more precise.
Join our VIP broadcast list and gain access to exclusive patterns, all for free. As a VIP member, you’ll receive the best patterns daily, delivered directly to your device. ✨📱 It’s a unique opportunity to stay up-to-date with the latest trends and designs, curated just for you. Don’t miss out on enhancing your projects and discovering new inspirations with the best patterns every day! 🎨🔝
This Quilted Table Runner Made Simple: Step-By-Step Tutorial provides everything you need to create a stunning and practical piece for your home. From selecting materials to adding the finishing touches, this guide ensures a smooth and enjoyable quilting experience.
VIDEO TUTORIAL:
We’d love to hear your thoughts and see your creations! Share your feedback and suggestions in the comments. Happy quilting!