Crochet Gingerbread House for Christmas Garland - Step by Step For Beginners
Advertising
The holiday season is the perfect time to add a personal and handmade touch to your decorations. One of the most charming projects you can create is a Crochet Gingerbread House for Christmas Garland – Step by Step For Beginners.
These tiny, adorable houses can be strung together to form a festive garland that will bring warmth and joy to your home.
Advertising
This tutorial is designed for beginners, guiding you through the entire process with simple instructions and tips.
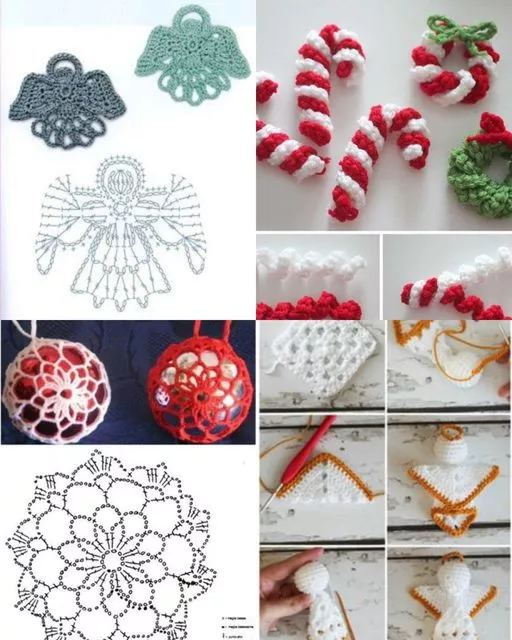
Image from google.
Whether you’re a seasoned crocheter or picking up a hook for the first time, these crochet gingerbread houses are fun and easy to make. They’re perfect for adding to your holiday decor or gifting to friends and family.
Let’s dive into this step-by-step guide and transform your festive spirit into beautiful crochet creations.
1. Materials You’ll Need for Crochet Gingerbread Houses
Before starting your project, ensure you have all the materials ready. This preparation will make the process smooth and enjoyable.
Advertising
Yarn Selection
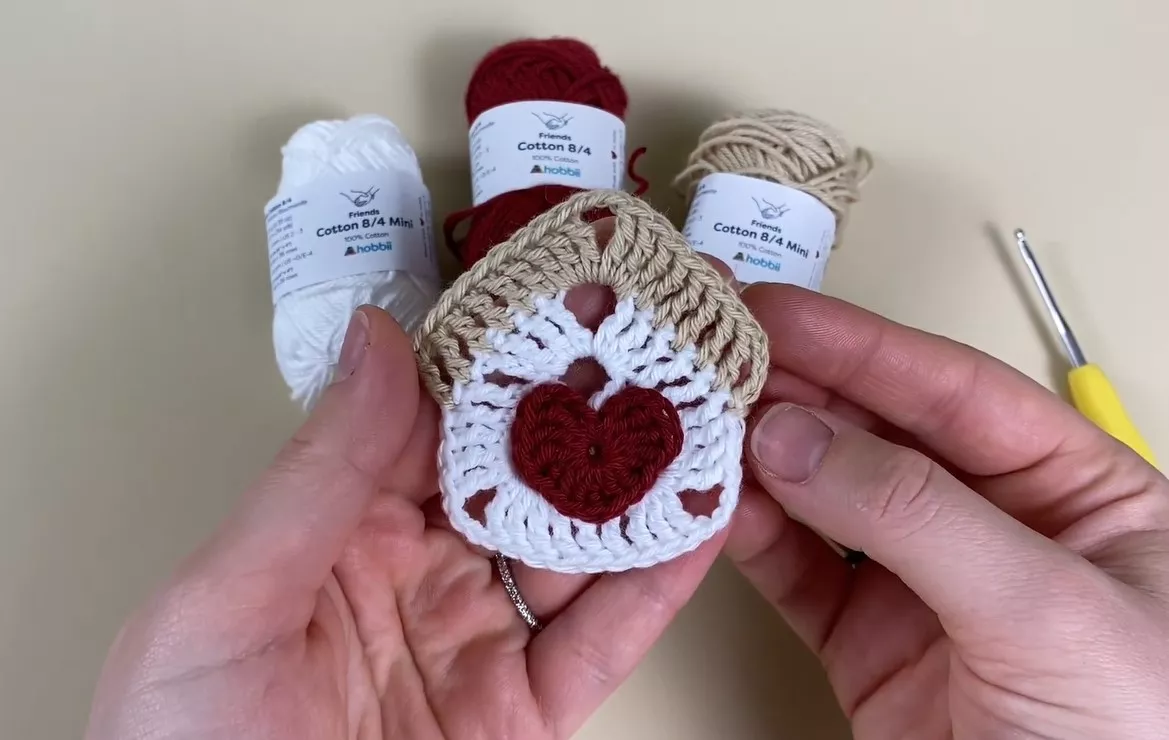
Choose yarn in gingerbread colors like brown, white, and festive accents like red, green, or gold. Acrylic or cotton yarn works best for small, durable projects.
Crochet Hook
A 3.5mm or 4mm hook is ideal for creating compact stitches suitable for decorations. Match your hook size with your yarn for the best results.
Stitch Markers
These are essential for keeping track of your rounds, especially in amigurumi-style projects like this.
Tapestry Needle
A tapestry needle will help you sew pieces together and weave in loose ends.
Polyfill or Cotton Stuffing
If you want your gingerbread houses to have a 3D effect, stuffing is necessary.
Optional Embellishments
Consider adding buttons, beads, or embroidery for details like windows, doors, and festive trims.
2. Creating the Base of the Gingerbread House
The base structure is the foundation of your crochet gingerbread house. Follow these steps to create a sturdy and charming base.
Start with a Magic Ring
Begin by crocheting a magic ring. This technique allows you to create a tight, adjustable starting point for your project.
Crochet the Walls
Use single crochet (SC) stitches to form the walls. Work in continuous rounds, increasing stitches evenly to build height and shape.
Create the Roof
For the roof, crochet a triangular or peaked structure separately. Use double crochet (DC) stitches to give it a textured and elevated look.
Attach the Roof to the Base
Sew the roof onto the walls using your tapestry needle and matching yarn. Ensure the seams are tight and secure.
Add Decorative Edging
Use white yarn to crochet a scalloped edge or add surface slip stitches to mimic snow on the roof.
Optional Stuffing
If you want a 3D effect, lightly stuff the gingerbread house with polyfill before closing the structure.
3. Decorating Your Crochet Gingerbread House
The fun part of this project is adding decorative elements that bring your gingerbread house to life.
Crochet Windows and Doors
Use contrasting yarn colors to create small, flat circles or rectangles for windows and doors. Sew them onto the house.
Add Embroidery Details
Use a tapestry needle and colorful yarn to embroider patterns like candy canes, stars, or Christmas trees.
Attach Beads or Buttons
Sew small beads or buttons onto the house to represent gumdrops, candies, or other festive embellishments.
Include a Chimney
Crochet a small rectangular piece and attach it to the roof to create a cute chimney.
Snow Accents
Use white yarn or felt to add snow-like accents on the roof and ground.
Use Glitter Yarn
For a sparkling effect, incorporate glittery or metallic yarn into your design.
4. Assembling the Christmas Garland
Once you’ve crocheted multiple gingerbread houses, it’s time to assemble them into a garland.
Decide on Garland Length
Determine how long you want your garland to be based on the space you plan to decorate.
Crochet a Chain
Create a long chain using a festive yarn color. This will serve as the base string for your garland.
Attach Gingerbread Houses
Using a tapestry needle or crochet hook, attach each gingerbread house to the chain. Space them evenly for a balanced look.
Add Additional Decorations
Include other crochet elements like stars, snowflakes, or candy canes to complement the gingerbread houses.
Secure the Ends
Create loops at both ends of the chain to make it easy to hang the garland.
Hang and Enjoy
Drape the garland across a mantel, staircase, or window. Adjust spacing and height as needed for the perfect display.
FAQ
1. Can beginners make a crochet gingerbread house?
Absolutely! This tutorial is beginner-friendly, with simple instructions and techniques.
2. What type of yarn works best for this project?
Acrylic or cotton yarn is recommended for durability and easy handling.
3. How many houses should I crochet for a garland?
The number depends on your desired garland length. Typically, 5–7 houses are sufficient for a standard mantelpiece.
4. How long does it take to crochet one house?
On average, a single gingerbread house takes 1–2 hours to complete, depending on your skill level.
5. Can I customize the colors?
Yes, feel free to use colors that match your holiday theme or personal style.
6. How do I care for crochet decorations?
Spot clean with a damp cloth and mild soap. Avoid machine washing to preserve shape and details.
Join our VIP broadcast list and gain access to exclusive patterns, all for free. As a VIP member, you’ll receive the best patterns daily, delivered directly to your device. ✨📱 It’s a unique opportunity to stay up-to-date with the latest trends and designs, curated just for you. Don’t miss out on enhancing your projects and discovering new inspirations with the best patterns every day! 🎨🔝
This Crochet Gingerbread House for Christmas Garland – Step by Step For Beginners tutorial provides everything you need to create a festive, handmade decoration. These charming gingerbread houses are versatile, easy to customize, and perfect for spreading holiday cheer.
VIDEO TUTORIAL:
Have fun crafting, and don’t forget to share your creations with friends and family. Let us know your thoughts or any tips you’d like to add in the comments below. Happy crocheting!


