
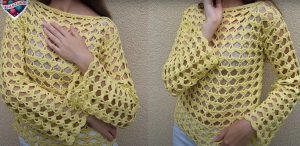
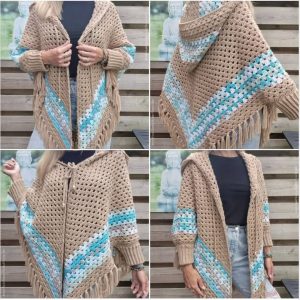
Crochet Multi-Purpose Blouse, Shawl, Runner Model

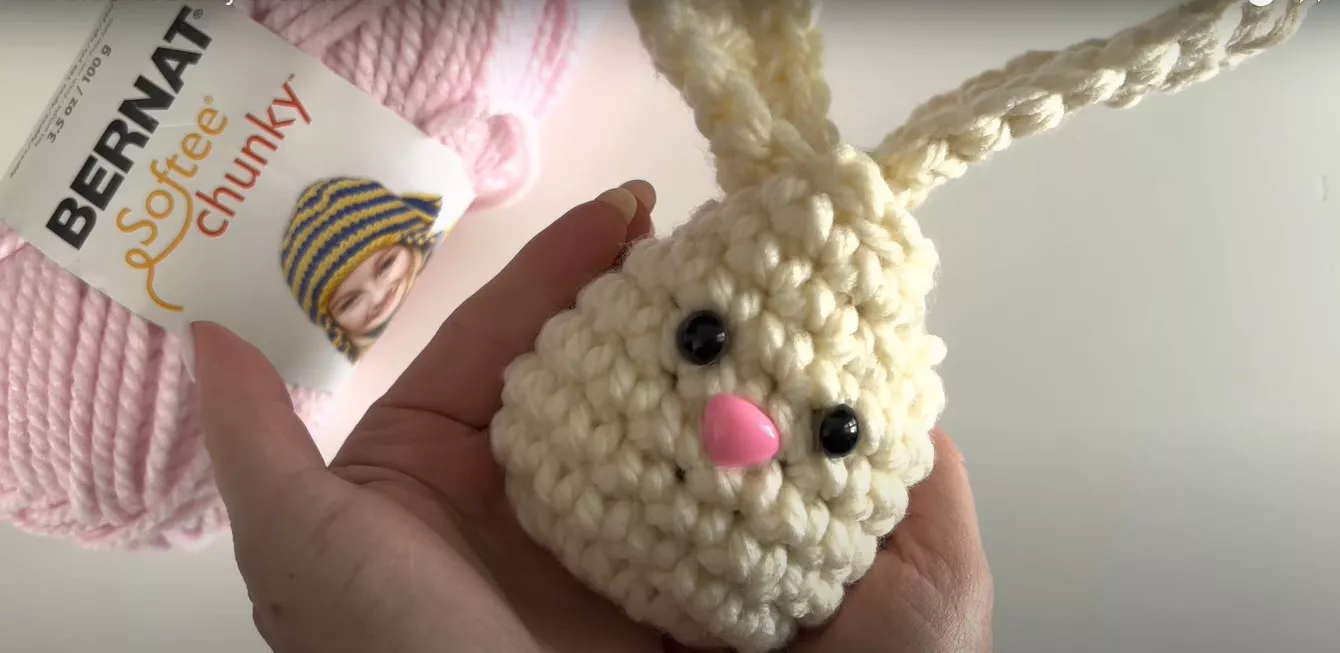
If you are looking for a fun and adorable project, this Mini Crochet Bunny Baskets – FREE PATTERN is perfect for you!
These tiny baskets are not only charming but also incredibly versatile. You can use them as Easter decorations, gift containers, or even as playful additions to your home decor.
Whether you’re a beginner or an experienced crocheter, this pattern is simple to follow and delivers delightful results.
In this tutorial, we’ll guide you step by step through the process of creating these Mini Crochet Bunny Baskets.
Along the way, you’ll learn essential techniques and tips to make your project enjoyable and successful. Grab your crochet hook and yarn, and let’s get started!
To create your Mini Crochet Bunny Baskets, you’ll need a few essential materials. Preparing these beforehand ensures a smooth and enjoyable crafting experience.
Having these items ready will save you time and let you focus entirely on the fun part—crocheting!
This FREE PATTERN is broken down into easy-to-follow steps. Even if you’re new to crochet, you’ll find these instructions simple and straightforward.
Creating Mini Crochet Bunny Baskets can be a rewarding experience. Here are some tips to ensure your project turns out beautifully:
Once you’ve completed your Mini Crochet Bunny Baskets, there are countless ways to use and gift them:
Q: What level of crochet experience is required for this pattern?
A: This pattern is suitable for beginners with basic knowledge of single crochet and working in the round.
Q: How long does it take to complete one basket?
A: Depending on your skill level, each basket can take 1-2 hours to complete.
Q: Can I use a different type of yarn?
A: Yes, but be aware that the basket’s size and texture may vary with different yarn types.
Q: How do I clean the baskets?
A: Handwash them gently in cold water and lay flat to dry to maintain their shape.
Q: Can I sell the baskets I make from this pattern?
A: Absolutely! Just credit the original pattern if possible.
Q: Are there variations of this pattern?
A: You can modify the ears, add a handle, or use different embellishments to create unique designs.
Join our VIP broadcast list and gain access to exclusive patterns, all for free. As a VIP member, you’ll receive the best patterns daily, delivered directly to your device. ✨📱 It’s a unique opportunity to stay up-to-date with the latest trends and designs, curated just for you. Don’t miss out on enhancing your projects and discovering new inspirations with the best patterns every day! 🎨🔝
In this tutorial, we explored how to create Mini Crochet Bunny Baskets step by step. From gathering materials to finishing touches, this pattern offers endless opportunities for creativity and personalization. Whether you’re making them as gifts, decorations, or for yourself, these bunny baskets are sure to bring joy.
We’d love to hear your thoughts and see your creations! Share your experience with this pattern in the comments below, and don’t hesitate to leave suggestions or ideas for future projects. Happy crocheting!


