
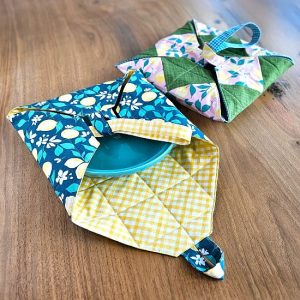
Pie Carrier Sewing Pattern

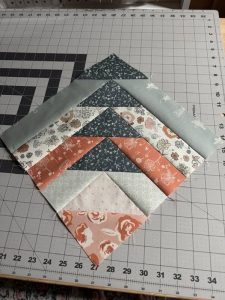
The Shooting Star Quilt Block is a stunning and dynamic design that adds a sense of movement and creativity to your quilt projects.
Whether you’re new to quilting or an experienced maker, this pattern is both enjoyable and rewarding.
With its radiant starburst effect, the block becomes a centerpiece in any quilt, catching attention with its striking symmetry and versatility.
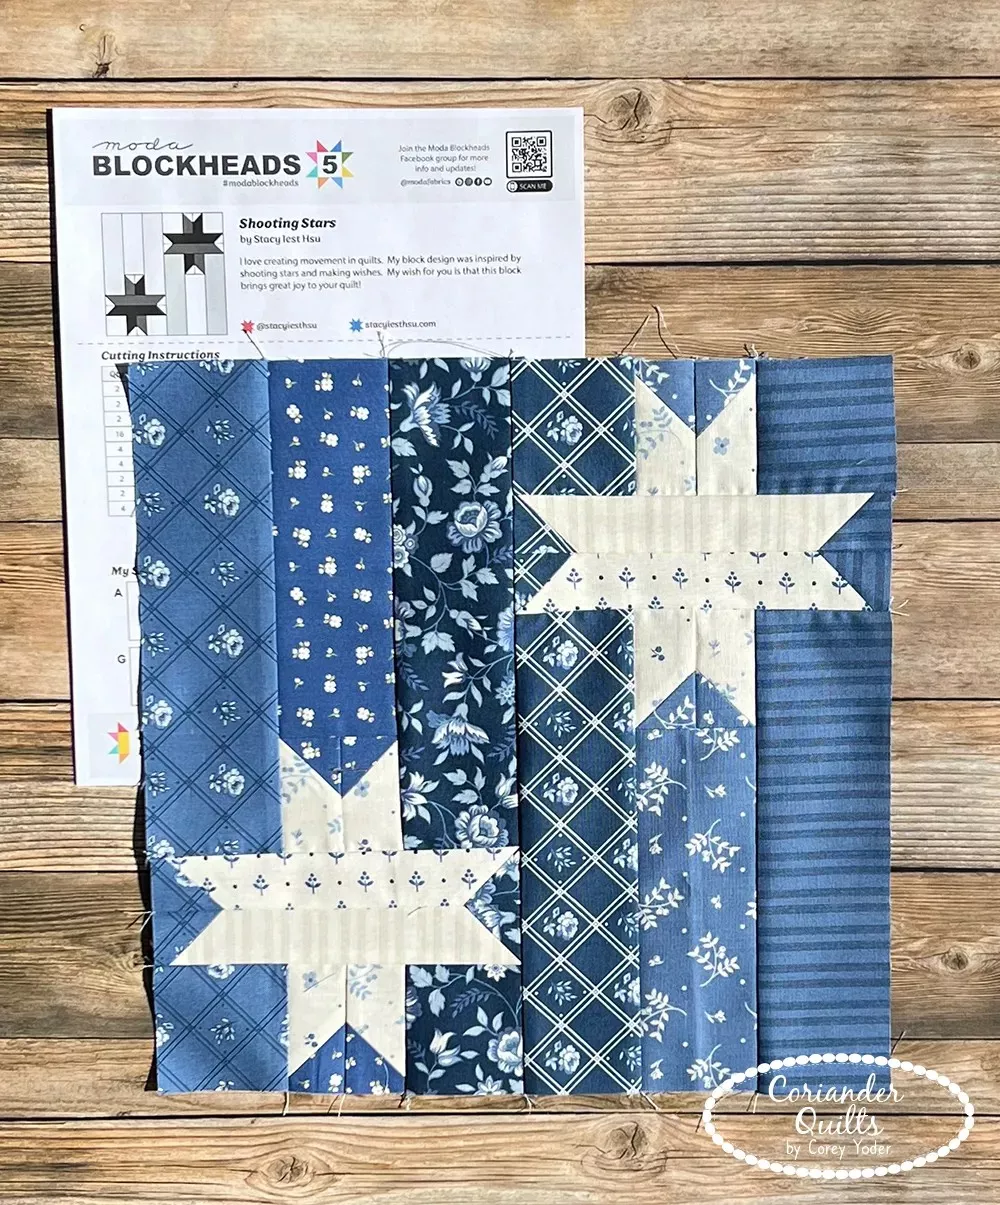
This tutorial will guide you through the process of creating the Shooting Star Quilt Block, step by step.
You’ll learn how to choose the right fabrics, cut and assemble the pieces, and customize the block to suit your personal style.
By the end of this guide, you’ll have a beautiful quilt block and the confidence to incorporate it into your next project.
Let’s dive into the art of quilting with this timeless design. Whether you’re crafting a single block for practice or creating an entire quilt, this tutorial will provide you with everything you need to succeed.
Creating the Shooting Star Quilt Block starts with gathering the right materials and tools.
Having these tools ready ensures a smooth and enjoyable quilting experience.
Follow these instructions to assemble the Shooting Star Quilt Block with ease.
Achieving a professional finish requires attention to detail and a few expert tips.
Personalize your Shooting Star Quilt Block to make it uniquely yours.
Q: What is the standard size for a Shooting Star Quilt Block?
A: A common size is 12×12 inches, but you can adjust it based on your project.
Q: Can I hand-sew this block instead of using a machine?
A: Yes, hand-sewing is an option, though it requires more time and precision.
Q: What type of fabric is best for quilting?
A: High-quality quilting cotton is recommended for its durability and ease of use.
Q: How do I ensure my seams align perfectly?
A: Use pins or clips to secure pieces before sewing, and press seams carefully.
Q: Can beginners create this block?
A: Absolutely! With patience and attention to detail, this block is achievable for beginners.
Q: How many blocks do I need for a quilt?
A: The number depends on your desired quilt size. For example, a queen-sized quilt might require 49 blocks.
Join our VIP broadcast list and gain access to exclusive patterns, all for free. As a VIP member, you’ll receive the best patterns daily, delivered directly to your device. ✨📱 It’s a unique opportunity to stay up-to-date with the latest trends and designs, curated just for you. Don’t miss out on enhancing your projects and discovering new inspirations with the best patterns every day! 🎨🔝
This Shooting Star Quilt Block – Tutorial has provided you with everything you need to create a beautiful quilt block. From selecting fabrics to assembling the pieces and adding your personal touches, you now have the skills to craft a design that shines.
We hope this guide inspires your creativity and helps you bring your quilting vision to life. Share your thoughts, experiences, or suggestions in the comments below. Your feedback not only helps us improve but also inspires other quilters in their creative journeys. Happy quilting!


