
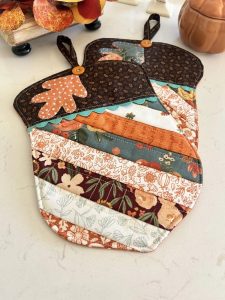
Pie Carrier Sewing Pattern

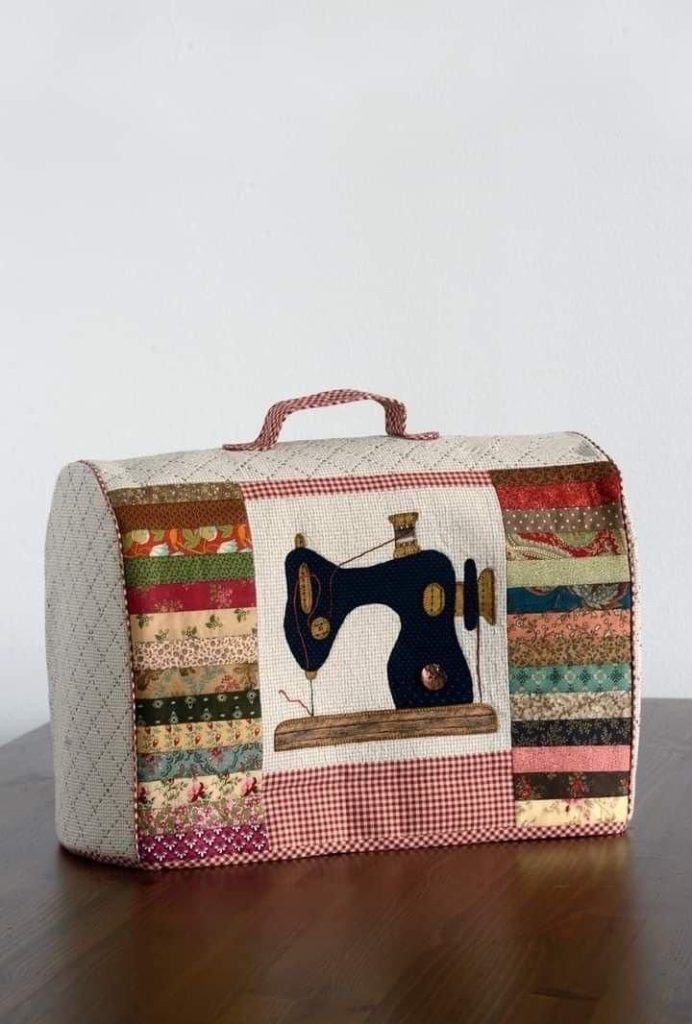
A Machine Cover Quilt is a fantastic way to protect your sewing machine while adding a touch of handmade charm to your crafting space.
Whether you want to keep dust away, showcase your quilting skills, or simply create a personalized cover, this tutorial will guide you step by step.
In this article, we will explore everything from materials needed to sewing techniques and finishing touches.
Making a quilted sewing machine cover is a rewarding project that allows you to experiment with different fabrics, colors, and patterns.
You can create a simple patchwork design or add intricate quilting details. Regardless of your skill level, this tutorial will help you craft a stylish and functional cover.
Before we dive into the step-by-step process, let’s discuss some essential tips for selecting fabrics and designing a quilt that fits perfectly over your sewing machine.
Selecting high-quality materials is crucial for a durable and beautiful machine cover quilt.
To ensure the best results, prewash and iron your fabric before starting. This prevents shrinkage and helps achieve a smooth finish.
Taking accurate measurements is the key to a well-fitted quilted machine cover.
Once all pieces are cut, lay them out to visualize the final assembly before sewing.
Now it’s time to stitch everything together and create a sturdy machine cover quilt.
Take your time with this step to ensure a neat and professional result.
The last steps bring everything together for a completed machine cover quilt.
A well-made quilted machine cover not only protects your machine but also enhances your creative space.
Q: Can I make a machine cover without quilting? A: Yes, you can use a single layer of fabric with interfacing for stability instead of quilting layers.
Q: How do I wash my quilted machine cover? A: Wash in cold water on a gentle cycle and air dry to prevent shrinkage.
Q: What if my sewing machine is an irregular shape? A: You can modify the pattern by making a custom template based on your machine’s dimensions.
Q: Can I add handles to my quilted machine cover? A: Yes, adding fabric handles makes it easy to lift and remove the cover.
Q: How do I choose colors for my quilted cover? A: Consider matching your sewing room decor or using contrasting fabrics for a bold design.
Join our VIP broadcast list and gain access to exclusive patterns, all for free. As a VIP member, you’ll receive the best patterns daily, delivered directly to your device. ✨📱 It’s a unique opportunity to stay up-to-date with the latest trends and designs, curated just for you. Don’t miss out on enhancing your projects and discovering new inspirations with the best patterns every day! 🎨🔝
Making a machine cover quilt is a fun and practical quilting project that protects your sewing machine while adding a handmade touch to your craft space.
By following this tutorial, you can create a custom cover that suits your style and needs. Have you made a quilted machine cover before? Share your thoughts and suggestions in the comments below!


