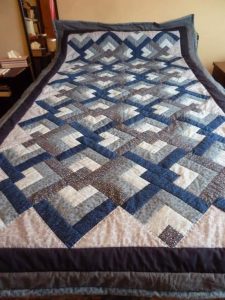
Flea Market Flowers - Quilt Pattern

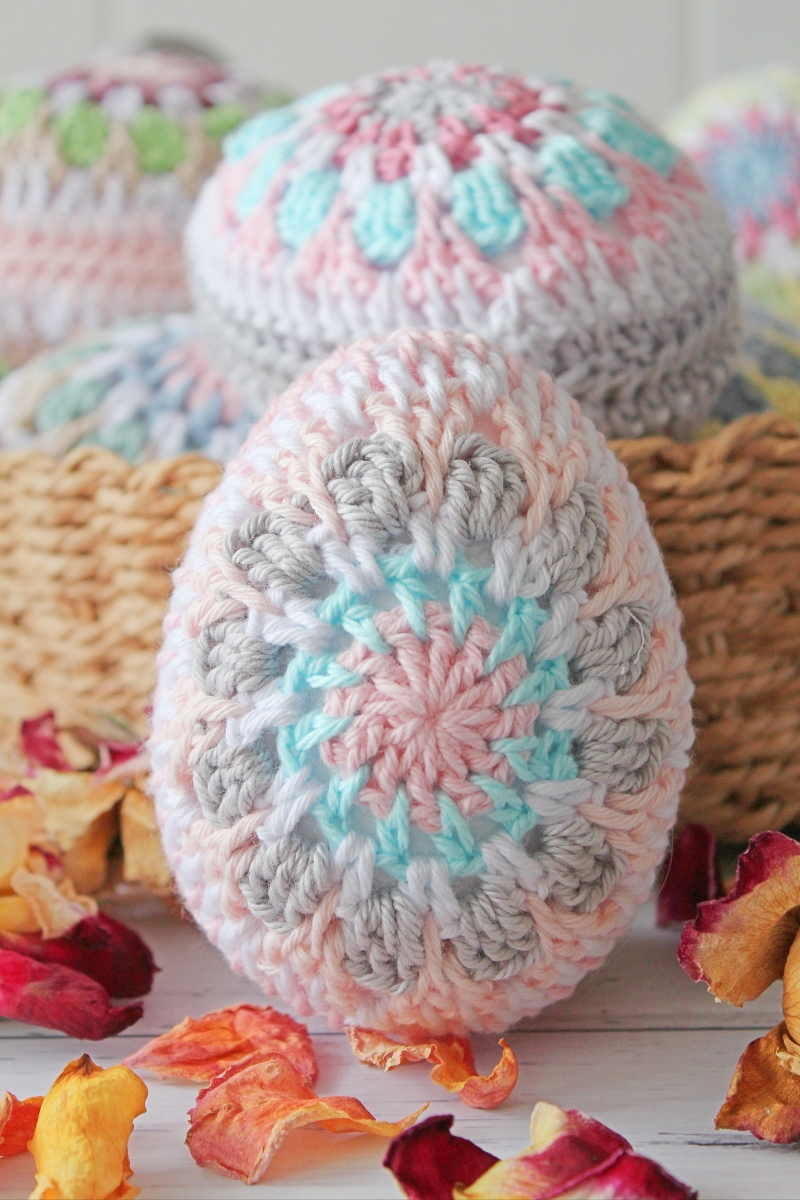
The Granny Square Easter Eggs – Crochet Pattern is a delightful project that brings a unique twist to traditional crochet techniques. Whether you’re an experienced crocheter or a beginner looking for a fun challenge, this pattern is perfect for adding a touch of color and charm to your springtime décor.
Granny squares are a classic crochet technique that can be adapted for a variety of projects, and these Easter egg-shaped granny squares are an exciting way to celebrate the season.
Creating Granny Square Easter Eggs combines the timeless appeal of the granny square with the whimsy of Easter. The vibrant colors and geometric patterns make these crocheted eggs a great way to decorate for Easter, spring, or any festive occasion.
In this tutorial, we’ll guide you through each step of making your own Granny Square Easter Eggs, offering tips and tricks to help you achieve perfect results every time.
This crochet pattern is not only fun but also a great way to showcase your creativity with colors and yarn choices. Whether you’re planning to hang these eggs as ornaments, use them as part of a larger Easter project, or simply admire them in your home, the Granny Square Easter Eggs – Crochet Pattern is sure to brighten up your space. Let’s dive into how you can create your own set of these colorful crochet eggs!
Before you begin your Granny Square Easter Eggs – Crochet Pattern, it’s essential to gather the right materials. Having all your supplies ready will make the crocheting process more enjoyable and efficient.
Start with yarn in your favorite colors. You’ll want to select yarn that is soft yet durable, as these eggs will be handled and displayed. Choose spring-inspired colors like pastel pink, yellow, blue, and lavender, or mix it up with brighter shades if you prefer a more vibrant look. Cotton yarn works well for these projects, as it’s firm and holds its shape after crocheting.
You’ll also need a crochet hook that matches the yarn weight. Typically, a size G (4.0 mm) or H (5.0 mm) hook is ideal for most worsted weight yarns. Additionally, make sure you have a yarn needle to weave in the ends once your egg is complete.
A stitch marker can be useful to keep track of the beginning of your rounds, ensuring your work stays consistent. Lastly, you may need a polyester stuffing or other filler material if you want your Granny Square Easter Eggs to be three-dimensional and squishy. Now that you’ve gathered your materials, let’s move on to the steps for crocheting these adorable Easter eggs!
Once you’ve gathered your materials, it’s time to begin crocheting your Granny Square Easter Eggs. Follow these step-by-step instructions to create beautiful, colorful eggs that will add a festive touch to your home.
To begin your Granny Square Easter Eggs, make a magic ring to form the center of your egg. This allows for a seamless beginning and is ideal for starting in the round. Crochet 6 single crochets (sc) into the magic ring. Pull the ring tight to close the hole.
Now, begin crocheting in rounds. For the second round, work 2 single crochets in each stitch from the previous round. This will increase the size of the circle. Continue increasing until your circle is the desired size, which typically will be around 12-15 stitches, depending on the yarn and hook size you are using.
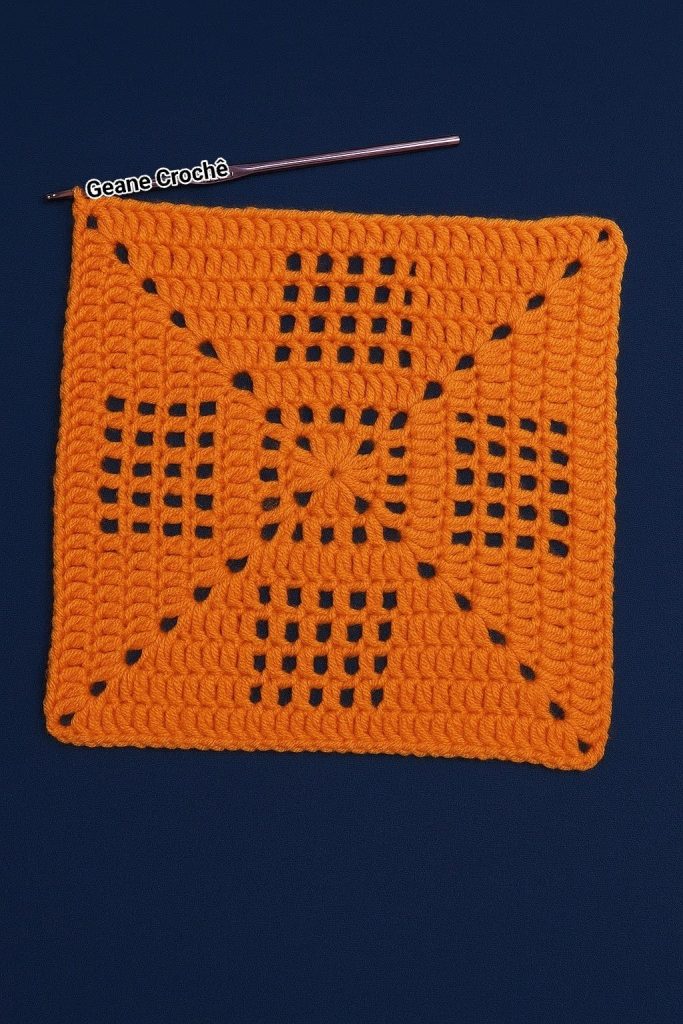
Next, it’s time to begin the granny square pattern. Work in groups of 3 double crochets (dc) into each corner, and chain 2 between each group. This creates the square’s sides and corners. Make sure to follow the pattern and adjust the stitch count accordingly as you build each round. For a Granny Square Easter Egg, you may need to experiment with the size of your square to make sure it fits your desired egg shape.
Once your granny square is complete, it’s time to shape it into an egg. To do this, you’ll need to join the edges of the square together. Fold the square in half and stitch the sides together using slip stitches or a whip stitch. You can then add a small amount of stuffing inside the egg to give it volume and structure.
After shaping the egg, close the top and bottom openings by stitching them together. This will create the smooth, oval shape of the egg. Make sure to secure the stitches tightly, as this will prevent the stuffing from slipping out. If desired, you can add extra embellishments such as small beads, buttons, or a decorative crochet border around the edges.
Once your Granny Square Easter Eggs are assembled, use a yarn needle to weave in any loose ends. This step helps tidy up the crochet work and ensures that your eggs stay secure. If you’re using multiple colors, make sure to change yarns cleanly to avoid any messy joins. Finally, give your eggs a light press to smooth out any bumps and wrinkles, and they’ll be ready to display!
Now that you’ve mastered the Granny Square Easter Eggs – Crochet Pattern, it’s time to get creative with how you use them. These colorful eggs can be incorporated into many different projects, adding a personal touch to your Easter decorations.
For starters, you can use these Granny Square Easter Eggs as tree ornaments. Simply thread a small piece of yarn through the top of each egg, and hang them on your Easter tree or any springtime display. The vibrant colors will add a pop of brightness to your home.
Alternatively, use the Granny Square Easter Eggs as part of an Easter wreath. Sew them together with other crochet or fabric flowers to create a cheerful wreath that will look fantastic on your door or as part of a table centerpiece.
If you’re feeling adventurous, make a basket full of Granny Square Easter Eggs to give as a gift. Fill the basket with additional spring-themed items like small chocolate eggs or artificial flowers for a delightful Easter gift. The beauty of this crochet pattern is that it can easily be customized to suit any occasion.
Another fun idea is to incorporate these eggs into a garland. String several crocheted eggs together and hang them across a mantel or wall. You can alternate colors or create a gradient effect by using different shades of yarn for each egg.
Lastly, these Granny Square Easter Eggs can also be used as unique embellishments for gift wrapping. Instead of using traditional ribbons or bows, add a crocheted egg to your gift packages for a personal and handmade touch.
1. Can I use any type of yarn for Granny Square Easter Eggs? Yes, you can use any yarn you prefer, but cotton yarn is ideal for this pattern as it holds its shape well. Opt for light to medium-weight yarn for the best results.
2. How do I make the Granny Square Easter Eggs larger or smaller? To adjust the size, simply increase or decrease the number of rounds in your granny square. Adding more rounds will make the egg larger, while fewer rounds will create a smaller egg.
3. Do I need to add stuffing to the eggs? Adding polyester stuffing gives the eggs a more rounded, three-dimensional shape, but it’s optional. If you prefer a flat egg, you can skip the stuffing and stitch the square together as-is.
4. Can I use these Granny Square Easter Eggs for other holidays? Absolutely! You can adapt this pattern for any occasion by changing the color palette. For example, use red, white, and blue yarn for a patriotic look or green and gold for St. Patrick’s Day.
5. How do I make the edges of my Granny Square eggs neat? To ensure clean edges, take your time when joining the square and stitching the sides together. Use a yarn needle to weave in ends neatly to avoid any loose threads.
6. How do I store my Granny Square Easter Eggs after the holiday? Store your Granny Square Easter Eggs in a safe, dry place, such as a decorative box or bag. Avoid crushing them to preserve their shape, and make sure to keep them in a cool area to prevent any damage.
Join our VIP broadcast list and gain access to exclusive patterns, all for free. As a VIP member, you’ll receive the best patterns daily, delivered directly to your device. ✨📱 It’s a unique opportunity to stay up-to-date with the latest trends and designs, curated just for you. Don’t miss out on enhancing your projects and discovering new inspirations with the best patterns every day! 🎨🔝
The Granny Square Easter Eggs – Crochet Pattern is a fun and creative project that brings together the timeless appeal of granny squares and the festive spirit of Easter. By following the step-by-step instructions, you can create colorful, charming eggs that will brighten up any home during the spring season.
Whether you use your Granny Square Easter Eggs for decorations, gifts, or personal projects, the possibilities are endless. Experiment with colors, sizes, and embellishments to make these eggs your own. We hope this tutorial has inspired you to try your hand at this unique crochet pattern.
If you have any questions or suggestions, please feel free to share them in the comments below. We’d love to hear about your crochet creations! Happy crocheting!