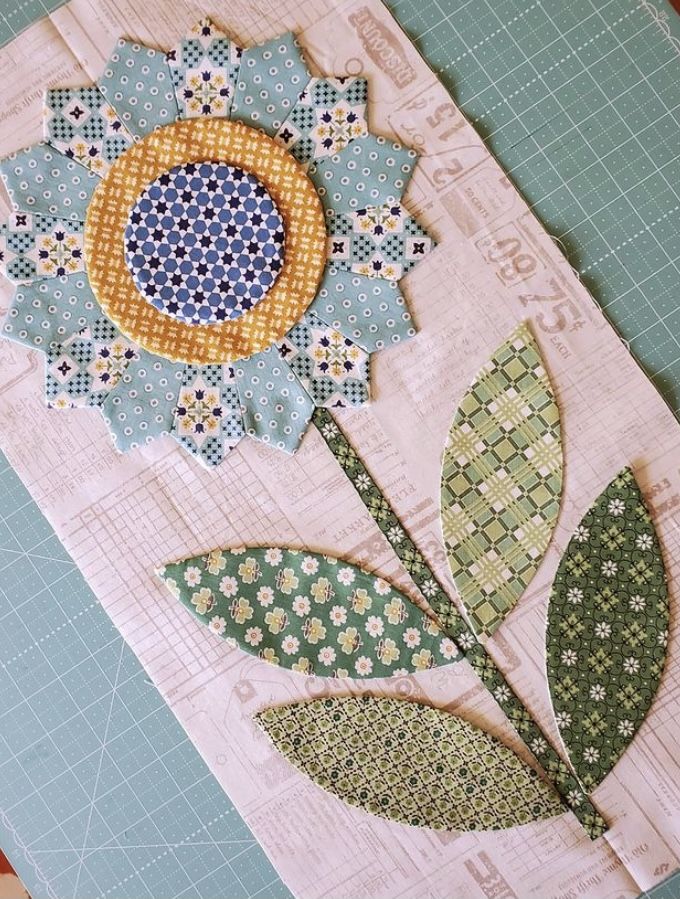
Flea Market Flowers - Quilt Pattern

If you’re searching for a creative project to light up your quilting journey, this Orion’s Wheel Quilt Block – Free Tutorial is the perfect star to follow. This design is both striking and beginner-friendly, making it ideal for quilters who want to create something beautiful without feeling overwhelmed.
Whether you’re stitching your first block or adding a new star to your quilt galaxy, this guide will help you bring the Orion’s Wheel Quilt Block to life with clarity and confidence.
The Orion’s Wheel Quilt Block is inspired by the stars themselves, with points radiating from a central hub that creates the illusion of motion and harmony.
It’s an excellent opportunity to play with fabric contrasts and vibrant color schemes. Even better, the block comes with a free tutorial, ensuring that your creativity doesn’t need to be limited by budget.
In this article, you’ll find everything you need to make the most of this stunning design. From understanding the construction of the block to tips on fabric selection and layout, this Orion’s Wheel Quilt Block – Free Tutorial is your ultimate companion. Get your rotary cutters ready and let’s dive into the cosmos of quilting.
The Orion’s Wheel Quilt Block features a radial pattern that echoes the form of a spinning wheel or starburst. Its beauty lies in the symmetry and flow of its triangular sections, making it both elegant and dynamic. Despite its intricate appearance, this block is quite manageable for those familiar with basic piecing techniques.
The design usually incorporates four quadrants, each with a mirrored structure. This symmetry helps maintain balance throughout the quilt top and is perfect for highlighting bold prints or rich solids. When aligned correctly, these blocks create a mesmerizing starry field.
One of the charms of the Orion’s Wheel Quilt Block – Free Tutorial is its adaptability. Whether you use cool tones for a serene, celestial feel or warm hues for a sunset-inspired palette, the block responds beautifully. You can also experiment with scrappy combinations to create a unique aesthetic.
Foundation piecing can be used for extra precision, especially around the pointed elements. However, the pattern can also be constructed using traditional piecing methods if you prefer a more hands-on and flexible approach.
Using a consistent seam allowance (¼ inch is standard) and pressing your seams accurately will help ensure a clean final block. Taking your time during this stage pays off immensely when your points line up just right.
Even though the block’s visual complexity may intimidate beginners, its structure is repetitive and predictable. With the help of the free tutorial, even novice quilters can confidently complete this pattern and feel proud of the results.
Before beginning the Orion’s Wheel Quilt Block – Free Tutorial, make sure you’ve gathered all the essential materials. Proper preparation ensures a smooth quilting experience and prevents interruptions mid-project.
You’ll need a selection of fabrics in at least three contrasting colors. This helps define the wheels and spokes in your block. Many quilters use light, medium, and dark tones to create a dynamic 3D effect.
Basic tools like a rotary cutter, self-healing cutting mat, quilting ruler, and sewing machine are essential. Don’t forget pins or clips to hold your pieces together securely as you sew.
Thread color is important. Choose a neutral tone that won’t overpower your fabric choices but will still be visible enough for easy seam correction if needed.
Having a printed version of the Orion’s Wheel Quilt Block – Free Tutorial on hand can be very helpful, especially when laying out your pieces and checking for symmetry. Use highlighters or pens to mark steps as you go.
A steam iron and ironing board are also key. Pressing your seams as you assemble the block gives it that crisp, professional look and helps your points align perfectly.
Finally, patience and excitement are two intangible but vital tools. Remember, every quilter makes mistakes—embrace the learning process and enjoy the creative journey.
The Orion’s Wheel Quilt Block – Free Tutorial breaks the process down into digestible steps. Following the structure methodically is the best way to achieve precision and visual harmony.
Start by cutting out your fabric pieces according to the dimensions provided in the tutorial. Keep your triangles, squares, and background units clearly labeled to avoid confusion later on.
Next, sew your triangles together to create the wheel spokes. These are often half-square triangles (HSTs), which are a fundamental building block in many quilt designs. Accuracy in this step will make your block cleaner overall.
Assemble each quadrant of the block by attaching the triangle units to a square center or diamond-shaped piece, depending on the variation you’re using. Maintain seam consistency throughout.
Once the quadrants are assembled, join them together in pairs and finally into a full square block. Pin carefully at the center seams to help the wheel’s hub match up seamlessly.
After sewing all the segments, press the block thoroughly. Use steam if needed to help set the seams and flatten any puckering or waves.
Now step back and admire your work! The Orion’s Wheel Quilt Block is a piece of art in itself. Whether you’re making a full quilt or a single decorative pillow, this block will surely shine.
Now that your Orion’s Wheel Quilt Block is complete, what can you do with it? There are endless ways to incorporate this block into beautiful and practical projects.
Turn a single block into a pillow cover. Add a border, quilt it with simple lines or a starburst motif, and install a zipper or envelope back. It’s a fast and satisfying project that adds charm to any room.
Create a stunning table runner by repeating the block three or four times in a row. Add sashing and binding in complementary colors for a polished look.
Use the Orion’s Wheel Quilt Block – Free Tutorial to make a wall hanging. This project allows you to explore detailed quilting and embellishments like metallic thread or small beads.
You can also assemble an entire quilt top using this block. Set the blocks edge to edge for a classic layout, or use sashing and cornerstones for a framed effect that adds dimension.
If you’re into tote bags or quilted purses, one block can serve as the main decorative panel. Combine it with denim or canvas for durability and contrast.
For those who love gift-giving, a set of matching coasters or pot holders made from mini versions of the Orion’s Wheel block would make a thoughtful and unique handmade present.
Q: Is the Orion’s Wheel Quilt Block suitable for beginners?
A: Yes, although it looks complex, the Orion’s Wheel Quilt Block – Free Tutorial makes the steps easy to follow, even for new quilters.
Q: What size should my finished block be?
A: Most tutorials offer 12” x 12” finished blocks, but you can adjust the measurements if you’re comfortable resizing the pattern.
Q: Can I use scrap fabric for this block?
A: Absolutely! Scraps work beautifully, especially if you stick to a consistent value range to maintain contrast between sections.
Q: Do I need to use foundation paper piecing?
A: Not necessarily. While FPP helps with accuracy, traditional piecing is just as effective if you measure and sew with care.
Q: How can I ensure my points line up properly?
A: Pinning accurately at seam intersections and pressing as you go are key techniques to help your points align.
Q: What kind of quilting design suits this block best?
A: Simple straight-line or echo quilting enhances the block’s geometric appeal without overwhelming the design.
We’ve taken a deep dive into the stunning Orion’s Wheel Quilt Block – Free Tutorial, covering design principles, materials, step-by-step assembly, and creative project ideas. This block is not only visually captivating but also versatile and beginner-friendly with the right guidance.
Quilting is more than stitching fabric—it’s about expression, patience, and discovery. With every block you complete, you gain new skills and confidence. We hope this tutorial has inspired you to try something new and enjoy every stitch of the process.
If you tried this pattern or have ideas to share, we’d love to hear from you. Leave a comment below with your thoughts, feedback, or any suggestions for future tutorials. Happy quilting!

