
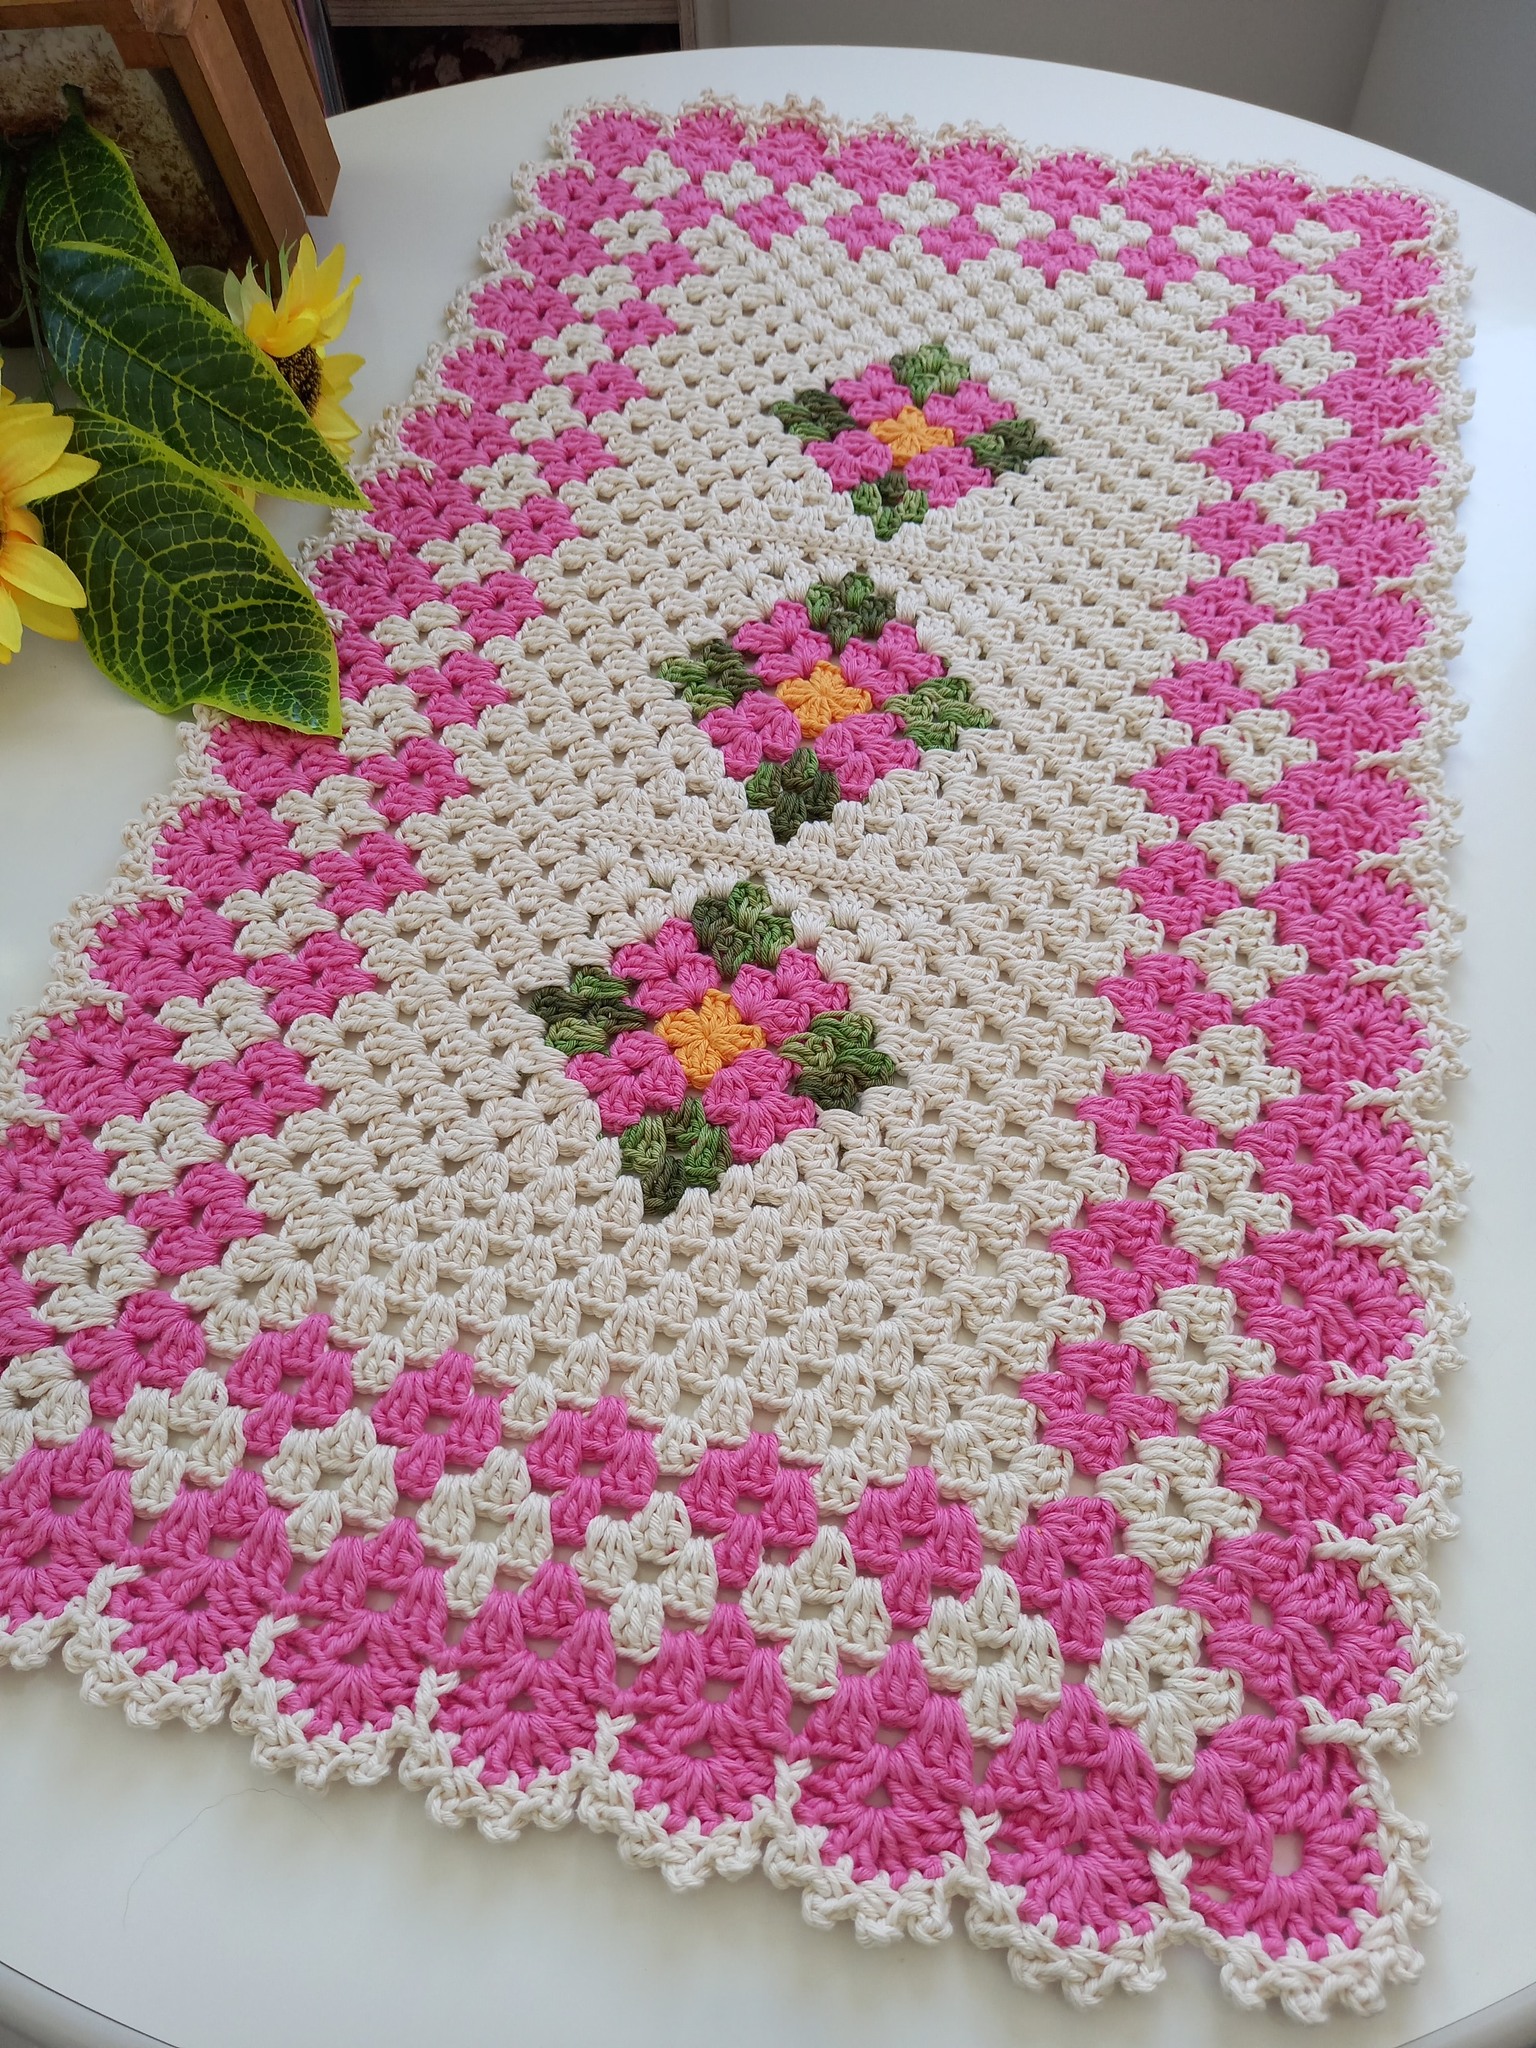
Crochet Multi-Purpose Blouse, Shawl, Runner Model

The Crochet Block Rug – Free Pattern is a creative and practical way to add a touch of handmade charm to any room in your home.
Whether you’re looking to refresh your living space, brighten up a nursery, or add comfort to your kitchen, this easy-to-make rug can be fully customized in color and size. Best of all, it’s a beginner-friendly project that yields beautiful results.
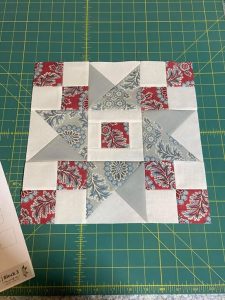
What makes the Crochet Block Rug – Free Pattern so appealing is its versatility. Made by assembling small crocheted squares (or “blocks”), this rug allows you to experiment with different stitches, colors, and yarn textures. You can create it as colorful or as minimalistic as you like, giving you total freedom in design.
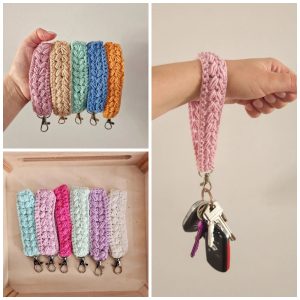
This pattern is a perfect project for using leftover yarn from other creations. It’s eco-friendly, budget-conscious, and incredibly satisfying.
You can work on one block at a time, making it a great portable project for crocheting on the go. Let’s dive into how to make your own stylish and durable crochet block rug.
Before diving into the Crochet Block Rug – Free Pattern, you’ll need to gather your materials. A durable cotton or cotton-blend yarn is ideal for rugs because it’s washable and holds up well to foot traffic.
Select a crochet hook size that matches your yarn weight. Most medium-weight yarns will work well with a 4.5mm to 6mm hook. Be sure to make a test swatch to check for tension and texture.
Decide on your block size. A common size for rug blocks is 4”x4” or 6”x6”, but you can go larger if you want a faster finish. Consistency is key—make sure all blocks are the same size.
Choose a simple stitch for your base blocks, like single crochet, half double crochet, or double crochet. Once you’ve mastered the block shape, you can mix it up with textured or decorative stitches for added flair.
Color planning is important. Will you use a single color or a rainbow of hues? Use a planner or graph paper to map out your design. You can go with a checkerboard, gradient, or random pattern.
As you begin making blocks, weave in your ends immediately. This will save you time during assembly and make the final product look cleaner and more polished.
After you’ve crocheted a generous stack of blocks, it’s time to lay them out. Use a flat surface to arrange your squares and experiment with different layouts before joining them permanently.
To join the blocks, you can use a variety of methods: slip stitch join, single crochet join, or the invisible mattress stitch. Each has a different look, so choose based on the finish you want.
Lay out your rows and columns first. Join blocks into rows, then join the rows together. Make sure your corners and edges are aligned to keep the rug looking symmetrical.
For extra durability, consider crocheting an additional border around the entire rug once the blocks are connected. A few rounds of single crochet or crab stitch (reverse single crochet) can provide a neat and strong edge.
Blocking the finished rug is optional but recommended. Use a steam iron or spray bottle to lightly dampen the rug, then shape and pin it into place. Let it dry completely before use.
If you want to add a non-slip backing, consider using a shelf liner or rug grip mat underneath. You can also sew a fabric base for extra strength and safety, especially on hardwood floors.
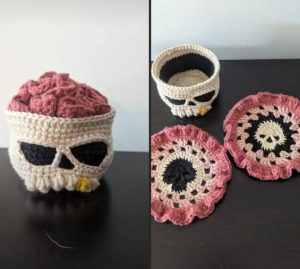
One of the best things about the Crochet Block Rug – Free Pattern is how easily it can be personalized. You can create themed rugs, like baby rugs with soft pastels or bold, geometric rugs for modern spaces.
Try experimenting with different textures. Mix basic blocks with bobble stitches, puff stitches, or cluster stitches. This adds depth and dimension to your rug.
Add embroidery or appliqué to your blocks before assembly. Small flowers, letters, or motifs can turn your rug into a truly one-of-a-kind piece.
For a playful touch, use variegated yarns or self-striping yarns. These automatically create interesting color changes without switching yarns manually.
You can also mix yarn weights to create a chunky, textured look—just be sure to match the gauge of your blocks to keep everything even.
Lastly, think about the overall shape. While most block rugs are square or rectangular, you can arrange your blocks in a circle, oval, or even asymmetrical form for a modern twist.
Taking care of your Crochet Block Rug – Free Pattern properly will ensure it lasts for years to come. Start with the right fiber—cotton and blends tend to be the most practical and long-lasting for rugs.
Always follow yarn label washing instructions. Most cotton rugs can be machine washed in cold water and laid flat to dry, which makes them perfect for high-traffic areas.
If your rug has decorative stitches or embellishments, consider hand-washing to preserve the detail. Use a mild detergent and avoid wringing or twisting the rug.
Shake out your rug regularly to remove dust and debris. A quick vacuum using a handheld attachment can also help keep it clean.
For rugs used in kitchens or bathrooms, wash more frequently to avoid buildup of moisture or spills that could attract mold or bacteria.
Store your rug flat or rolled up when not in use. Avoid folding, as this can create creases or weaken stitches over time.
Can I use acrylic yarn for this rug?
Yes, but be aware that acrylic can be slippery and may not absorb moisture well. Cotton or blends are typically better for durability and comfort.
How many blocks do I need for a standard rug?
It depends on your desired rug size and block size. For a 24”x36” rug using 6” blocks, you’ll need 24 blocks (4 across and 6 down).
Do I need to block each square before assembling?
It’s optional, but blocking your squares ensures they’re uniform in size and makes assembly much easier and neater.
Is this pattern good for beginners?
Absolutely! The basic block is a perfect beginner project, and you can add complexity as your skills grow.
Can I make this rug with leftover yarn?
Yes, this is a great stash-busting project. Just make sure all your yarns have a similar thickness for consistency.
How do I keep the rug from slipping?
Use rug grips, sew a non-slip fabric to the back, or place it on a rug pad to prevent movement on smooth floors.
The Crochet Block Rug – Free Pattern is a delightful project that allows for creativity, customization, and practical use all in one. We explored everything from choosing yarn and hook size to creating blocks, assembling your rug, and adding personal touches.
Whether you’re a seasoned crocheter or just starting out, this rug is a satisfying way to express your style and upgrade your home décor. Try it once, and you’ll likely want to make more in different colors and sizes.
We’d love to hear from you! Have you tried this pattern or have ideas to improve it? Leave a comment with your honest opinion or suggestions for future tutorials. Happy crocheting!


