
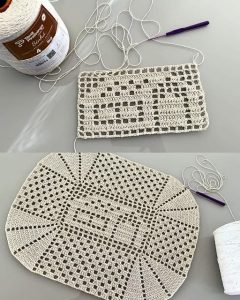
Crochet Multi-Purpose Blouse, Shawl, Runner Model

CROCHET SQUARE: A Comprehensive Guide for Beginners is the perfect starting point if you’re just stepping into the colorful world of crochet. These versatile little blocks form the foundation of countless beautiful projects, from blankets to bags, table runners, and clothing.
Whether you’re learning your very first stitch or looking to sharpen your technique, this guide will walk you through everything you need to know.
Learning how to make a crochet square opens up an endless number of creative opportunities. The simplicity of the design allows beginners to develop confidence while also enabling more advanced crafters to explore complex combinations of color, texture, and shape.
Plus, they’re portable and quick to finish, making them an ideal ongoing project to keep in your crochet basket.
In this article, we will take a detailed look at the CROCHET SQUARE: A Comprehensive Guide for Beginners, focusing on the materials you need, the essential stitches involved, how to maintain consistent shapes, and inspiring project ideas.
Along the way, you’ll discover key tips to help you improve your results and enjoy the process from start to finish.
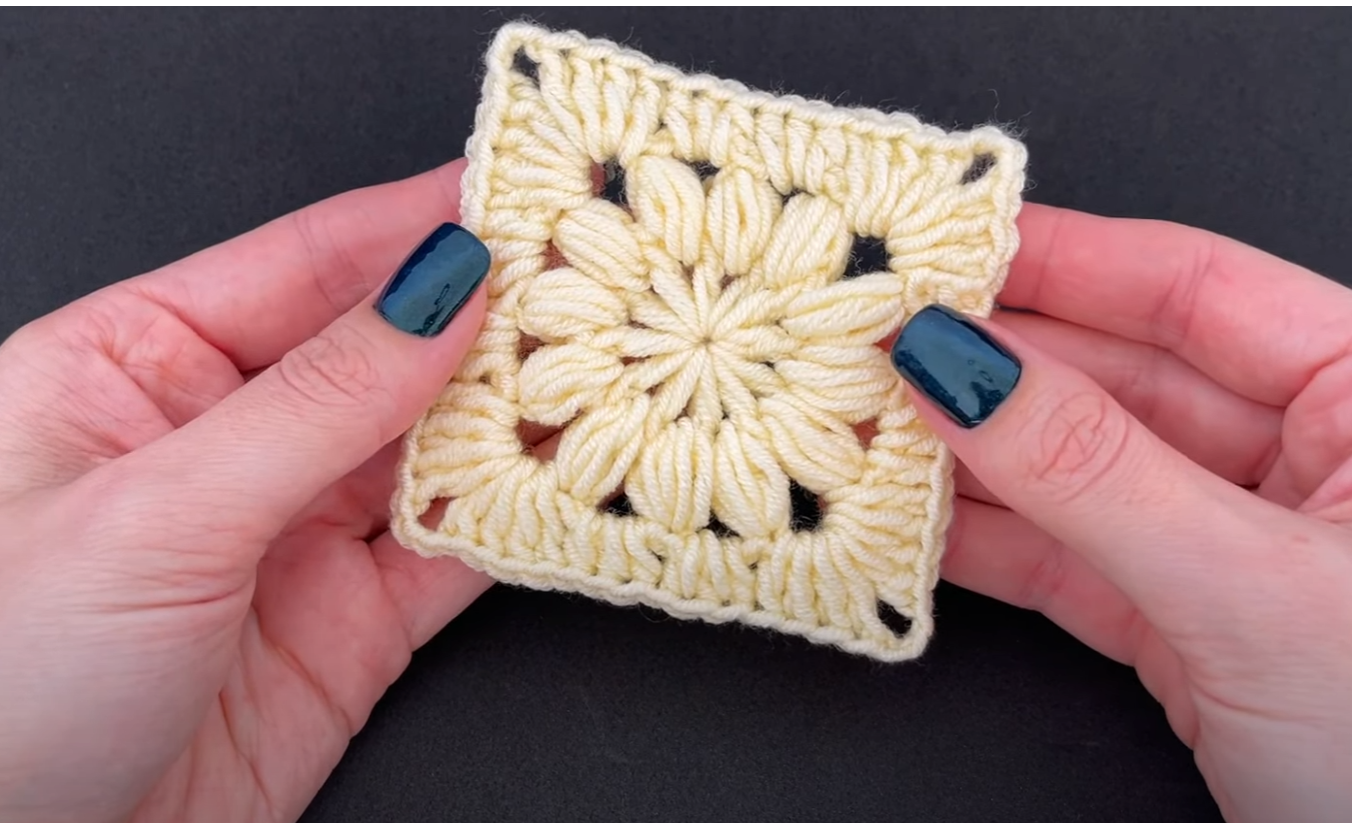
The foundation of any crochet square lies in learning how to form a chain and work your stitches evenly. The most popular type is the classic granny square, but there are endless variations.
To get started, you’ll need a few simple materials: a crochet hook, yarn, scissors, and a yarn needle. Choosing the right hook size for your yarn is key to ensuring your stitches aren’t too tight or too loose.
A traditional square begins with a small loop or chain circle in the center, often using the “magic ring” or a chain of four stitches joined together. From there, you build outward in rounds, creating corners that help keep the square shape.
Stitches commonly used in squares include chain stitches, double crochet, and slip stitches. As you advance, you might incorporate puff stitches, bobbles, or shells to add texture and style.
Practice makes perfect. Don’t worry if your first few squares aren’t exactly symmetrical—learning how to maintain tension takes time. With regular practice, you’ll develop consistency in both size and shape.
Once you’re comfortable with the basic structure, you can start experimenting with colors and stitch patterns. This is where your crochet square can become truly unique and personal.
One of the challenges for beginners is making sure that all their squares look the same. Consistency is especially important if you’re planning to join multiple squares together for a larger project.
The first tip is to always use the same yarn and hook size for all the squares in a set. Even slight variations can lead to uneven pieces that are difficult to connect.
Counting your stitches carefully helps avoid lopsided shapes. Many beginners tend to miss the last stitch in a round or add an extra one—keeping track will make a big difference.
Blocking your squares after you finish them is a game-changer. This process involves lightly dampening the square and pinning it to a specific size and shape. Once dry, it holds the form perfectly.
Weaving in your yarn ends neatly is not just about appearance—it also ensures your square stays intact over time. Use a yarn needle to weave ends securely along the stitches.
Another tip is to practice a little each day instead of trying to complete a project all at once. This helps reinforce muscle memory and improves your technique gradually.
Lastly, comparing your squares against one another can help you catch mistakes early. Lay them side-by-side to check for consistency in stitch height, shape, and color tension.
Once you’ve mastered the basics, the possibilities with crochet squares are practically endless. They’re more than just building blocks—they’re canvases for your creativity.
The most traditional use is to join them into a blanket. This is a great long-term project that lets you use different color combinations and stitch designs in each square.
Crochet square bags are another trendy and functional idea. Choose vibrant colors, line the inside with fabric, and add straps to create a one-of-a-kind accessory.
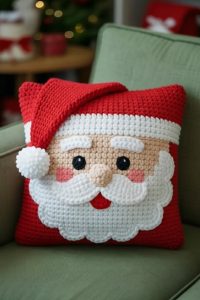
Home decor projects like pillow covers, placemats, and table runners benefit from the custom touch of hand-crocheted squares. You can personalize them with colors that match your interior.
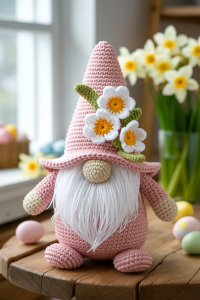
You can also make wearable items. A stylish vest or cardigan can be assembled entirely from joined squares, giving it a boho and vintage feel.
Seasonal gifts like ornaments or coasters are fun and fast to make. They’re a thoughtful way to use your crochet skills and offer handmade presents to friends and family.
For those looking to challenge themselves, try incorporating different motifs into each square—flowers, stars, or even animal faces. These variations turn simple squares into artistic statements.
Once you’ve made multiple squares, it’s time to bring them together into a cohesive piece. There are several methods to join crochet squares, each with its own visual effect.
The whip stitch method is straightforward and creates a nearly invisible seam. Place two squares together and use a yarn needle to sew through both edges.
Slip stitching is another popular option. You crochet the squares together by working a slip stitch through the edges, creating a visible ridge that adds a decorative element.
If you want a more lacy look, consider the join-as-you-go technique. This allows you to join the last round of a square directly to its neighbors while crocheting.
After joining your squares, adding a border helps unify the overall design. A simple round of single crochet can clean up the edges, while a shell or picot border adds flair.
Don’t forget to block the entire piece once more after joining. This final blocking session ensures that all parts lie flat and the joins settle evenly.
The last step is to inspect your project carefully. Trim any stray yarn ends, adjust uneven joins if needed, and admire your beautiful work! Your crochet square project is now complete and ready to be displayed or gifted.
What is the best stitch for a beginner to learn crochet squares?
The double crochet stitch is often recommended for beginners. It’s easy to learn and is frequently used in classic granny square patterns.
Why are my crochet squares curling at the edges?
Curling usually happens when your tension is too tight or the hook size is too small. Try using a larger hook or relaxing your grip.
How do I keep all my squares the same size?
Use the same hook and yarn throughout, count stitches carefully, and block your squares to a consistent size once completed.
Can I mix different stitch types in one square?
Absolutely! Combining stitches like bobbles, shells, or puff stitches adds texture and dimension to your square. Just ensure each round aligns properly.
What’s the best way to join multiple squares?
It depends on your desired look. For an invisible seam, use the whip stitch. For a decorative finish, try slip stitching or join-as-you-go methods.
Do I need to block every square individually?
Blocking each square individually helps with uniformity, especially before joining them. However, you can also do a final block after the project is assembled.
We hope this CROCHET SQUARE: A Comprehensive Guide for Beginners has helped you feel more confident about starting or continuing your crochet journey. From choosing materials and practicing stitches to creating beautiful and meaningful projects, each square you make is a step forward in your crafting skills.
By understanding the basics, applying consistent techniques, and exploring creative options, you’ll soon find yourself turning simple crochet squares into stunning creations. Don’t forget to enjoy each step and allow your creativity to flourish.
VIDEO TUTORIAL
If you found this guide helpful, please leave your honest opinion and share any suggestions or questions you may have in the comments. Your voice helps us grow and better serve the crochet community!


