
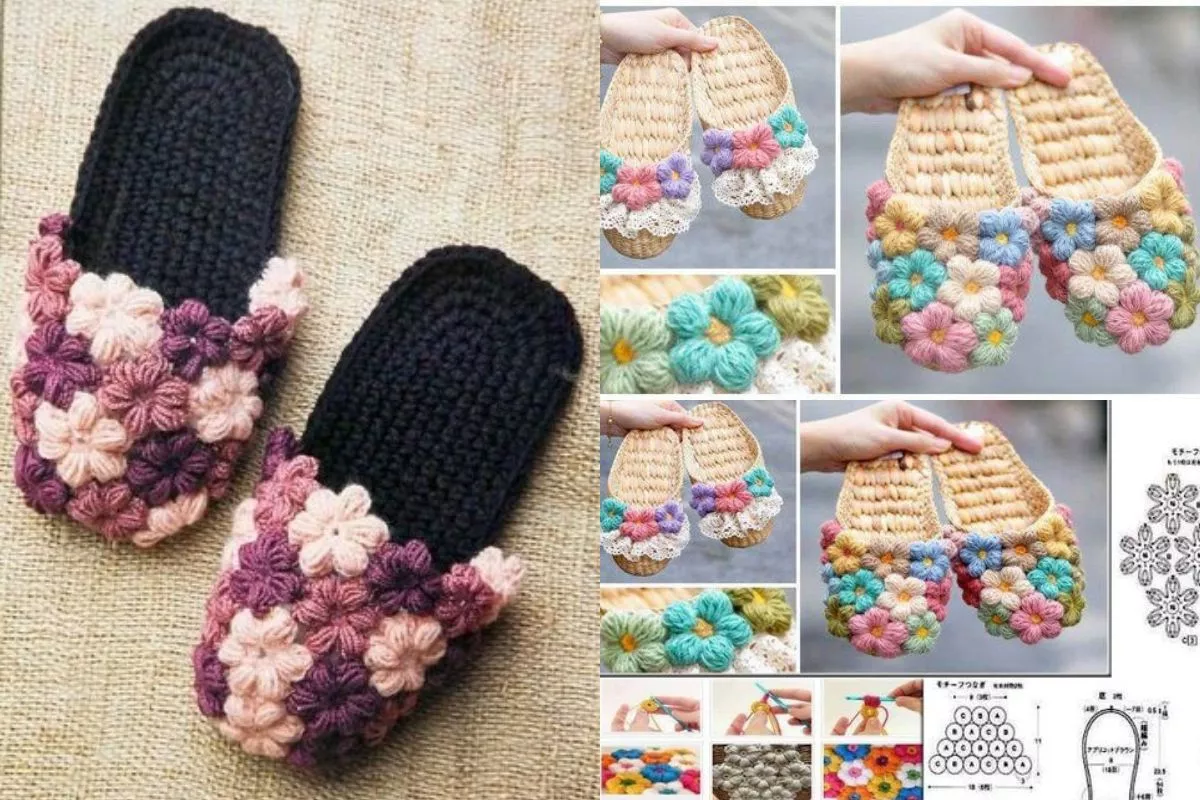
Crochet Multi-Purpose Blouse, Shawl, Runner Model

The Square Persa – Step-by-step pattern is a beautiful and versatile crochet design that has captured the hearts of crafters worldwide. Known for its intricate details and harmonious mix of shapes, this pattern offers both elegance and creativity in every stitch.
Whether you are making a blanket, a cushion cover, or even a decorative wall piece, the Square Persa will add a touch of sophistication to your project. The charm of this square lies in its balance between complexity and adaptability, making it an ideal choice for both beginners eager to learn new techniques and experienced crocheters looking for inspiration.
In this tutorial, we will explore the Square Persa – Step-by-step in a way that feels approachable and enjoyable. From selecting the right yarn and hook to understanding the sequence of stitches, each part of this guide is designed to ensure your success.
The best part? The Square Persa can be customized endlessly, allowing you to play with colors, textures, and sizes. By the time you finish your first square, you will have learned valuable crochet skills that you can use across many different projects.
Before we begin, let’s highlight that this guide follows a structured and clear method. We’ll break the process into four main parts, starting with preparation, then moving on to the center motif, expanding the square, and finally adding beautiful finishing touches.
Every section will include helpful tips to make your crochet journey smoother. So grab your yarn, your hook, and let’s start creating your own Square Persa masterpiece.
The first step in any successful crochet project is preparation. For the Square Persa – Step-by-step, you will need to choose your materials carefully to achieve the desired look and feel. Soft cotton yarn is a popular choice because it offers crisp stitch definition, but you can also use acrylic or blended fibers for a different texture. Make sure your yarn weight is consistent throughout the project for the best results.
When it comes to hook size, follow the recommendation on your yarn label but don’t hesitate to experiment. A slightly smaller hook will create a tighter square with a more defined pattern, while a larger hook will make the stitches looser and give a softer drape. If you’re making multiple squares for a larger project, it’s important to stick to the same hook size for consistency.
Colors play a huge role in the beauty of the Square Persa. You can use a single color for a minimalist look or combine several shades for a more vibrant and artistic result. Many crocheters enjoy working with gradient yarns to give the square a seamless flow of colors.
Before starting, make sure you have scissors, a yarn needle, and stitch markers ready. These small tools will make your work neater and more efficient. Taking time to organize your workspace will help you stay focused and avoid unnecessary interruptions.
Another key tip is to crochet a small swatch before starting the main square. This allows you to check your tension and ensure the final measurements are accurate. Adjust your hook size if needed until your swatch matches the intended gauge.
Finally, remember to set aside enough time for this project. The Square Persa – Step-by-step is enjoyable but requires attention to detail, so working in a relaxed environment will help you maintain precision and enjoy the process.
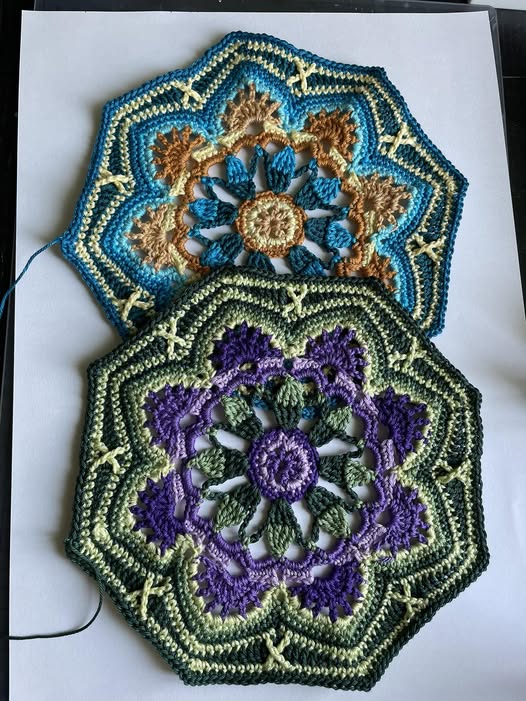
The center motif is the heart of the Square Persa and sets the tone for the entire pattern. You will begin with a magic ring or a chain circle, depending on your preference. The magic ring is often preferred because it allows the center to close tightly without leaving a gap.
Once your ring is secure, start with a series of chain stitches to bring your yarn to the correct height for the first round. This round usually consists of basic stitches such as double crochets, trebles, or a combination of both to form a decorative floral or starburst shape.
The key to a successful center motif is even spacing. Make sure your stitches are distributed evenly around the ring to avoid a warped square later on. If the pattern calls for clusters or puff stitches, work them with consistent tension for a uniform look.
After completing the first round, you will build on it with additional layers of stitches that expand outward. Each new round adds more complexity to the design, so take your time to follow the Square Persa – Step-by-step instructions carefully.
Color changes often occur in the center motif, and switching colors neatly is important for a polished result. Secure your ends as you go, weaving them in immediately to avoid having too many loose threads at the end.
When the center motif is complete, you will notice how its symmetry forms the foundation of the Square Persa. This part of the project often sparks excitement because you can already see the beauty of the final piece taking shape.
After finishing the center, the next step in the Square Persa – Step-by-step is to transform your circular or hexagonal motif into a perfect square. This is achieved through strategic increases and corner shaping.
You’ll start by identifying the points where the corners will be placed. These usually involve working multiple stitches into the same space to create sharp angles that define the square shape. The spaces between corners are worked evenly to maintain straight edges.
One of the defining features of the Square Persa is the intricate stitch patterns used during this expansion phase. Depending on the version you follow, you might incorporate textured stitches such as popcorns, bobbles, or cables for added depth.
Maintaining consistent stitch count is essential here. If your counts are off, the square might start to ripple or curl. Use stitch markers at the corners to help you keep track of increases.
You can also continue introducing new colors during this phase. Many crocheters use contrasting shades to highlight the square’s edges and make the pattern pop. This is where the Square Persa becomes truly eye-catching.
Once your square reaches the desired size, give it a quick measurement to ensure all sides are even. Minor adjustments can be made by blocking later, but accuracy during crocheting saves time.
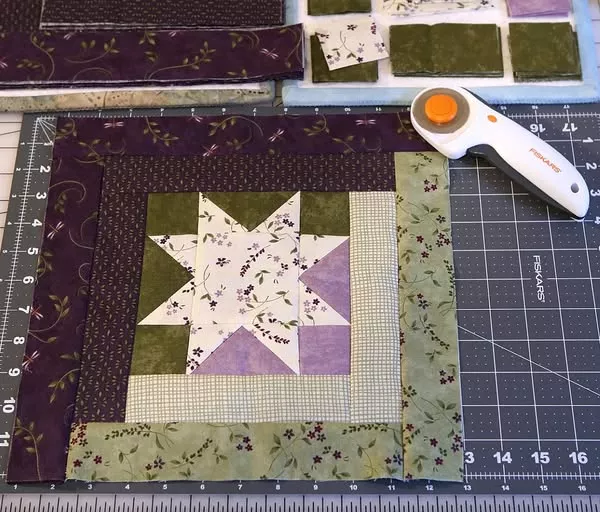
The final step in the Square Persa – Step-by-step is adding the border or edging that frames the design. A simple single crochet border can give a clean, modern finish, while a lacy or scalloped edge can enhance its decorative appeal.
When choosing your border, consider the purpose of your square. If it will be joined with others for a blanket, a flat border is easier to work with. If it’s a standalone piece, you can be more creative and add elaborate edging.
Blocking is highly recommended for the Square Persa. This process involves dampening the square and pinning it to the correct dimensions so it dries in perfect shape. Blocking not only improves the appearance but also helps even out stitches.
At this stage, weave in any remaining ends securely. Loose ends can unravel over time, so take extra care to hide them neatly within the stitches.
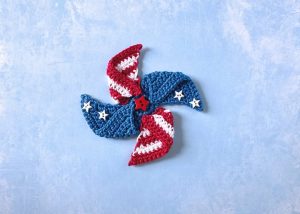
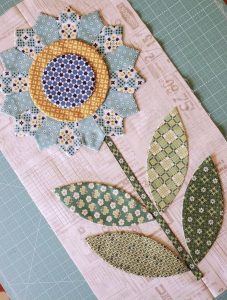
You can also add personal touches such as beads, embroidery, or appliqués to make your Square Persa unique. These extras are optional but can give your work a signature style.
Once completed, your Square Persa is ready to be used in a larger project or displayed proudly on its own. The satisfaction of finishing such a detailed pattern is immense and often inspires you to create more.
1. What is the Square Persa pattern used for?
The Square Persa can be used in blankets, cushion covers, wall hangings, table runners, and other decorative crochet projects.
2. Is the Square Persa suitable for beginners?
Yes, but it requires patience and careful attention to the step-by-step instructions. Beginners will learn many valuable stitches through this pattern.
3. How long does it take to make one Square Persa?
Depending on your skill level and speed, it can take anywhere from a few hours to a full day.
4. Can I use any type of yarn for the Square Persa?
Yes, but cotton yarn is recommended for sharp stitch definition. You can also experiment with acrylic or wool blends.
5. Do I need to block the Square Persa?
Blocking is highly recommended to ensure the square lies flat and the pattern details are highlighted.
6. How can I join multiple Square Persa pieces?
You can use slip stitches, whip stitch, or join-as-you-go methods to connect multiple squares.
The Square Persa – Step-by-step is a rewarding crochet project that combines beauty, technique, and creativity. From the careful preparation to the intricate center motif, precise expansion, and thoughtful finishing touches, each stage offers valuable skills and satisfaction.
Whether you are making a single square as a decorative piece or combining many to create a stunning blanket, the Square Persa will always be a standout design. I would love to hear your honest opinion and suggestions about this pattern—share your thoughts and ideas so we can keep inspiring each other in our crochet journeys.


