
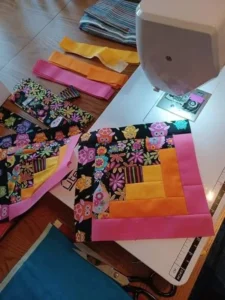
Crochet Multi-Purpose Blouse, Shawl, Runner Model

The Crochet Pencil Scarf – Pattern is a creative and playful project that combines the fun of stationery with the charm of crochet. This unique scarf design resembles a giant pencil, making it a whimsical accessory for teachers, students, or anyone who loves quirky and handmade items.
Crocheting this scarf is not only enjoyable but also provides a fantastic opportunity to practice basic stitches while creating a functional and eye-catching piece. With just a few materials and some creativity, you can craft a scarf that is both practical and fun, bringing joy to your wardrobe or serving as a memorable gift.
One of the main appeals of the Crochet Pencil Scarf – Pattern is its versatility. While it serves as a warm accessory during chilly weather, its design is playful enough to be used as a conversation starter or a decorative item.
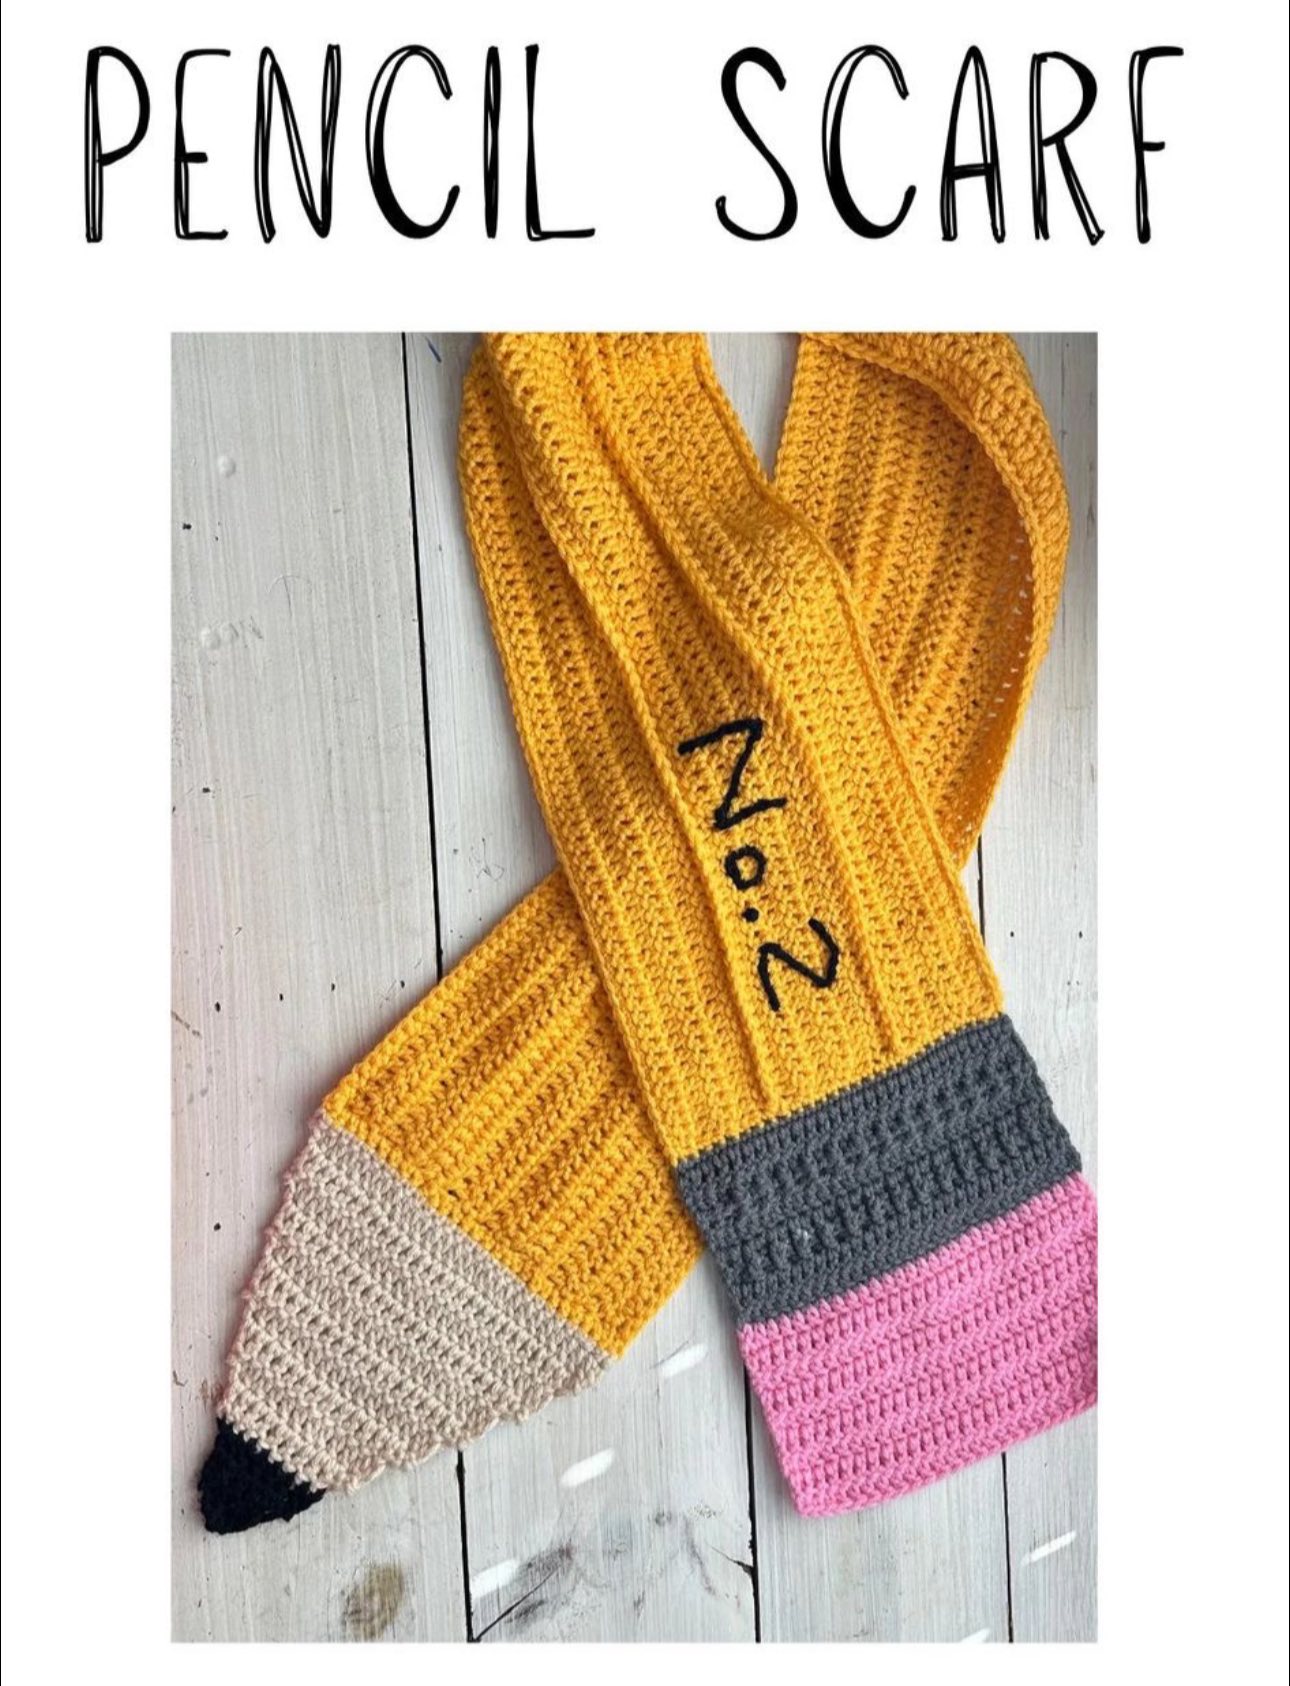
The pencil shape allows for endless customization: different colors can represent various pencil types, and additional details such as an embroidered name or stripes can make it truly personal. This pattern is perfect for beginners who want a unique project, as well as for experienced crocheters looking for a fun twist on a classic scarf.
Creating the Crochet Pencil Scarf – Pattern also encourages creativity in color choice and detail. For the body of the pencil, yellow yarn is a classic choice, but shades of pastel or vibrant colors can make the scarf pop.
The eraser can be pink or any fun hue, and the pencil tip can be brown or black. This color-blocking approach makes the scarf visually appealing and allows crafters to experiment with design elements, giving each creation a signature style.
To make the Crochet Pencil Scarf – Pattern, gather the necessary materials before starting. Having everything ready ensures a smoother crafting process and a more professional-looking result.
First, select your yarn. Medium-weight acrylic or cotton yarn works well for this project because it is soft, durable, and easy to crochet. Choose multiple colors to represent the pencil sections: yellow for the body, pink for the eraser, brown for the tip, and a neutral color like beige or gray for the sharpened area.
Next, choose a crochet hook that matches your yarn weight. Typically, a 4.0 mm or 4.5 mm hook works well for medium-weight yarn. Using the right hook ensures consistent stitches and proper tension throughout the scarf.
You’ll also need basic notions such as a tapestry needle for weaving in ends, scissors, and stitch markers if desired. The needle is especially useful for sewing together sections or adding small decorative details.
Optional materials include buttons, embroidery thread, or felt pieces to create additional decorative elements on the pencil scarf. For example, you can add a small embroidered name or stripes to mimic a real pencil.
Lastly, be sure to have patience and creativity! Crocheting the Crochet Pencil Scarf – Pattern is a fun process, and adding personal touches makes the finished scarf even more special.
The Crochet Pencil Scarf – Pattern is worked in sections, starting with the pencil tip, moving through the body, and finishing with the eraser. Each section is crocheted separately and then joined together for a neat finish.
Begin with the pencil tip. Using brown yarn, create a pointed section by crocheting in rounds, gradually decreasing to form the sharpened shape. This part adds character and realism to your scarf.
Next, switch to a neutral color such as beige or gray to represent the sharpened wood area of the pencil. Crochet a small rectangular or cylindrical section that connects the tip to the main body of the pencil.
For the pencil body, use yellow yarn. This section is usually the longest part of the scarf. Crochet a rectangle using single or half-double crochet stitches, depending on the desired thickness and texture. Make sure the width is suitable for wearing as a scarf comfortably.
Finally, create the eraser using pink yarn. Crochet a rectangular or cylindrical shape, slightly larger than the pencil body, to mimic the appearance of an actual pencil eraser. Optional decorative touches, such as a metallic band between the pencil and the eraser, can be added using gray or silver yarn.
Once all sections are complete, carefully join them together using a tapestry needle and yarn. Weave in all ends for a clean and polished finish. Your Crochet Pencil Scarf – Pattern is now ready to wear, display, or gift!
The Crochet Pencil Scarf – Pattern is more than just a cozy accessory; it can serve a variety of purposes. It makes a unique gift for teachers, students, or anyone who loves stationery-inspired items. A handmade pencil scarf adds a thoughtful and whimsical touch that store-bought scarves cannot match.
It can also be used as a classroom or office decoration. Drape it on a shelf, chair, or bulletin board to bring a playful and creative vibe to your space. Its bright colors and fun design are sure to catch the eye.
This scarf is also perfect for themed events, such as back-to-school parties, craft fairs, or teacher appreciation days. It can be worn or displayed as a statement piece to celebrate creativity and learning.
Additionally, you can make multiple pencil scarves in different colors to create a “rainbow pencil” set. This makes a cheerful collection and allows you to mix and match for various outfits or décor settings.
Some crafters even use this scarf as part of a cosplay or costume, representing a giant pencil for educational or whimsical characters. Its versatility makes it suitable for both everyday use and special occasions.
Finally, the Crochet Pencil Scarf – Pattern can inspire other stationery-themed projects. Once you’ve mastered this scarf, you might try making pencil-inspired hats, bags, or even amigurumi pencil characters to match.
When working on the Crochet Pencil Scarf – Pattern, maintaining consistent tension is key to achieving a polished and professional look. Uneven stitches can affect the overall appearance and comfort of the scarf.
Use stitch markers to keep track of rows, especially if you are making a long scarf. This helps prevent mistakes and ensures each section aligns properly.
Pay attention to color changes between sections. A smooth transition between the pencil tip, body, and eraser gives your scarf a cohesive and realistic appearance.
Blocking the scarf after finishing can help even out stitches and give the fabric a neat shape. This step is particularly useful for scarves that will be worn, as it improves both comfort and aesthetics.
Take time to add optional details such as embroidered stripes, metallic bands, or personalized touches. These small accents enhance the uniqueness of your Crochet Pencil Scarf – Pattern and make it a standout piece.
Lastly, enjoy the process! Crocheting is meant to be fun, and projects like this scarf allow you to combine creativity with practical crafting skills, resulting in a piece that’s both functional and whimsical.
Q: Is the Crochet Pencil Scarf – Pattern suitable for beginners?
Yes, this pattern is beginner-friendly and uses basic stitches such as single crochet and half-double crochet.
Q: How long does it take to make one scarf?
Depending on your experience and speed, it may take 6–10 hours to complete the scarf.
Q: What yarn works best for this pattern?
Medium-weight acrylic or cotton yarn is recommended for softness, durability, and ease of handling.
Q: Can I customize the colors of the pencil scarf?
Absolutely! You can choose any combination of colors for the body, tip, and eraser to create a unique scarf.
Q: How do I join the different sections neatly?
Use a tapestry needle to sew sections together and weave in all ends carefully for a polished finish.
Q: Can I gift this scarf?
Yes, it makes a thoughtful and whimsical gift for teachers, students, friends, or anyone who loves fun crochet projects.
The Crochet Pencil Scarf – Pattern is a playful, creative, and practical crochet project that combines fun design with functionality. From crafting the pencil tip and body to adding the eraser and final details, this pattern provides an enjoyable experience for crocheters of all skill levels. It is perfect for gifting, wearing, or even using as a decorative piece.
If you have tried the Crochet Pencil Scarf – Pattern, please share your experience and suggestions. Your feedback helps inspire new crochet projects and encourages the sharing of creativity within the community.


