
The Adorable Chicken Crochet Pattern – Amigurumi Chicken Toy is a fun and charming project for crochet enthusiasts of all skill levels. This crochet pattern allows you to create a cute, colorful chicken that can serve as a lovely gift or as part of your personal collection of handmade amigurumi toys.
Whether you are new to crocheting or have been practicing for years, this easy-to-follow tutorial will guide you step by step to make your very own amigurumi chicken.
Crocheting an amigurumi chicken toy is not only a rewarding experience but also an opportunity to explore new techniques and learn how to shape a three-dimensional crochet figure.
The versatility of this pattern means you can customize your chicken with various colors, add accessories, or even create a whole farmyard of animals to enjoy. The small size and engaging nature of the pattern also make it perfect for quick gifts or adding some handmade flair to your home décor.
In this article, we will provide you with a detailed, step-by-step guide on how to create your Adorable Chicken Crochet Pattern – Amigurumi Chicken Toy. From gathering the materials to completing the final touches, this guide ensures that your chicken turns out both adorable and well-crafted.
Materials You Will Need for the Amigurumi Chicken Toy
Before you begin crocheting your Adorable Chicken Crochet Pattern – Amigurumi Chicken Toy, it’s important to gather all the necessary materials to ensure the process goes smoothly. Having everything on hand will help you stay focused on your project, making the crafting experience more enjoyable.
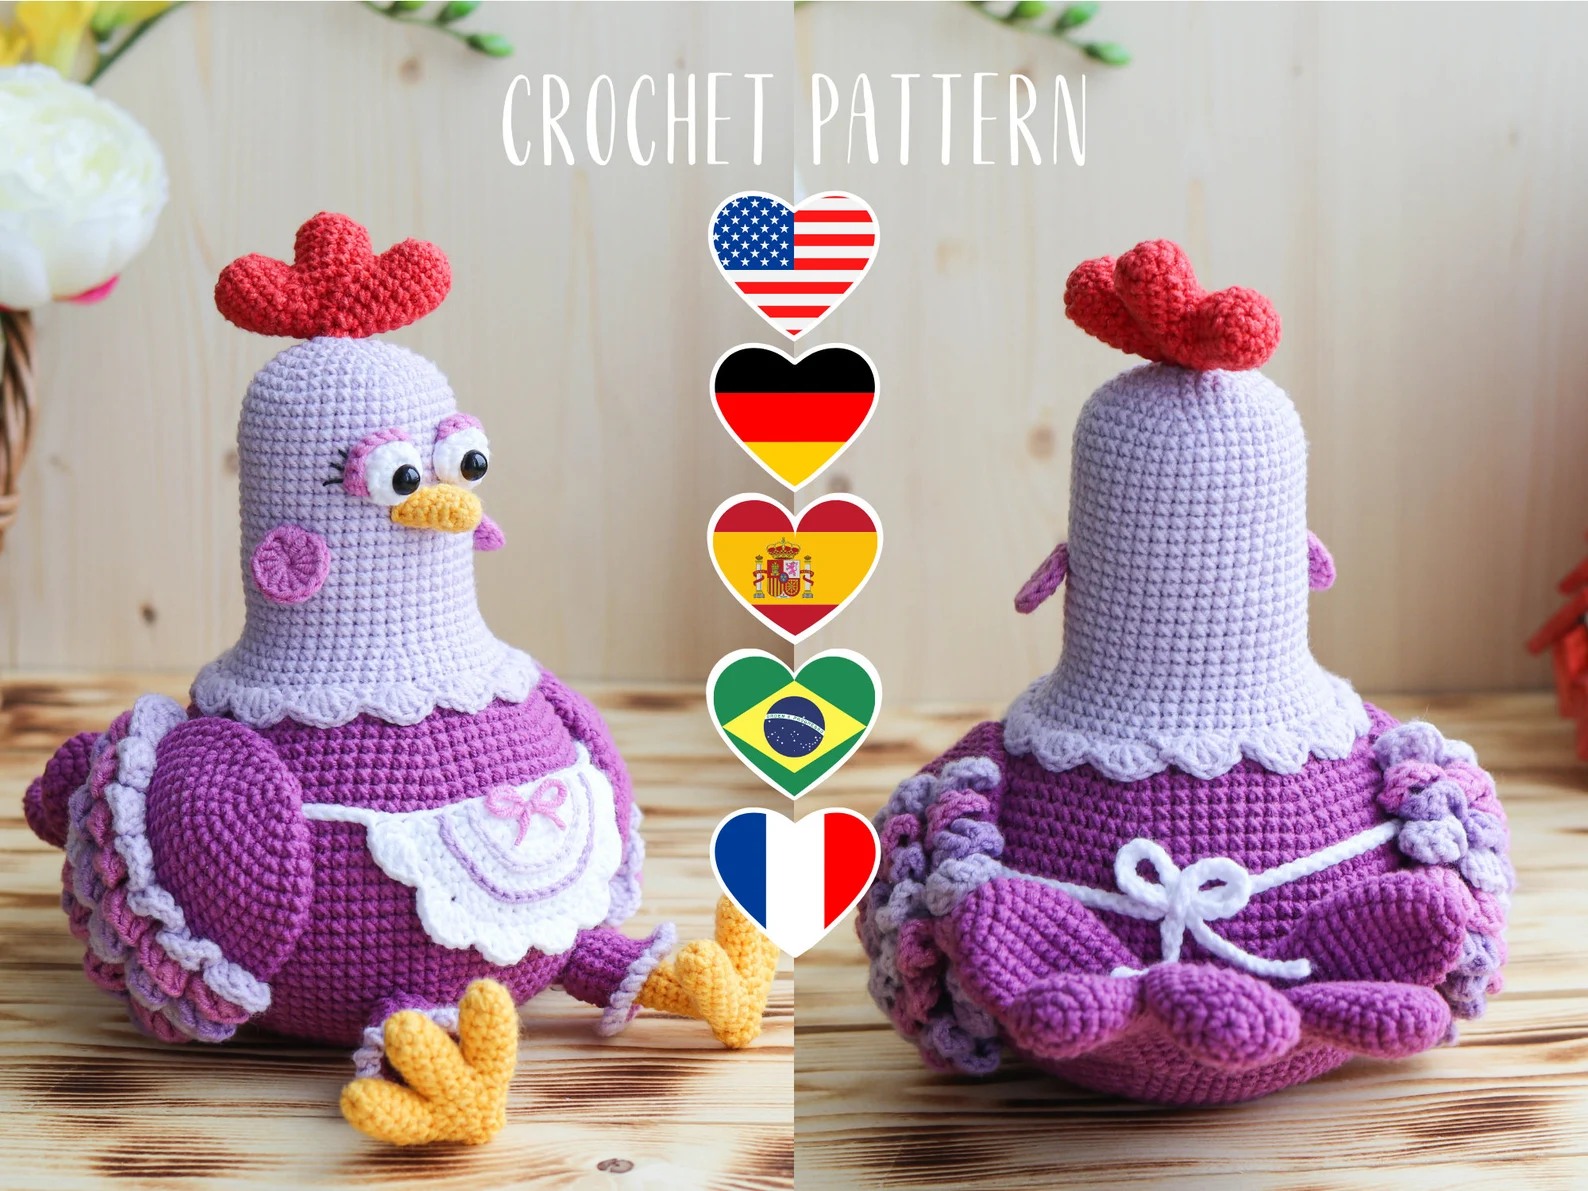
- Yarn: The body of the chicken will be crocheted using a soft, worsted weight yarn in yellow. You will also need a small amount of red yarn for the comb and wattle, and orange yarn for the beak and feet. You can choose a variety of colors depending on your personal preference and the style you want to achieve.
- Crochet Hook: A 3.5mm crochet hook is recommended for this project. This size works well with worsted weight yarn, ensuring that the stitches are tight and the chicken holds its shape.
- Polyester Fiberfill: To stuff your chicken and give it a soft, cuddly feel, you will need polyester fiberfill. This stuffing material is easy to work with and will keep the toy lightweight and fluffy.
- Safety Eyes: For the chicken’s eyes, you will need two safety eyes or black embroidery thread if you prefer to embroider them yourself. Safety eyes add a cute, expressive look to the chicken’s face.
- Tapestry Needle: A tapestry needle is essential for weaving in ends and sewing the pieces of the chicken together. This will help you create a seamless, polished look.
- Scissors: You’ll need a sharp pair of scissors to cut the yarn at the end of each section and after completing your project.
Once you have these materials ready, you are all set to start making your Adorable Chicken Crochet Pattern – Amigurumi Chicken Toy. Let’s move on to the crochet techniques you’ll use throughout the project.
Crochet Techniques for the Amigurumi Chicken Toy
Before you dive into the Adorable Chicken Crochet Pattern – Amigurumi Chicken Toy, it’s important to understand some basic crochet techniques that will be used in this project. These techniques will help you create a well-structured, three-dimensional chicken with ease.
1. Magic Ring
The magic ring is a common technique used in amigurumi to create a tight center for projects worked in the round. To create a magic ring, you simply wrap the yarn around your fingers and crochet into the loop. Tighten the loop to close the center. This method ensures a neat, seamless finish, perfect for the small, compact shape of the chicken’s body.
2. Single Crochet (sc)
The single crochet stitch is the foundation of most amigurumi patterns, including the Adorable Chicken Crochet Pattern – Amigurumi Chicken Toy. This stitch creates a dense fabric that is ideal for shaping small items like toys. To make a single crochet, insert your hook into the stitch, yarn over, and pull through. Then yarn over again and pull through both loops on the hook.
3. Increasing and Decreasing
To shape the chicken’s body, you will need to increase and decrease stitches. Increasing involves crocheting two stitches into one stitch, while decreasing involves crocheting two stitches together. These techniques are vital for shaping the chicken’s round body and head.
4. Working in Continuous Rounds
When crocheting the chicken, you will be working in continuous rounds, meaning you will not turn your work at the end of each row. This is a typical approach for amigurumi, which allows the creation of seamless, three-dimensional shapes. To keep track of your rounds, use a stitch marker at the beginning of each round.
5. Joining Pieces
After crocheting the individual parts of the chicken (head, body, wings, etc.), you will need to join them together. Use a tapestry needle to sew the parts securely in place, making sure to stitch tightly to avoid any gaps or loose seams.
With these techniques in hand, you’re ready to start crocheting your Adorable Chicken Crochet Pattern – Amigurumi Chicken Toy! Let’s get started on the step-by-step instructions.
Step-by-Step Guide to Creating the Amigurumi Chicken Toy
1. Crochet the Chicken’s Head
Start by making the magic ring and crocheting in the round to form the chicken’s head. Use yellow yarn for the head and work in single crochet. Increase and decrease as necessary to shape the head. Make sure to stuff the head lightly with fiberfill to give it a nice, round shape. Once completed, leave a long tail of yarn for sewing it to the body.
2. Crochet the Body
Next, crochet the body of the chicken in the same way as the head. Work in continuous rounds, using increases and decreases to form a rounded shape. Be sure to stuff the body with polyester fiberfill for a soft, plush finish. Once the body is complete, leave a long yarn tail to sew it onto the head.
3. Create the Chicken’s Wings
To create the wings, crochet two identical pieces in yellow yarn. These pieces should be small and slightly oval-shaped. After finishing the wings, stuff them lightly with fiberfill and attach them to the sides of the body using your tapestry needle.
4. Crochet the Beak and Feet
For the beak, use orange yarn to crochet a small triangle shape. For the feet, crochet small ovals, adding small toes if desired. Attach the beak to the face of the chicken, and sew the feet to the bottom of the body. These small details will make your chicken look more realistic and adorable.
5. Add the Comb and Wattle
Using red yarn, crochet a small comb for the top of the chicken’s head and a wattle for underneath the beak. Attach these pieces carefully, ensuring they are securely fastened to the head to give your chicken an authentic look.
6. Attach the Eyes
The final step is to add the safety eyes to the head of the chicken. Place them in the appropriate position, ensuring they are evenly spaced and secure. If you prefer, you can also embroider the eyes with black thread to give the chicken a personalized touch.
FAQ – Frequently Asked Questions About the Amigurumi Chicken Toy
1. What type of yarn is best for this project? For the Adorable Chicken Crochet Pattern – Amigurumi Chicken Toy, worsted weight yarn works best. This yarn is easy to handle and provides a nice texture for amigurumi projects. Yellow is the primary color for the body, but you can use other colors for accents like the beak, comb, and feet.
2. Can I make the chicken bigger or smaller? Yes! To adjust the size of your chicken, simply use a thicker or thinner yarn. You can also change the crochet hook size to match the yarn you are using.
3. How do I make the magic ring for the head? To make a magic ring, wrap the yarn around your fingers to create a loop. Insert your hook into the loop, crochet the required number of stitches, and pull the yarn tight to close the center. This will prevent a hole from forming in the middle of your work.
4. Can I use different yarn colors for the chicken? Absolutely! While yellow is the traditional color for the chicken’s body, you can experiment with other yarn colors to create a more personalized or unique look. You can even make a rainbow chicken if you’re feeling creative!
5. Can I use this pattern to create other animals? Yes, the techniques used in this Adorable Chicken Crochet Pattern – Amigurumi Chicken Toy can be applied to create other animals as well. You can use the same method to create other amigurumi toys like bunnies, ducks, or even farmyard animals.
6. How do I add a loop for hanging the chicken? To add a loop for hanging, crochet a small chain and attach it to the top of the chicken’s head. This will allow you to hang the chicken as an ornament or display it in your home.
Join our VIP broadcast list and gain access to exclusive patterns, all for free. As a VIP member, you’ll receive the best patterns daily, delivered directly to your device. ✨📱 It’s a unique opportunity to stay up-to-date with the latest trends and designs, curated just for you. Don’t miss out on enhancing your projects and discovering new inspirations with the best patterns every day! 🎨🔝
Conclusion
In this tutorial, we’ve explored the Adorable Chicken Crochet Pattern – Amigurumi Chicken Toy, providing you with a complete, step-by-step guide to create your very own crochet chicken. By following the instructions, you can craft a charming toy that will brighten up any room or make a thoughtful handmade gift. Whether you’re an experienced crocheter or a beginner, this project is sure to be a fun and satisfying experience.
We hope you enjoyed this crochet pattern! If you have any questions or suggestions, feel free to share your thoughts in the comments section below. We’d love to hear your feedback and see your completed amigurumi chickens. Happy crocheting!


