
The Amigurumi Rooster – FREE Crochet Pattern is a delightful project for crochet lovers who enjoy creating charming and colorful pieces. Whether you are a beginner or an experienced crocheter, this pattern offers a fun and rewarding experience.
The Amigurumi Rooster – FREE Crochet Pattern is not only adorable but also a unique handmade gift idea or a lovely decoration for your home.
Using the Amigurumi Rooster – FREE Crochet Pattern, you can explore different yarn colors and textures to bring your rooster to life. Amigurumi projects like this one help improve your crochet skills while allowing you to craft something meaningful and joyful.
The process is both creative and soothing, perfect for anyone looking to unwind with their crochet hook. In this article, we will explore everything you need to know about the Amigurumi Rooster – FREE Crochet Pattern. You will find detailed information on materials, step-by-step instructions, customization ideas, crochet tips, and answers to the most common questions.
Let’s begin this crochet journey together and bring your rooster to life with your own hands.
1. Materials You Need for Amigurumi Rooster – FREE Crochet Pattern
To start the Amigurumi Rooster – FREE Crochet Pattern, it is essential to prepare all the necessary materials. Having the right tools and yarn will make your crochet process easier and more enjoyable.
You will need medium-weight cotton yarn in various colors to create the bright and cheerful look of your rooster. Cotton yarn is perfect because it holds its shape well and is easy to work with for amigurumi.
A 2.5mm to 3.5mm crochet hook is commonly recommended for the Amigurumi Rooster – FREE Crochet Pattern. The smaller hook size helps create tight stitches, which is crucial for making amigurumi pieces firm and structured.
Polyester fiberfill is the preferred stuffing material for the Amigurumi Rooster – FREE Crochet Pattern. It provides the perfect softness and fullness, making your rooster cuddly and able to stand upright.
You will also need a yarn needle to sew the pieces together and weave in the ends neatly. Stitch markers can help you track your rounds, which is particularly useful when working in continuous spirals.
Safety eyes or small black beads are usually used for the eyes of the Amigurumi Rooster – FREE Crochet Pattern. These give your rooster a friendly and expressive face, bringing the amigurumi to life.
Finally, keep a pair of scissors handy for cutting yarn and trimming loose ends. Preparing these materials in advance will ensure a smooth and enjoyable crochet experience.
2. Step-by-Step Instructions for Amigurumi Rooster – FREE Crochet Pattern
Creating the Amigurumi Rooster – FREE Crochet Pattern is a step-by-step process that is easy to follow if you work patiently. Let’s walk through the main steps to help you complete your project successfully.
First, start by crocheting the rooster’s body. Typically, you will work in a continuous spiral using single crochet stitches. The body should be firm and shaped like an oval or a small cylinder.
Next, crochet the head of your Amigurumi Rooster – FREE Crochet Pattern. The head is usually a round shape that smoothly connects to the body. Be sure to stuff the head and body firmly as you go to maintain their shape.
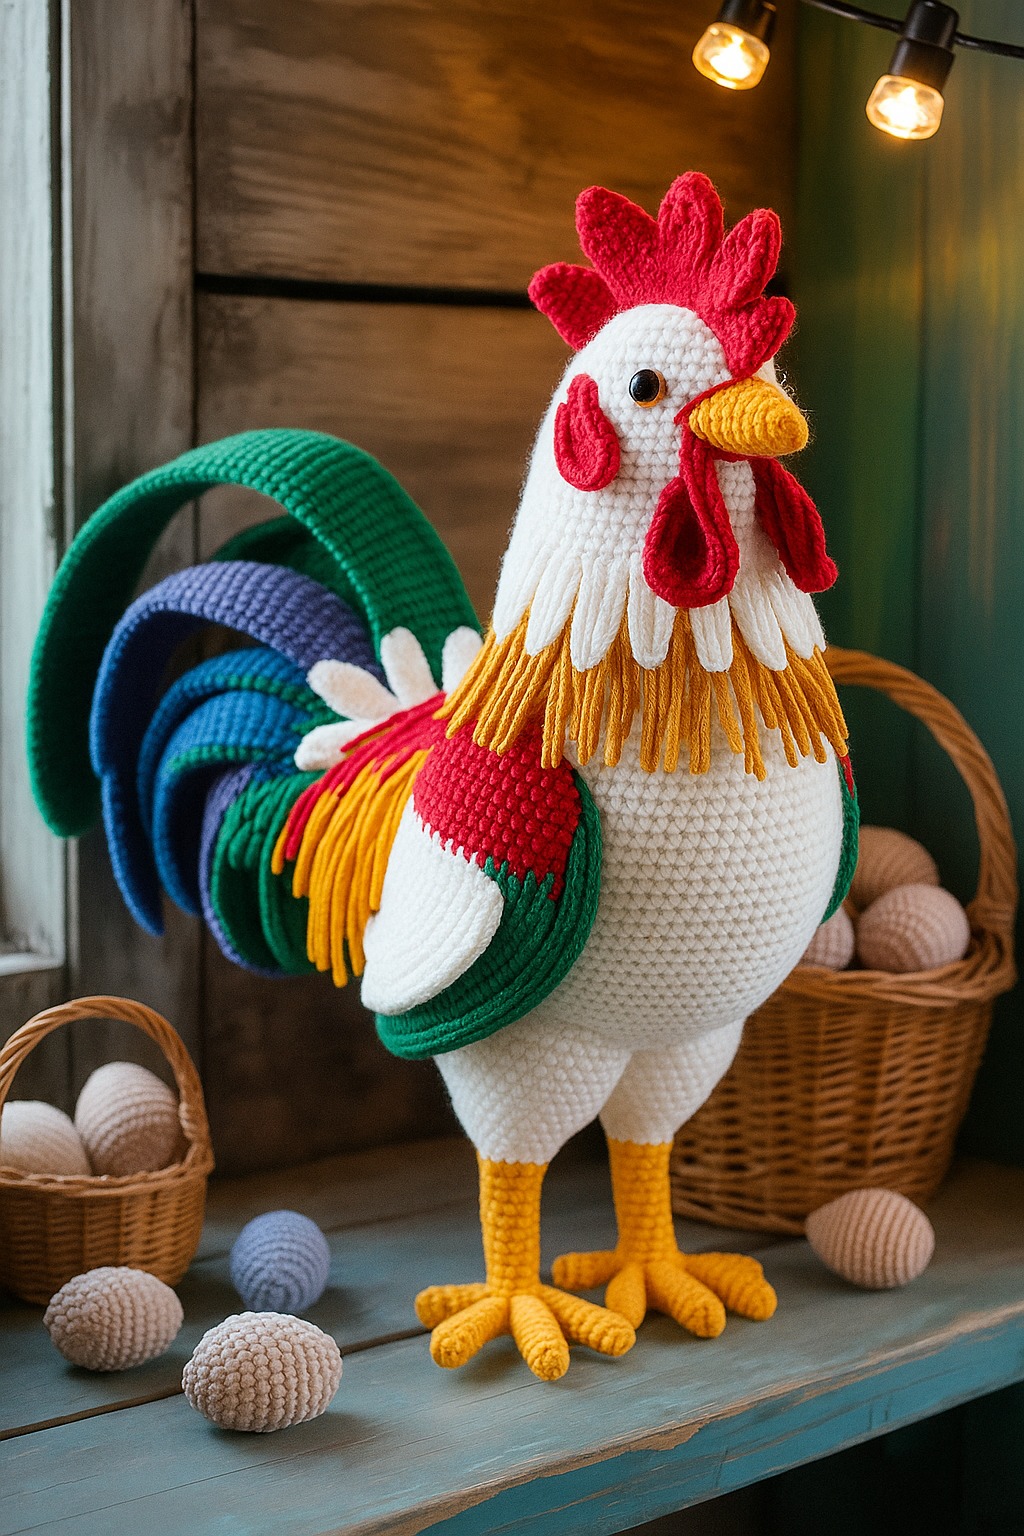
Now, create the wings and tail feathers. These parts bring color and character to your rooster. You can use different yarn colors to make the wings and feathers look vibrant and playful.
After completing the wings, crochet the rooster’s comb and wattle. These details make your rooster instantly recognizable. Using bright red yarn adds a traditional and eye-catching touch to your design.
It’s time to make the legs and beak. The legs should be firm enough to help the rooster stand, while the beak adds personality to the face. A contrasting yarn color for the beak makes it pop.
Finally, assemble all the pieces carefully. Use your yarn needle to attach the head to the body, sew on the wings, tail, comb, wattle, legs, and beak. Make sure everything is securely fastened, and your Amigurumi Rooster – FREE Crochet Pattern is complete and ready to display or gift.
3. Creative Customization for Amigurumi Rooster – FREE Crochet Pattern
One of the joys of working with the Amigurumi Rooster – FREE Crochet Pattern is the endless opportunity for customization. You can create unique roosters that reflect your creativity and style.
Try using different color combinations for each rooster you make. Bright primary colors give a classic farm look, while pastel shades offer a softer, more whimsical appearance.
You can add small accessories to your Amigurumi Rooster – FREE Crochet Pattern to make it even more special. Consider crocheting a tiny scarf, hat, or bow tie to give your rooster extra personality.
Adjust the size of your rooster by simply using thicker yarn and a larger hook or thinner yarn and a smaller hook. This lets you create a family of roosters in different sizes for a charming display.
Add textured stitches to different parts of your rooster. For example, using bobble stitches on the tail can create a fun and fluffy look that adds depth to your amigurumi.
Personalize your rooster with embroidered details like eyelashes, smiles, or tiny hearts. These small touches make your rooster unique and add a heartfelt, handmade feel to your project.
You can also create themed roosters for holidays or special occasions. For example, a rooster with festive colors for Christmas or a heart-shaped patch for Valentine’s Day adds variety and fun to your creations.
4. Helpful Tips for Amigurumi Rooster – FREE Crochet Pattern Success
To make your Amigurumi Rooster – FREE Crochet Pattern look its best, here are some useful crochet tips that can help you achieve great results and enjoy the process.
Always keep your tension consistent throughout the project. Tight, even stitches are essential for making amigurumi firm and well-shaped.
When working in continuous spirals, use a stitch marker to track the beginning of each round. This prevents confusion and helps you follow the pattern accurately.
Stuff your Amigurumi Rooster – FREE Crochet Pattern firmly but carefully. Overstuffing can stretch the stitches, while understuffing can make the rooster floppy. Aim for a balanced feel.
Take your time sewing the parts together. Neat and secure seams give your rooster a polished, professional look and ensure it stays intact during use or play.
Experiment with yarn brands and types to find the texture you like best. While cotton yarn is highly recommended, soft acrylic yarns can also work well if you prefer a different finish.
Don’t rush the process. Enjoy each step, from crocheting to assembling and adding details. Amigurumi is as much about the relaxing journey as it is about the adorable final product.
FAQ About Amigurumi Rooster – FREE Crochet Pattern
Is the Amigurumi Rooster – FREE Crochet Pattern suitable for beginners?
Yes, the Amigurumi Rooster – FREE Crochet Pattern is beginner-friendly, especially if you are familiar with basic crochet stitches like single crochet, increases, and decreases.
What yarn is best for the Amigurumi Rooster – FREE Crochet Pattern?
Cotton yarn is ideal because it holds its shape well and is easy to work with for amigurumi. Medium-weight yarn is commonly recommended for this project.
Can I make the rooster in different sizes?
Yes, by changing your yarn thickness and hook size, you can easily make smaller or larger roosters while following the same pattern instructions.
How long does it take to complete the Amigurumi Rooster – FREE Crochet Pattern?
Depending on your crochet speed and experience, it can take a few hours to a couple of days to finish the project. It’s a great weekend crochet activity.
Can I wash the finished rooster?
Yes, if you use machine-washable yarn, your rooster can be gently washed by hand or on a delicate cycle. Always follow the yarn care instructions for best results.
Do I need safety eyes for the Amigurumi Rooster – FREE Crochet Pattern?
Safety eyes are recommended for a professional look, but you can also embroider the eyes using black yarn if you prefer or if the rooster is intended for small children.
Conclusion
The Amigurumi Rooster – FREE Crochet Pattern is a beautiful crochet project that allows you to create a colorful and charming rooster by hand. Throughout this article, we’ve covered everything from materials, step-by-step instructions, creative customization ideas, helpful tips, and detailed answers to the most common questions.
This project is not only fun but also an excellent way to enhance your crochet skills while making something unique and heartwarming. The Amigurumi Rooster – FREE Crochet Pattern offers a chance to relax, enjoy the creative process, and craft thoughtful gifts for your loved ones.
I would love to hear your honest opinion about this article and your experience with the Amigurumi Rooster – FREE Crochet Pattern. Please leave your suggestions and share your ideas in the comments. Your feedback helps us continue creating helpful and inspiring content for all crochet enthusiasts.


