
Macrame Heart Bracelet - Free Tutorial

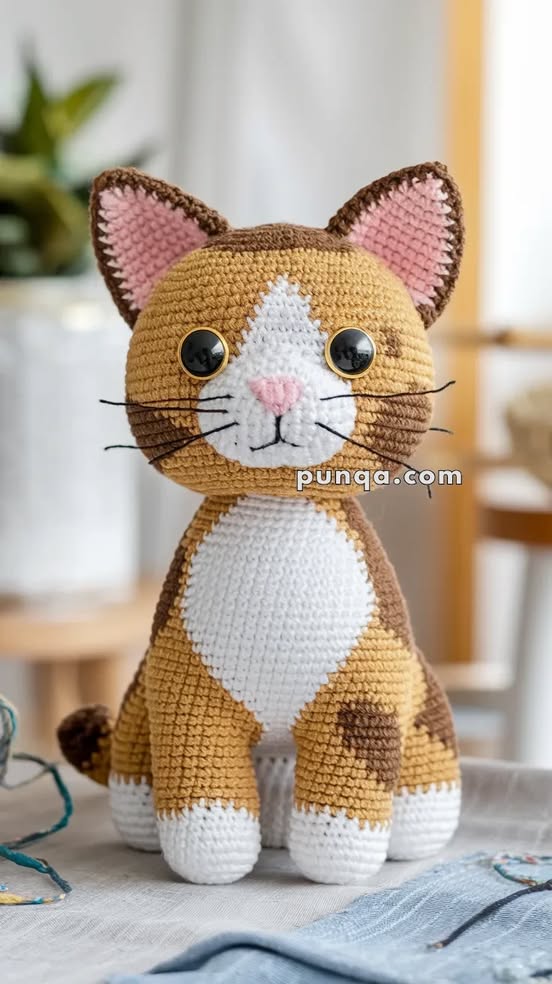
If you’ve ever wanted to bring a classic cartoon character to life through crochet, then this Amigurumi Tom Cat – FREE Crochet Pattern is the perfect project for you.
Inspired by the beloved feline from the famous duo, this pattern is designed to help crafters of all skill levels create a charming and cuddly version of Tom Cat.
Whether you’re a longtime fan or just looking for a fun amigurumi project, this pattern is sure to capture your heart.
Using an Amigurumi Tom Cat – FREE Crochet Pattern allows you to explore creative techniques while making something familiar and nostalgic. This project combines basic amigurumi construction with character details, making it a great opportunity to improve your crochet skills while having fun.
Plus, the finished product makes a wonderful gift or collectible.
This article will walk you through everything you need to know to successfully complete this crochet project.
From materials to step-by-step instructions, customization ideas, and expert tips, you’ll have all the guidance you need. So grab your yarn and hook, and let’s start crafting your very own Amigurumi Tom Cat!
Before starting your Amigurumi Tom Cat – FREE Crochet Pattern, gather all the necessary materials. Having everything ready will help your project flow smoothly from start to finish.
Begin by choosing your yarn. For amigurumi, cotton or acrylic yarn works best because they create firm, durable stitches. Use medium-weight yarn in gray for Tom’s body, white for his belly and face details, and pink for the inner ears and nose.
You’ll also need a suitable crochet hook. A 2.5 mm or 3.0 mm hook is recommended to keep your stitches tight and prevent the stuffing from showing through. This size works well with worsted or DK-weight yarn.
To bring your Amigurumi Tom Cat to life, you’ll need black safety eyes. If you’re making this toy for a small child, embroidered eyes are a safer alternative.
Stuffing is essential to shape your plush character. Use polyester fiberfill to fill each part evenly, creating a soft but firm structure that holds its shape well.
Don’t forget the basic tools like a yarn needle for sewing parts together and scissors for cutting yarn. Stitch markers are also useful for keeping track of rounds, especially in continuous spiral patterns.
Lastly, you may want a bit of felt or embroidery thread to add facial features or additional expression. Small finishing details can elevate your final result and give your Tom Cat extra personality.
Now that your tools are ready, let’s dive into crocheting your Amigurumi Tom Cat – FREE Crochet Pattern. This pattern is made in parts and then assembled for a complete character look.
Start with the head. Begin with a magic ring and work in the round using single crochet stitches. Increase gradually to shape the head into a sphere. Before closing the head, insert safety eyes and stuff it evenly.
Move on to the body, which is shaped like a larger oval. It’s important to keep your tension tight and consistent to maintain a clean look. Work the body from the bottom up, stuffing as you go to ensure a firm, cuddly finish.
Next, crochet the ears. These are small triangle shapes worked in rows. Make two outer ears in gray and two smaller inner ears in pink, then sew them together before attaching them to the top of the head.
Create the arms and legs by crocheting tubes, slightly flattened at one end. Stuff them lightly and sew them securely to the sides of the body. Positioning is key—make sure everything is symmetrical.
Don’t forget Tom’s signature long tail! The tail is worked in a slim, curved tube that can be lightly stuffed and sewn to the back of the body. You can shape the tail while sewing to give it a bit of movement.
Once all pieces are crocheted, it’s time for assembly. Use your yarn needle to carefully sew the head to the body, followed by the limbs, ears, and tail. Finish by embroidering Tom’s signature facial expressions to bring your character to life.
One of the most enjoyable aspects of using an Amigurumi Tom Cat – FREE Crochet Pattern is adding your own creative flair. Customizing your plush character makes it unique and personal.
Start with color variations. While gray is traditional for Tom Cat, you can try different shades like blue-gray, black, or even pastel tones for a whimsical version. Mix and match yarns for a playful, textured effect.
Add extra facial expressions. Use embroidery to give Tom different moods—make him smiling, curious, or even surprised. A simple tweak in the eyebrow or mouth shape changes the whole character.
Accessorize your amigurumi. Consider crocheting a tiny bow tie, a collar with a tag, or even a little fish toy to go with your Tom Cat. These extras add charm and storytelling to your piece.
Make Tom stand out with patterns. Try adding stripes or spots using surface slip stitches or color changes. You can even design a themed version like “Tom the Super Cat” with a cape!
Adjust the size of your project. Use thinner yarn and a smaller hook for a miniature Tom, or go big with chunky yarn for an oversized plushie. This versatility makes it perfect for all kinds of displays or gifts.
Finally, make it personal. Add initials or a name tag on Tom’s collar. If giving it as a gift, including a special message or date can turn it into a treasured keepsake.
Creating a great Amigurumi Tom Cat – FREE Crochet Pattern is all about patience, technique, and attention to detail. These tips will help you get the best results.
Use tight stitches. Amigurumi should have a solid, gap-free fabric. If you see holes or stuffing peeking through, go down a hook size or adjust your tension.
Always count your stitches. Since amigurumi is worked in the round, losing track of your stitch count can throw off the shape. Use a stitch marker or write down your progress.
Stuff your project gradually. Don’t overstuff or understuff. Aim for even pressure, especially in the head and body, to maintain proper proportions and avoid lumps.
Pin pieces before sewing. This helps you position each part correctly. Adjust as needed before final attachment to avoid a crooked or unbalanced look.
Practice your embroidery. Tom’s expression is key to capturing his character. Sketch it out first or look at references to replicate his cartoon charm.
Lastly, take breaks! Crocheting small pieces can be tiring on your hands. Enjoy the process and don’t rush. The joy of amigurumi lies in the journey just as much as the result.
Q: Is this pattern beginner-friendly?
A: Yes, the pattern uses basic stitches and is ideal for beginners who want to learn amigurumi techniques while creating a fun character.
Q: What type of yarn should I use?
A: Medium-weight cotton or acrylic yarn is recommended for durability and structure. Choose gray, white, and pink for a classic Tom Cat look.
Q: Can I make this pattern in different sizes?
A: Absolutely. Adjust the yarn weight and hook size to make smaller or larger versions of Tom Cat.
Q: How do I attach the parts securely?
A: Use a yarn needle and sew each part with tight, even stitches. Pinning the parts in place before sewing helps ensure proper alignment.
Q: Are there any safety concerns for children?
A: Yes. For small children, use embroidered features instead of plastic safety eyes, and double-check that all parts are sewn securely.
Q: Can I sell finished products made from this pattern?
A: Most free patterns allow you to sell finished items, but be sure to credit the original designer and check any licensing notes included in the pattern.
With the Amigurumi Tom Cat – FREE Crochet Pattern, you can bring a piece of animation history to life in a cozy, handmade way. From preparing materials and following the steps to personalizing your plushie and finishing with flair, this project is both fun and rewarding.
Whether you’re making this as a gift, a keepsake, or a cute addition to your amigurumi collection, Tom Cat is sure to become a favorite. You’ve now learned how to crochet each part, assemble your creation, and customize it with confidence.
We’d love to hear how your project turned out! Leave a sincere comment below sharing your experience, suggestions, or ideas for other character patterns you’d like to see. Happy crocheting!


