
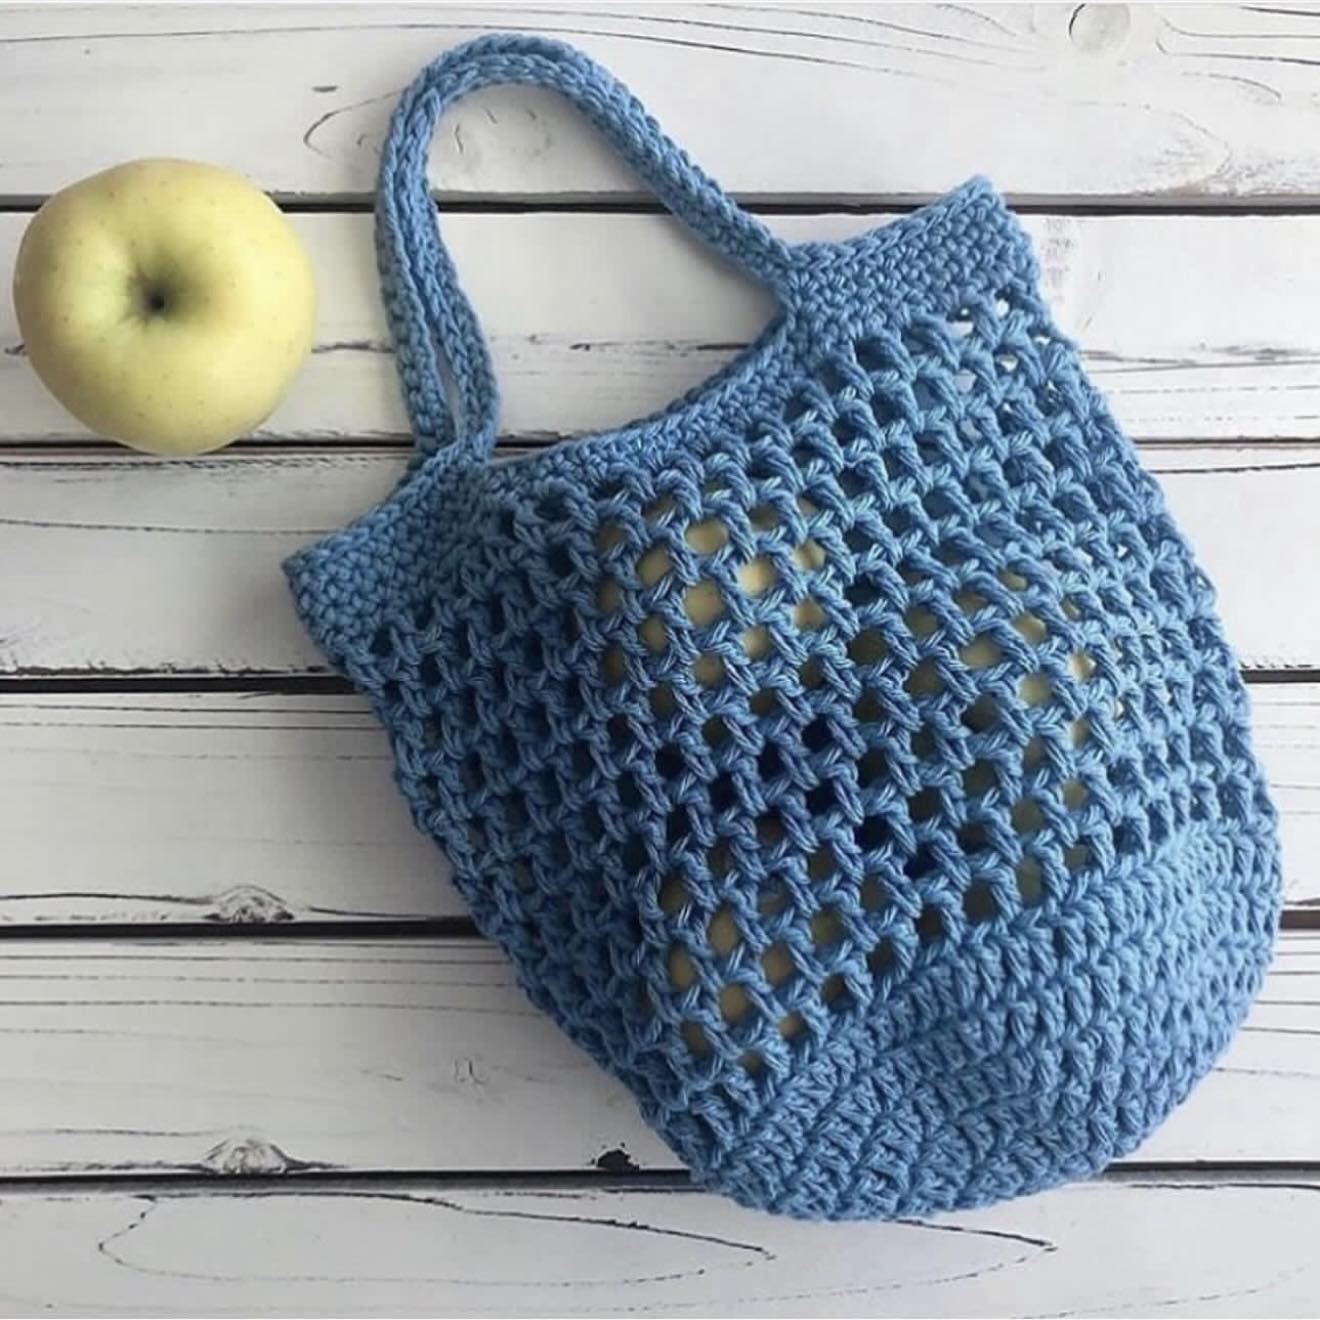
If you’re looking for a charming and practical project to brighten your kitchen or gift basket, this Apple Sack – Crochet Pattern is the perfect solution. Designed to hold apples or other small fruits, this adorable crochet sack is not only functional but also decorative.
Whether you’re new to crochet or have years of experience, this project is fun, quick, and a fantastic way to use up leftover yarn.
The Apple Sack – Crochet Pattern is ideal for eco-friendly crafters who enjoy creating reusable items for their home. You can hang this little sack in your kitchen, use it for picnics, or gift it to someone who appreciates handmade goodness.
Its apple-inspired shape makes it appealing for autumn decor, teacher gifts, or simply adding a pop of color to your daily routine.
In this guide, you’ll find everything you need to make your own apple sack. From materials and step-by-step instructions to customization ideas and helpful tips, this tutorial will walk you through each part of the process. With a humanized and encouraging tone, you’ll feel confident from your first chain to the last stitch.
1. Materials You’ll Need for the Apple Sack
Before diving into the Apple Sack – Crochet Pattern, make sure you have the right tools and materials to get started. Choosing the correct supplies can make a big difference in how your finished project looks and feels.
Start with yarn. For this pattern, 100% cotton yarn is a great choice because it’s sturdy, washable, and holds its shape well. Go with red or green for the main sack, and brown or dark green for the stem and leaf for an authentic apple look.
Use a crochet hook that matches the yarn weight. For worsted weight cotton yarn, a 4.0 mm or G hook works best. This creates tight stitches that give your apple sack a solid structure, especially important if you plan to carry small items in it.
You’ll need a yarn needle for weaving in ends and stitching parts together. This will help you finish your project neatly and securely. Also, keep scissors on hand for trimming yarn after sewing.
A stitch marker is useful for keeping track of rounds, especially since this project is worked in continuous spirals. This helps maintain the shape and makes sure your apple sack stays symmetrical.
Polyester fiberfill is optional, but you may want to lightly stuff the stem or the base of the sack for more structure. However, the main body should remain unstuffed so it remains functional as a container.
Lastly, consider adding a small button or drawstring if you’d like to close the sack. This extra touch can make your project more versatile and secure.
2. Step-by-Step Apple Sack Construction
Now let’s break down how to actually crochet your Apple Sack – Crochet Pattern. The sack is worked from the bottom up in the round, and then finished off with a leaf and stem for the full apple effect.
Begin by creating a magic ring and crocheting the base of the sack in increasing rounds. Use single crochet stitches to build a circular shape, gradually expanding your stitch count to form the bottom of the apple.
Once the base is complete, continue crocheting in the round without increasing. This forms the sides of the apple sack. Use tight, consistent tension to ensure your sack holds its shape and isn’t too floppy.
To give your sack that classic apple look, add a slight decrease in the final rows. This will narrow the top opening slightly, helping the bag resemble an apple and keeping contents secure.
For the stem, crochet a short cylinder in brown yarn using single crochet stitches. This piece is made separately and then sewn to the top center of the sack. Be sure to attach it securely so it can handle being grabbed or hung.
Next, crochet a small leaf using green yarn. This is usually done with chain stitches and single crochet in rows or rounds. Once your leaf is complete, stitch it next to the stem to finish the apple design.
At this point, you can choose to add a drawstring or button closure. If using a drawstring, weave it through the final round and tie it in a bow. This is both functional and adds a cute rustic detail.
3. Creative Ways to Use Your Apple Sack
The beauty of the Apple Sack – Crochet Pattern is its versatility. While designed with apples in mind, this crochet creation can serve many purposes around the home or as a heartfelt gift.
In the kitchen, use your apple sack to store small fruits like apples, plums, or citrus. Hang it from a hook to save counter space while adding a touch of handmade charm to your decor.
For gifting, fill the sack with fresh fruit, candies, or even bath bombs and small soaps. It makes an excellent teacher gift or a thoughtful present for neighbors during the holidays or harvest season.
Craft lovers can use the sack to hold yarn scraps or crochet tools. It’s a stylish way to stay organized while keeping your crafting space colorful and cozy.
If you have little ones at home, this apple sack makes a sweet storage option for small toys, crayons, or even pretend play produce. The playful design is sure to spark their imagination.
Travelers might appreciate the apple sack as a reusable produce bag or a small tote for snacks and toiletries. It’s lightweight, washable, and easy to pack, making it a practical eco-friendly solution.
Lastly, use it purely for decoration. Hang it in your entryway, kitchen, or craft room to celebrate fall or to showcase your crochet talent. It brings warmth and creativity to any corner of your home.
4. Tips for Success and Customization
To make the most of your Apple Sack – Crochet Pattern, keep these helpful tips and customization ideas in mind. A few small adjustments can personalize your project and improve your overall results.
Maintain even tension throughout the project. Loose stitches may result in a saggy sack, while overly tight stitches can be hard to work with. Practice a few rows if needed before starting the actual sack.
If you’re a beginner, break the pattern into sections and take your time. Completing one part at a time helps avoid feeling overwhelmed and ensures each section is done neatly.
Don’t skip the finishing touches. Adding a stem and leaf transforms a simple round sack into an unmistakable apple. Embroider a little face if you want a kawaii-style version for kids.
Play with colors. Make a set of sacks in red, green, and yellow to resemble different apple varieties. Use variegated yarn for a unique twist or pastel tones for a springtime version.
Add texture by incorporating stitches like puff stitch or bobble stitch for the body. This can make the sack more decorative and adds visual interest to your finished product.
Lastly, don’t be afraid to resize the pattern. Use thinner yarn and a smaller hook for a mini apple sack, or go bigger for a tote-sized version. The core structure stays the same, so resizing is easy.
FAQ – Apple Sack – Crochet Pattern
Q: Is this Apple Sack pattern beginner-friendly?
A: Yes, the pattern uses basic stitches like single crochet and is worked in the round. It’s a great project for learning or practicing amigurumi-style construction.
Q: What type of yarn is best for the Apple Sack?
A: 100% cotton yarn is recommended because it’s durable, washable, and helps the sack maintain its shape.
Q: Can I use this pattern for items other than apples?
A: Absolutely! The apple sack can hold a variety of small items, including candy, small toys, bathroom essentials, or crafting supplies.
Q: How do I clean the finished sack?
A: If using cotton yarn, the sack can be gently hand-washed or machine-washed on a delicate cycle. Lay flat to dry to maintain shape.
Q: Can I sell the finished items I make from this pattern?
A: Yes, in most cases, you can sell finished products. Be sure to credit the original pattern designer if they request it, and do not sell or reproduce the pattern itself.
Q: What if I want a larger version of the apple sack?
A: You can simply use a thicker yarn and larger hook, or increase the number of rounds in the base and height of the sack. Just be sure to adjust the leaf and stem proportions as well.
Conclusion
Creating the Apple Sack – Crochet Pattern is a delightful way to bring color, creativity, and functionality into your crochet routine. From gathering materials and following the step-by-step guide to customizing your own unique design, this pattern is full of opportunity for personal expression and practical use.
Whether you’re crafting for yourself, gifting to a friend, or selling your handmade items, this apple sack offers charm and versatility. It’s a project you can complete in a short time but enjoy for a long time to come.
We’d love to know how your Apple Sack turned out! Leave your honest opinion and suggestions in the comments below. Sharing your experience helps others and builds a supportive community of crafters. Happy crocheting!


