
If you’re looking to combine practicality with handmade charm, the CROCHET FLOWER BAG WITH LINING AND CLOSURE WITH FLAPS IN NAUTICAL YARN is the ideal project.
This bag stands out for its sturdy structure, beautiful floral design, and functional lining with flaps. Perfect for everyday use or as a special gift, this bag shows how versatile crochet can be.
The CROCHET FLOWER BAG WITH LINING AND CLOSURE WITH FLAPS IN NAUTICAL YARN is a great project for those who already have some experience in crochet and want to level up their skills.
While the flower motifs are visually striking, the nautical yarn provides strength and durability, making this bag as functional as it is stylish.
In this article, you’ll learn step-by-step how to create this beautiful accessory. We’ll walk through the materials needed, how to crochet the flower motifs, how to assemble the bag with a lining, and how to attach the flap closure. With patience and creativity, you’ll be proud to carry your handmade bag anywhere.
1. Materials and Tools for the Crochet Flower Bag
To begin your CROCHET FLOWER BAG WITH LINING AND CLOSURE WITH FLAPS IN NAUTICAL YARN, gather all the necessary supplies. Good preparation ensures a smoother and more enjoyable crochet experience.
The star of this project is nautical yarn, known for its strength and durability. It has a slightly shiny finish and is great for structured pieces like bags. Choose your favorite colors—one for the base and others for the flower motifs.
You’ll need a crochet hook suitable for your yarn size. Typically, a 4mm or 5mm hook works well with nautical yarn. A smaller hook creates tighter stitches, ideal for maintaining the shape of your bag.
Don’t forget scissors and a tapestry needle for weaving in the ends. Stitch markers are optional but helpful to keep track of your rounds or motifs while assembling.
For the lining, choose a cotton fabric in a matching or contrasting color. This helps protect the inside of the bag and adds a professional finish. You’ll also need a sewing needle and thread or a sewing machine.
Lastly, for the closure with flaps, you can use magnetic buttons, snaps, or even handmade crochet buttons. These will keep your belongings safe while adding a decorative touch to your bag.
2. How to Crochet the Flower Motifs
The most eye-catching part of the CROCHET FLOWER BAG WITH LINING AND CLOSURE WITH FLAPS IN NAUTICAL YARN is its floral design. These flower motifs add personality and are surprisingly easy to make.
Start by creating a magic ring and crocheting into it. Most crochet flowers begin with a central circle, where you’ll work your petals in the round using double or treble crochets. Use a vibrant color for the flower and a neutral base for contrast.
Each motif usually takes a few rounds. Begin with the center, then build out the petals. Keep your tension even, and make sure each petal is the same size for a uniform look. Repeat this process until you have enough flowers to cover the size of your desired bag.
Once your motifs are complete, block them if necessary to help flatten and define the petals. This step is optional but recommended for a cleaner result.
Next, arrange your flower motifs on a flat surface. Play with placement until you’re happy with the layout. Then, crochet or sew them together to form panels—the front and back of your bag.
After joining your motifs, you’ll want to crochet a border around the joined squares. This helps solidify the shape and prepares the edges for assembly.
Remember to weave in all your ends neatly. This adds to the strength of the piece and gives it a polished finish. Take your time—this step is worth the effort!
3. Assembling the Bag with Lining and Flaps
With your flower panels ready, it’s time to assemble your CROCHET FLOWER BAG WITH LINING AND CLOSURE WITH FLAPS IN NAUTICAL YARN. This part turns your decorative crochet into a fully functional accessory.
Start by crocheting or stitching the side and bottom panels using nautical yarn. These solid sections give the bag structure and connect the front and back floral panels.
Once you’ve joined the main body of the bag, measure and cut your lining fabric to fit inside. The lining should match the dimensions of your bag and include an allowance for seams.
Sew the lining pieces together, and if you’d like, add an inner pocket for keys or small items. Once finished, insert the lining into the bag and secure it with fabric glue or by hand-stitching along the top edge.
Now it’s time to create the closure with flaps. Crochet a rectangular flap piece that matches the width of the bag. This piece will fold over the opening to keep your belongings secure.
Attach the flap to the back panel of the bag using single crochet stitches or by sewing. Add a snap or button to the front for a complete closure system.
Optional but lovely additions include a strap or handles. You can crochet a strap using tight stitches for durability or attach metal rings and a premade handle for a modern look.
4. Personalizing and Styling Your Bag
Once your CROCHET FLOWER BAG WITH LINING AND CLOSURE WITH FLAPS IN NAUTICAL YARN is complete, consider how you want to personalize and style it. This is where your creativity really shines.
You can decorate the flap with embroidered initials or a charm. Personal touches like these make your bag one-of-a-kind and perfect as a gift.
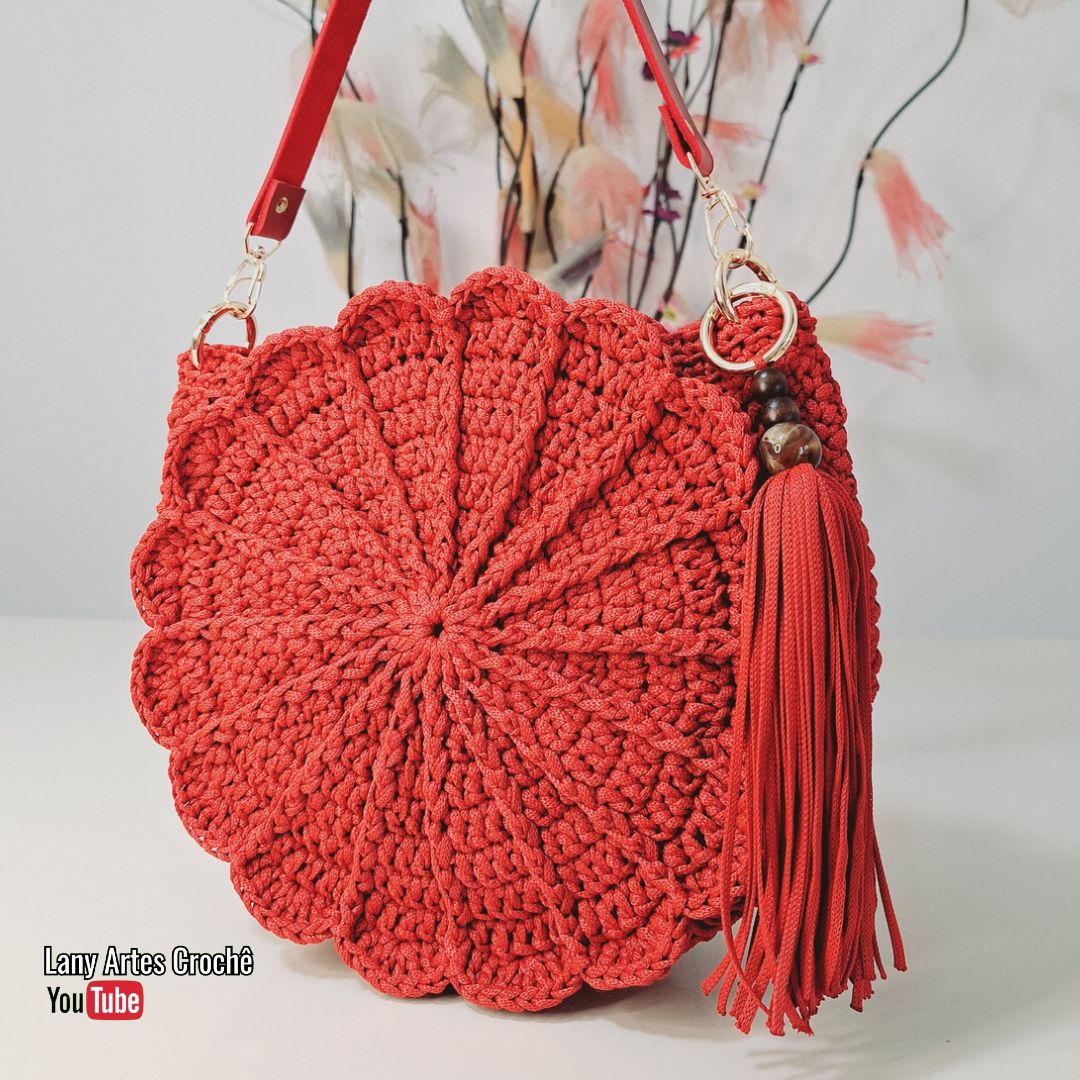
Add fringe, beads, or tassels to the sides or bottom for a boho look. Nautical yarn is sturdy enough to hold embellishments without sagging.
Use different flower styles or yarn textures for unique visual contrast. Try mixing pastel flowers with a bold background for a modern twist.
You can also size the bag up or down depending on your needs. Make a mini version as a clutch or enlarge it for a roomy market tote.
Style it with your favorite outfits—this bag goes well with casual summer dresses, beachwear, or even jeans and a tee. It’s both stylish and functional.
Don’t forget to care for your bag properly. Spot clean it gently with a damp cloth and avoid soaking the yarn. This helps maintain its shape and appearance over time.
FAQ – Frequently Asked Questions
1. Is the CROCHET FLOWER BAG WITH LINING AND CLOSURE WITH FLAPS IN NAUTICAL YARN suitable for beginners?
This project is best for intermediate crocheters. Basic knowledge of crochet stitches and simple sewing is recommended.
2. What is nautical yarn and why is it used in this project?
Nautical yarn is a strong, synthetic cord-like yarn ideal for durable items like bags. It holds shape well and resists wear.
3. Can I wash this crochet bag?
Yes, but gently. Spot clean with a damp cloth. Avoid machine washing, as it may distort the shape and lining.
4. How do I make the bag larger or smaller?
Adjust the number of flower motifs and panel sizes. You can also change the hook size or yarn thickness for different dimensions.
5. Do I need a sewing machine for the lining?
No. You can sew the lining by hand with a needle and thread. A machine just speeds up the process.
6. Can I use a different type of closure instead of flaps?
Yes. Magnetic snaps, zippers, or even drawstrings can work—customize it to your liking!
Conclusion
In this article, we’ve explored how to create a stunning CROCHET FLOWER BAG WITH LINING AND CLOSURE WITH FLAPS IN NAUTICAL YARN from start to finish. From choosing materials and crocheting the flower motifs, to assembling the bag and adding a personalized touch, this project offers both creativity and practicality.
This stylish, sturdy bag is a wonderful example of what crochet can do, especially when paired with durable nautical yarn and thoughtful design elements like flaps and lining. Whether for yourself or as a gift, this bag is sure to impress.
VIDEO TUTORIAL
We hope this guide inspired you to start your own crochet bag. Please leave your honest opinion and suggestions in the comments—your feedback helps us grow and improve our community of crochet lovers. Have you tried making a similar bag? Tell us about your experience!


