
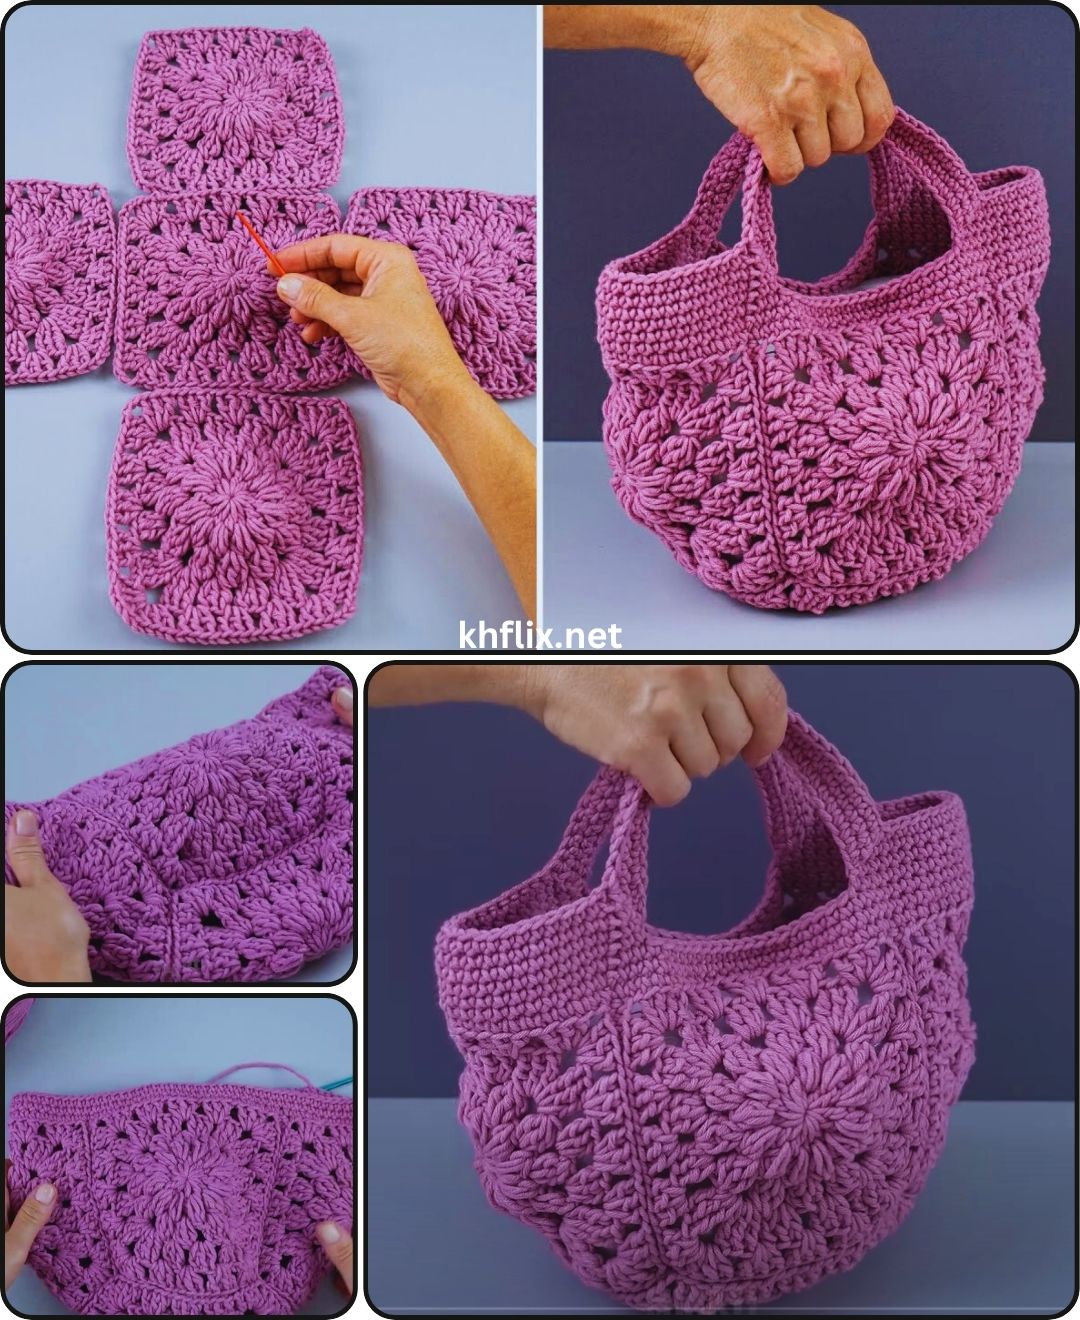
Looking for your first handmade bag project? This Easy Crochet Bag – Tutorial for Beginners is the perfect place to start.
With just a few basic stitches and some yarn, you’ll be able to make a beautiful, functional bag that you can use every day or give as a thoughtful gift.
Crocheting your own bag isn’t just rewarding—it’s also practical. You get to choose your colors, your style, and the size that fits your needs.
Whether you want a simple market tote, a stylish shoulder bag, or a small pouch for your essentials, this guide will walk you through every step.
In this tutorial, we’ll focus on a beginner-friendly crochet bag pattern that uses simple stitches and techniques. You don’t need advanced skills or fancy tools—just a hook, some yarn, and a little patience.
By the end, you’ll not only have a lovely bag to show off but also gain the confidence to explore even more crochet projects!
1. Why This Is the Perfect Bag Pattern for Beginners
This Easy Crochet Bag – Tutorial for Beginners was designed with simplicity and success in mind. If you’re just starting your crochet journey, this project will help you build skills while making something useful.
One of the best features of this pattern is its simplicity. You’ll be using basic stitches like single crochet (sc) and chain (ch), which are fundamental building blocks in crochet. These stitches are repetitive and easy to remember, making them great for beginners.
The construction of the bag is straightforward. You’ll be crocheting flat panels (like rectangles) and then seaming them together. No need to worry about shaping, complex techniques, or confusing instructions.
Additionally, the yarn and hook size are flexible. You can use medium-weight yarn (like worsted weight) and a 5mm or 5.5mm crochet hook, which are common tools many beginners already have.
Another great aspect is that the project is customizable. Want a longer strap? Make the chain longer. Need a deeper bag? Add more rows. You’re in control, and the pattern grows with your skills.
Finally, it’s a fun way to practice counting stitches, working evenly, and maintaining tension—all of which are key skills in every crochet project.
2. Materials and Tools You’ll Need
Before you dive into crocheting, gather the following materials to complete your Easy Crochet Bag – Tutorial for Beginners. These are all beginner-friendly and easy to find in most craft stores or online.
Materials:
- Worsted weight yarn (around 200–250g)
- Crochet hook size 5mm or 5.5mm (H-8 or I-9)
- Yarn needle (for weaving in ends)
- Scissors
- Optional: stitch markers and fabric lining
Choose a yarn that’s not too slippery or fuzzy. Cotton yarn is a great option because it’s durable, has good stitch definition, and holds its shape well.
If you’re using multiple colors, make sure the yarn weights match. Variegated yarns can also add an interesting effect without needing to change colors manually.
A yarn needle is used to neatly weave in the ends and join your pieces together. Stitch markers can help keep track of your rows, especially in the beginning.
Adding a fabric lining is optional but highly recommended if you want a sturdier bag or plan to carry small items that might slip through the crochet stitches.
Now that you have your supplies ready, it’s time to get crocheting!
3. Step-by-Step Crochet Bag Instructions
Let’s go step by step through the process of creating your Easy Crochet Bag. You’ll be making two rectangular panels and a long strap, then assembling the bag.
Step 1: Start the base panel
Chain 31 (or adjust based on the desired width of your bag).
Row 1: Single crochet (sc) in the second chain from the hook and across (30 stitches).
Row 2–40: Chain 1, turn. Single crochet across. Repeat this row until the panel measures the desired height.
Step 2: Make the second panel
Repeat Step 1 to make a second panel identical to the first. You now have the front and back of your bag ready.
Step 3: Create the strap
Chain 100–120 (depending on how long you want your strap).
Single crochet in each chain across. You can make the strap thicker by adding more rows.
Step 4: Assemble the bag
Place the two panels together, right sides facing out. Use single crochet stitches or a yarn needle to join the sides and bottom edges. Leave the top open.
Step 5: Attach the strap
Use a yarn needle or crochet it directly onto the upper corners of the bag. Make sure the strap is securely fastened and even on both sides.
Step 6: Finishing touches
Weave in all loose ends with your yarn needle. Block the bag lightly if needed to help it hold its shape.
And just like that—you’ve made your own easy crochet bag from start to finish!
4. Customize Your Crochet Bag
One of the best parts of following this Easy Crochet Bag – Tutorial for Beginners is how easy it is to customize the project to suit your personal taste and needs.
You can add a button closure by sewing a large wooden or decorative button and creating a loop with chain stitches. This adds functionality and style.
Change up the color scheme to match the seasons or your outfits. Stripes, color blocking, or even ombre effects are simple to achieve with basic color changes.
Want more texture? Try alternating rows of half double crochet or double crochet. Once you’re comfortable, you can experiment with beginner-friendly textures like the grit stitch or lemon peel stitch.
Add a fabric lining inside for a more professional finish. This will also prevent items from poking through or stretching the yarn.
You can even make matching accessories like a small coin purse or phone pouch using the same pattern in smaller dimensions.
As you gain more experience, try adding pockets, appliqués, tassels, or beads to make the bag uniquely yours!
FAQ – Easy Crochet Bag – Tutorial for Beginners
What size is the finished bag?
The finished size depends on how many stitches and rows you work. With 30 stitches and 40 rows, expect a bag about 9″ x 11″ (23cm x 28cm).
Can I use thicker or thinner yarn?
Yes! Just adjust your hook size to match the yarn and expect a different texture and size. Bulky yarn makes a chunkier bag, while thinner yarn results in a more delicate look.
Is lining the bag necessary?
Not at all! But a lining does make the bag more durable and prevents small items from falling out. You can sew a simple rectangle of fabric and glue or stitch it in place.
How long does it take to complete this project?
For most beginners, this bag takes 3–5 hours total. It depends on your speed and whether you add extras like a lining or closure.
Can I machine wash the bag?
If using cotton or acrylic yarn, yes! Just check the yarn label. For lined bags or those with decorations, hand washing is safer.
Is this project suitable for kids or teens?
Absolutely! With adult supervision, it’s a fun way to introduce kids or teens to crochet through a simple, creative, and useful project.
Conclusion
Congratulations! By following this Easy Crochet Bag – Tutorial for Beginners, you’ve taken a big step in your crochet journey. You’ve not only made a beautiful handmade bag, but you’ve also learned key crochet skills that you can apply to countless other projects.
Crocheting is more than just crafting—it’s relaxing, empowering, and a great way to create personalized items for yourself or your loved ones. This beginner-friendly bag is proof that you don’t need complicated patterns or advanced techniques to make something amazing.
VIDEO TUTORIAL
If you tried this tutorial, let us know in the comments! Did you add your own style? Would you like to see more beginner-friendly bag patterns? Your opinion and suggestions help our community grow, and we love to celebrate your creativity.


