
The classic Granny Square Variation – Use it for Thousands of Projects is one of the most beloved patterns in the world of crochet. Simple, versatile, and endlessly adaptable, this design has been a favorite of crafters for generations.
Whether you’re a beginner or an experienced crocheter, mastering variations of the granny square opens up an entire universe of creative possibilities.
From cozy blankets to chic bags, baby clothes, shawls, and even home decor, the Granny Square Variation – Use it for Thousands of Projects can be the foundation of just about any crochet project.
Its adaptability is unmatched—you can mix colors, change sizes, alter stitches, and assemble pieces in unique ways to suit your personal style.
In this article, we’ll dive deep into how you can make the most out of this timeless pattern. We’ll explore different techniques, ideas, and inspiration for using granny square variations in a modern and meaningful way. Whether you’re creating for yourself or as heartfelt gifts, these ideas will spark your imagination.
1. Understanding the Basics of Granny Square Variations
Before you explore the endless design possibilities of the Granny Square Variation – Use it for Thousands of Projects, it’s essential to understand what makes this pattern so magical. The original granny square consists of clusters of double crochet stitches arranged in a square shape, worked in rounds.
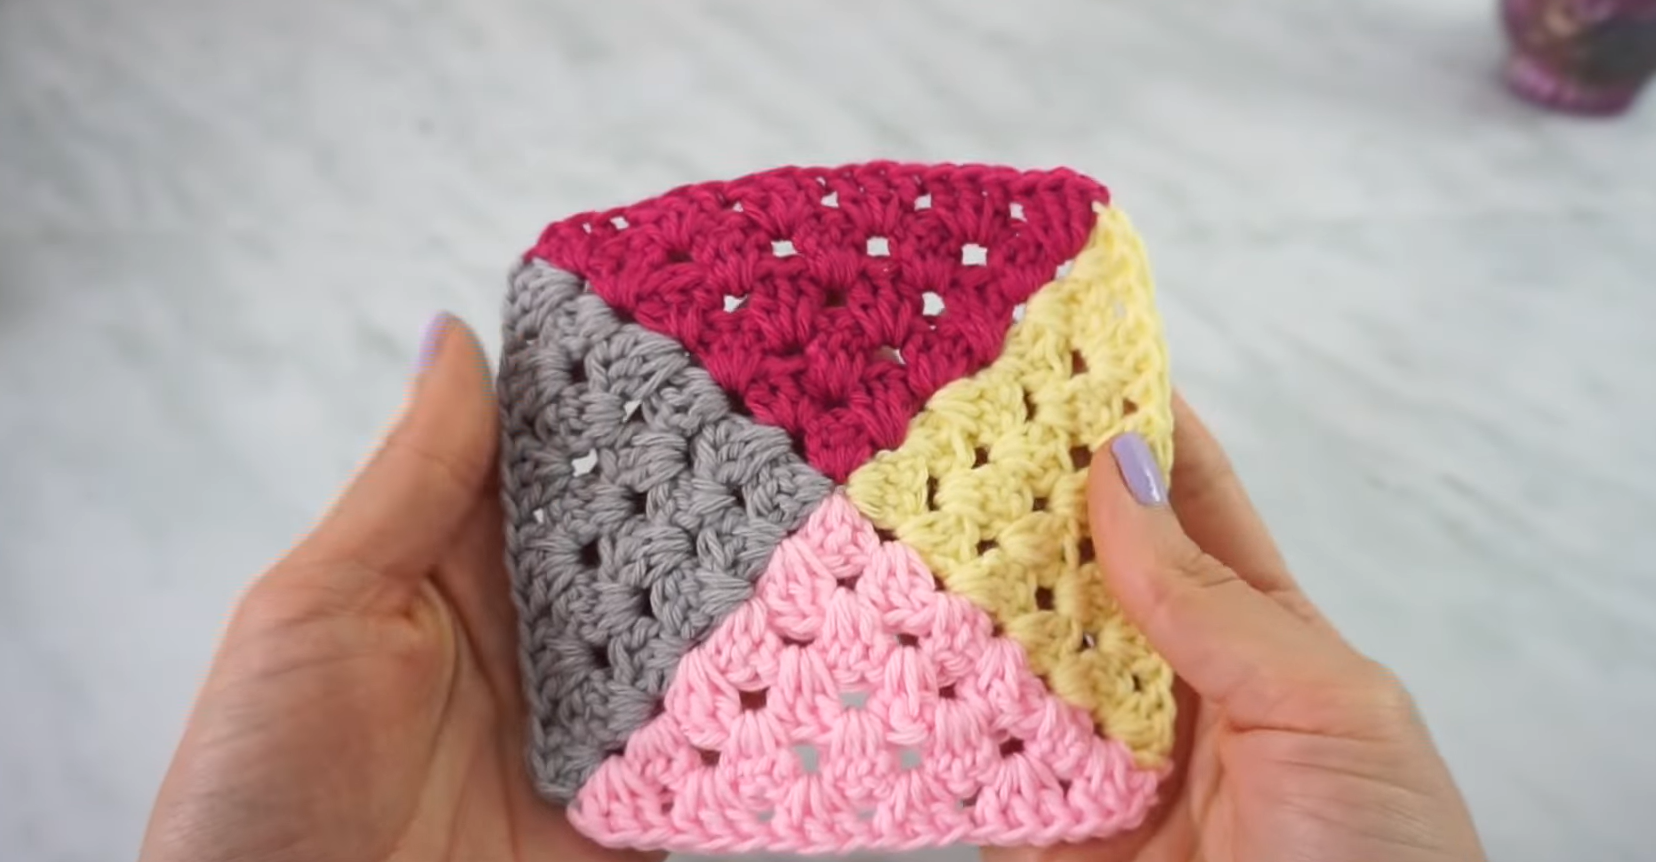
Granny square variations can include changes in color placement, stitch type, row configuration, or center shape. You might encounter floral centers, starburst patterns, or even geometric twists. Each variation has its own personality and application.
Some granny square patterns are dense and warm, perfect for winter blankets. Others are light and lacy, making them ideal for spring and summer garments. Choosing the right variation helps align your project with its intended use.
You can experiment by using different yarn textures and hook sizes. For instance, a chunky yarn with a large hook creates a bold statement piece, while fine cotton yarn delivers delicate, detailed results.
What makes granny squares truly magical is their modular nature. You can create a single square or assemble dozens into one cohesive masterpiece. Their flexibility makes them perfect for scrap yarn projects or color-coordinated designs.
To get started, practice the basic construction of one or two variations. Once you’re comfortable, you’ll be able to mix and match with confidence and creativity.
2. Creative Project Ideas Using Granny Square Variations
One of the biggest advantages of the Granny Square Variation – Use it for Thousands of Projects is the sheer variety of items you can make. A single square can evolve into countless finished pieces with just a little imagination.
Blankets are the most common and beloved granny square project. Mix different square styles and colors for a vibrant patchwork effect, or keep things minimalistic with solid tones and identical designs.
Tops and sweaters are popular fashion items made using granny square variations. Crocheters join multiple squares together to form panels for stylish and breathable clothing.
Bags and totes look stunning when made from bold granny square patterns. Whether it’s a boho-style shoulder bag or a structured market tote, squares provide strength and design flair.
Home decor like pillow covers, curtains, table runners, and even lampshades can all benefit from the charm of granny squares. They add warmth, texture, and a handmade touch to any living space.
Don’t overlook accessories like headbands, scarves, and belts. Small squares are perfect for quick projects that make a big impact. Add buttons, beads, or fringe for extra personality.
Lastly, baby clothes and toys crafted with granny squares are always appreciated. Booties, bonnets, blankets, and stuffed animals made with love are treasured keepsakes that bring joy to little ones and their families.
3. Tips for Mixing and Matching Granny Square Styles
One of the joys of working with the Granny Square Variation – Use it for Thousands of Projects is the ability to mix styles. Combining different variations requires some planning but results in a truly custom piece.
Start by choosing a consistent yarn weight and hook size. Even though the designs differ, having similar square sizes makes assembly easier and ensures your final piece lies flat.
Use a color scheme to unify your work. Even wildly different squares can feel cohesive when created in a shared palette of two or three coordinating colors.
Try alternating solid squares with more intricate or openwork ones. This helps balance the texture and adds visual interest without making the project feel too busy.
Layout planning is key. Before sewing or crocheting the squares together, arrange them on a flat surface. This allows you to move pieces around until you find a pattern that feels harmonious.
Don’t be afraid to incorporate borders or join-as-you-go techniques. Adding borders in a neutral color can help frame your work and create clean transitions between square styles.
Lastly, keep your ends neat and weave them in as you go. With multiple squares, loose ends can pile up quickly, and tidying them early will save you a lot of time and stress.
4. Bringing Your Granny Square Projects to Life
Once you’ve completed your squares, the final stage is assembling and finishing your project. This step is just as important as the stitching—it brings your vision to life.
You can join squares using a variety of methods: whip stitch, slip stitch, single crochet, or even invisible seaming. Each method creates a different look and texture between the squares.
Blocking is a helpful technique, especially for wearable items or home decor. Blocking evens out the shape and size of each square, making the final assembly neater and more professional.
Consider adding embellishments after assembly. Simple things like buttons, tassels, or embroidery can enhance the character of your finished piece.
Always check that your joins are secure, especially for projects that will be handled frequently, like bags or baby blankets. Reinforce weak points with a few extra stitches if necessary.
Finishing touches like edging can give your project polish. A scalloped or picot edge around a blanket or top adds elegance and detail, tying everything together beautifully.
Celebrate your accomplishment! Take time to appreciate what you’ve created. Whether it’s a gift or a personal item, it’s something unique that didn’t exist before your hands made it.
Frequently Asked Questions (FAQ)
What is a granny square variation?
A granny square variation is a creative adaptation of the traditional granny square pattern, involving changes in stitches, colors, shapes, or motifs.
Can beginners make granny square variations?
Yes! Many variations are beginner-friendly. Start with the basics and gradually experiment with new styles as you become more confident.
What can I make with granny square variations?
You can create blankets, bags, garments, accessories, and home decor items—literally thousands of projects using granny square variations.
How do I connect granny squares neatly?
Use methods like whip stitch, slip stitch, or single crochet to join squares. Blocking and careful planning help ensure a tidy finish.
Can I use different yarns in one project?
Yes, but make sure the yarns are similar in weight and texture. Consistency in size and feel will help your project look cohesive.
Do I need to block granny squares?
Blocking isn’t required but is highly recommended. It helps squares hold their shape and makes assembly much easier and more precise.
Conclusion
The Granny Square Variation – Use it for Thousands of Projects is a celebration of creativity, tradition, and personal expression. From simple to complex, subtle to bold, the granny square continues to be one of the most cherished and flexible motifs in crochet.
In this article, we explored how to master the basics, get inspired by endless project ideas, mix and match square styles, and bring your unique pieces to life with professional finishing techniques.
VIDEO TUTORIAL
We hope you feel encouraged to try your own granny square creations and see where your imagination takes you. If this guide helped you, please share your opinion and leave suggestions for future tutorials in the comments. Your feedback helps build a vibrant, helpful crafting community!


