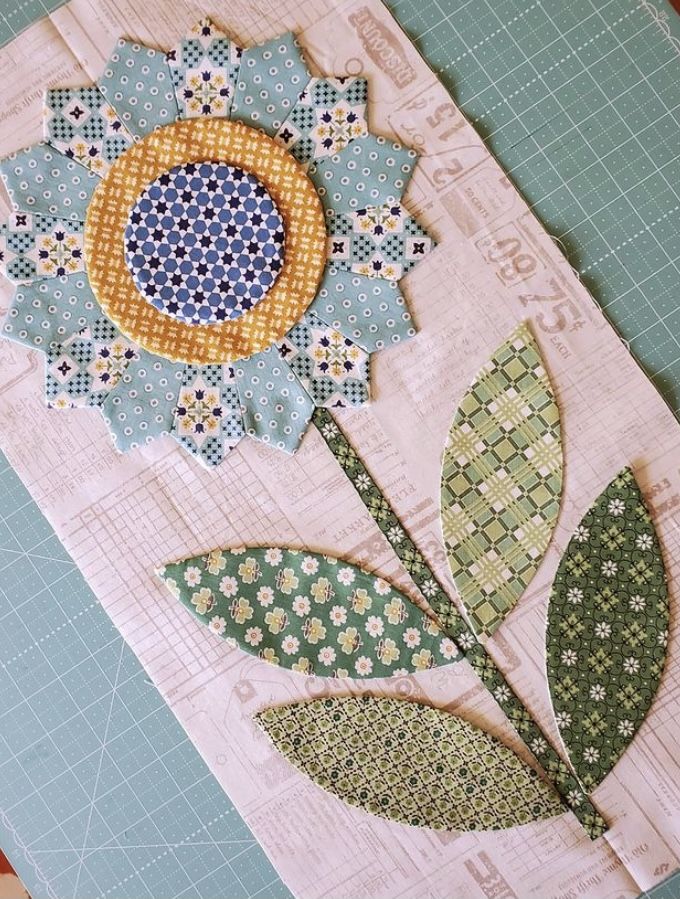
Flea Market Flowers - Quilt Pattern

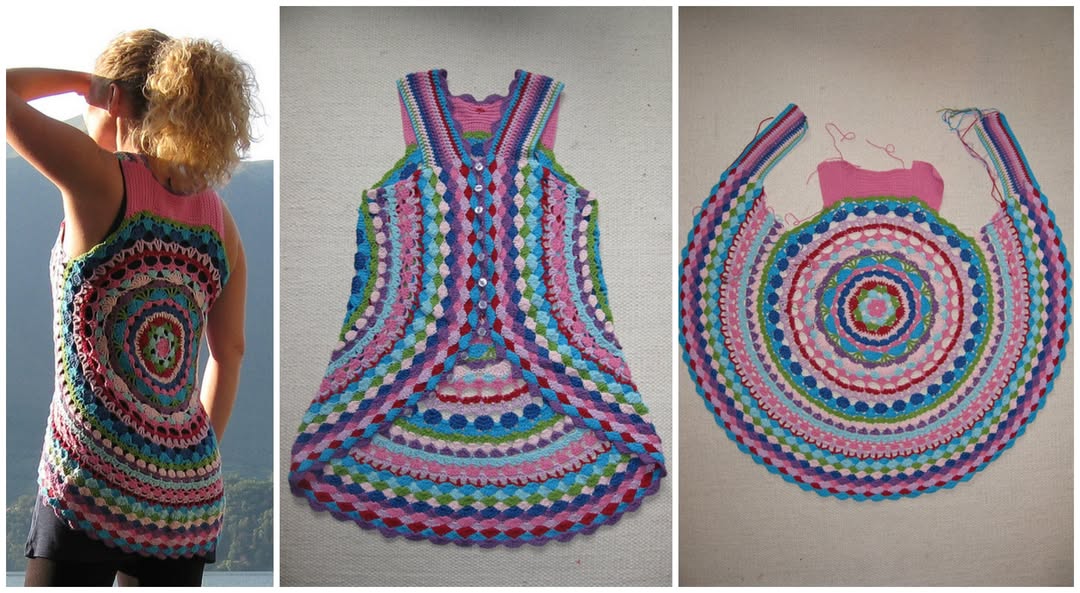
Step into retro style and handmade charm with this delightful Crochet Flower Power Vest – Free Pattern. This colorful, floral-inspired vest brings a fun and bohemian touch to any wardrobe, and the best part? It’s completely free!
Whether you’re crafting for yourself or gifting a loved one, this project offers both creativity and fashion in one.
The Crochet Flower Power Vest – Free Pattern is designed for makers who love texture, vibrant colors, and timeless flower motifs. It’s an ideal project for intermediate crocheters looking to create a garment that’s both expressive and wearable.
Using granny squares, simple shaping, and clever joining techniques, you can make a vest that fits beautifully and turns heads.
In this article, we’ll walk you through the key steps to make your own vest using this Crochet Flower Power Vest – Free Pattern, including materials, construction techniques, styling ideas, and customization options. Let’s jump into this groovy journey and bring back the flower power vibe through crochet!
Before starting your Crochet Flower Power Vest – Free Pattern, it’s important to gather the right materials to ensure success and satisfaction with the final piece. Choosing quality supplies can make a big difference in both the process and outcome.
The best yarns for this vest are worsted weight or DK weight. Cotton and cotton blends are excellent options for a breathable, structured finish. Acrylic yarns also work well, especially for those who prefer vibrant colors and easy care.
You’ll need at least five to seven colors to create the iconic flower motif squares. Think sunny yellows, soft pinks, bold oranges, and classic greens to bring that ‘70s flair to life. Neutral tones for joining, like cream or white, help tie the palette together.
A 4.0 mm or 4.5 mm crochet hook is typically ideal for this pattern. Be sure to make a swatch to check your gauge if you’re concerned about fit. The right hook size keeps your stitches even and your squares flat.
Other essential tools include scissors, a yarn needle for sewing in ends, and stitch markers to help with assembly. Optional items like blocking pins and a blocking board can enhance the vest’s shape.
Having your materials organized and ready will make working through this Crochet Flower Power Vest – Free Pattern much smoother and more enjoyable.
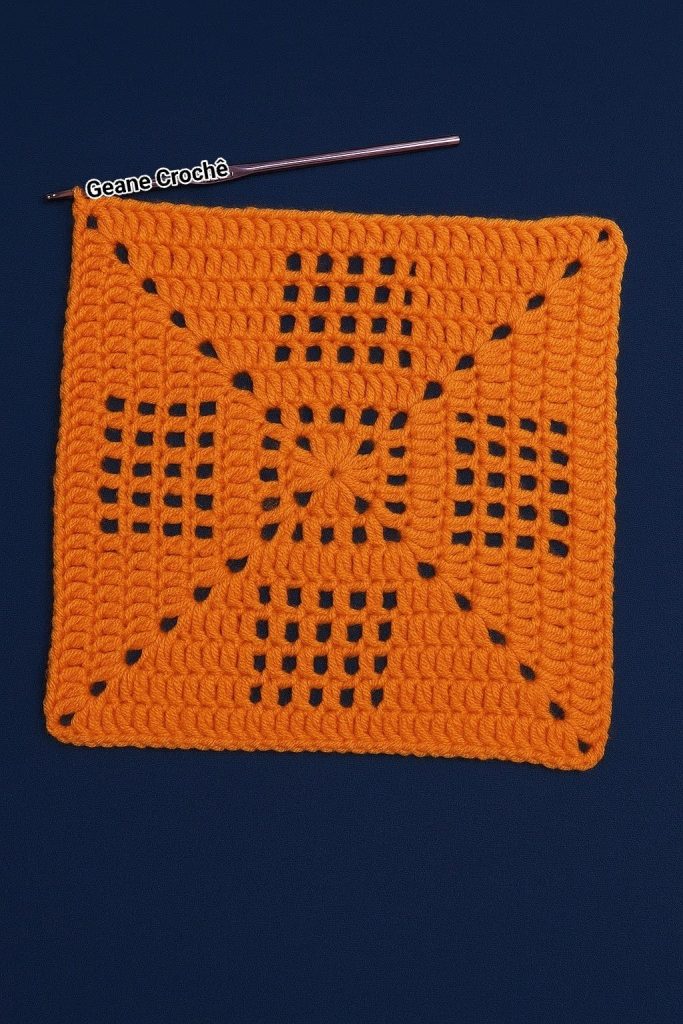
The heart of the Crochet Flower Power Vest – Free Pattern lies in the granny squares, each designed to resemble a cheerful flower in bloom. These motifs are fun to make and easy to memorize, making it an excellent project to work on in pieces.
Each flower square begins with a magic ring or chain loop as the center. Use your first yarn color to crochet a small circle using basic stitches like double crochet or treble crochet, depending on your pattern.
The second round introduces the petal shapes. This is where you can get creative with color. Petals are usually created using clusters of stitches and give the square its signature floral appearance.
Next, you’ll square off the circle by crocheting corners and sides around the petals. Use a neutral or matching background color to create a balanced frame for each motif. The squares should be uniform in size for easier joining later.
Make the required number of squares based on your vest size. Typically, you’ll need between 24 and 40 squares. Lay them out in your desired arrangement before joining them together.
The joining process can be done using slip stitch, single crochet, or sewing with a yarn needle. Whichever method you choose, be consistent for a polished look across your Crochet Flower Power Vest – Free Pattern.
Once your squares are assembled, weave in all the ends and prepare for the final shaping and edging.
Once your squares are ready, it’s time to turn them into a functional and flattering garment. The Crochet Flower Power Vest – Free Pattern offers flexibility in size and fit through layout and joining methods.
Start by arranging the squares into panels for the front and back of the vest. You’ll usually create two vertical panels for the front and one wider panel for the back. Make sure to align your squares so that the flowers and colors are balanced.
Join the shoulder seams first by connecting the top corners of the front and back panels. This creates the base of your vest’s neckline and ensures everything is symmetrical.
Next, join the side seams, leaving enough space for the armholes. Try on the vest as you go to ensure a comfortable fit. You can adjust the armhole width by changing the number of squares or their placement.
Add ribbing or borders to the armholes, neckline, and bottom edge using single crochet or half double crochet stitches. This creates a clean finish and helps the vest hold its shape.
Some makers prefer to add a tie or button closure in the front for added style and functionality. A simple chain tie or decorative button can complete the vest’s look.
Finally, block your finished vest gently with steam or a damp cloth to even out the stitches and give it a professional finish. Your Crochet Flower Power Vest – Free Pattern is now ready to wear!
Now that your Crochet Flower Power Vest – Free Pattern is complete, it’s time to have fun styling it! This vest is as versatile as it is beautiful, and it can be dressed up or down for any season.
Pair your vest with jeans and a white T-shirt for a casual daytime outfit. The colorful flower motifs will add instant charm and personality to any simple look.
For a boho festival vibe, layer your vest over a flowy maxi dress or skirt. Add sandals and chunky jewelry to complete the retro-inspired ensemble.
During cooler months, the vest works well over long-sleeved tops or even light sweaters. The layering effect keeps you warm while still showing off your handmade masterpiece.
Consider using different yarn types to create unique versions of the same pattern. A pastel vest with lightweight cotton yarn is perfect for spring, while a darker, cozy version in wool is ideal for fall.
You can also embellish your vest with fringe, beads, or embroidery to truly make it your own. The pattern is just the beginning—your creativity brings it to life.
The Crochet Flower Power Vest – Free Pattern isn’t just a garment—it’s a canvas for your personality and style.
Q: Is this vest pattern beginner-friendly?
The pattern is best suited for intermediate crocheters, but adventurous beginners with experience in granny squares and joining can definitely give it a try.
Q: How many squares do I need for the vest?
It depends on the size you’re making. On average, you’ll need between 24 to 40 squares. Layout templates can help you determine the right number for your fit.
Q: Can I use any yarn for this pattern?
Yes, but worsted or DK weight yarn in cotton or acrylic is recommended for structure and comfort. Adjust your hook size based on the yarn thickness.
Q: Do I have to block the finished vest?
Blocking is optional but recommended. It helps even out your stitches, improves the drape, and gives your vest a more professional look.
Q: Can I make this vest in solid colors instead of floral squares?
Absolutely! You can modify the squares or even use solid granny squares for a different aesthetic while keeping the same construction.
Q: Is the pattern available in multiple sizes?
Yes, the Crochet Flower Power Vest – Free Pattern can be adjusted in size by adding or removing squares and modifying the panel layout.
We’ve explored everything you need to create your very own Crochet Flower Power Vest – Free Pattern, from materials and motifs to assembly and styling tips. This fun and fashionable project lets your creativity shine while celebrating the timeless appeal of crochet.
If you’ve tried this pattern, we’d love to hear from you! Please leave a sincere opinion or share your suggestions in the comments—your feedback helps build a community of crafters who inspire one another. Happy crocheting!