The Great Granny Square Pattern: A Comprehensive Guide is perfect for anyone who loves crochet and wants to create beautiful and timeless pieces. Granny squares are one of the most versatile crochet motifs, allowing for endless creativity in blankets, clothing, and home decor.
Whether you’re a beginner or an experienced crocheter, mastering the great granny square pattern will expand your crafting skills and open up new project possibilities.
One of the best things about the Great Granny Square Pattern is its simplicity and adaptability. You can mix and match colors, experiment with different yarn weights, and create intricate designs with ease.
With just a few basic stitches, you can produce a stunning piece that can be as traditional or modern as you like. This guide will take you through everything you need to know, from choosing materials to step-by-step instructions and creative variations.
In this comprehensive guide, we will cover the essential materials needed, detailed instructions for crafting a great granny square, variations to personalize your design, and expert tips for perfecting your technique. Let’s get started on this fun and rewarding crochet journey!
Materials Needed for the Great Granny Square Pattern
Before diving into the crochet process, it’s essential to gather all the materials required for the Great Granny Square Pattern. Having the right tools and supplies will ensure a smooth and enjoyable experience.
- Yarn Selection: Choose a high-quality yarn that suits your project. Cotton, acrylic, and wool yarns work well for granny squares. Thicker yarns create a cozier feel, while finer yarns provide a delicate look.
- Crochet Hook: Select a hook size that matches your yarn choice. Typically, a 4mm to 6mm hook works well for granny squares. Check the yarn label for recommendations.
- Scissors: A sharp pair of scissors is necessary for cutting yarn neatly and efficiently.
- Tapestry Needle: This needle will help weave in loose ends and finish your square neatly.
- Stitch Markers: While optional, stitch markers can be useful for keeping track of rounds, especially for beginners.
- Measuring Tape: Ensuring consistent sizing across multiple granny squares helps in creating a uniform final product.
Having these essential tools on hand will make crocheting the Great Granny Square Pattern a more enjoyable and hassle-free process.
Step-by-Step Instructions for Crocheting a Great Granny Square
Now that you have all the materials, let’s go through the step-by-step process of creating a Great Granny Square Pattern. Follow these instructions carefully for a flawless design.
- Start with a Slip Knot and Chain: Make a slip knot on your crochet hook and chain four stitches. Slip stitch into the first chain to form a loop.
- Create the First Round: Chain three (counts as the first double crochet), then make two more double crochets into the loop. Chain two, then work three double crochets into the loop. Repeat this process until you have four sets of three double crochets, separated by chain-two spaces. Slip stitch to close the round.
- Expand the Square: Start the next round by slip stitching into the nearest chain-two space. Chain three, then make two double crochets into the same space. Chain two, then work three more double crochets into the same space. Move to the next chain-two space and repeat the pattern.
- Continue Building the Granny Square: As you add more rounds, increase the number of double crochet groups along each side. Always work three double crochets into each chain-space and chain two at each corner.
- Adjusting Size: Continue crocheting rounds until you reach the desired size. Whether making small motifs or large blankets, you can easily adjust by adding or reducing rounds.
- Finishing Off: Once your granny square is complete, fasten off the yarn and weave in any loose ends using a tapestry needle for a clean finish.
By following these steps, you’ll have a beautifully crafted Great Granny Square Pattern that can be used for a variety of crochet projects.
Variations and Customization Ideas
The Great Granny Square Pattern can be customized in countless ways to suit your personal style. Here are some creative variations to try.
- Color Changes: Experiment with different color combinations to create unique patterns. Change yarn colors at the beginning of each round for a vibrant and colorful look.
- Textured Stitches: Incorporate textured stitches like popcorn or puff stitches to add dimension to your granny square.
- Adding Borders: A decorative border can enhance the final look of your granny square. Try a scalloped or picot edge for a delicate touch.
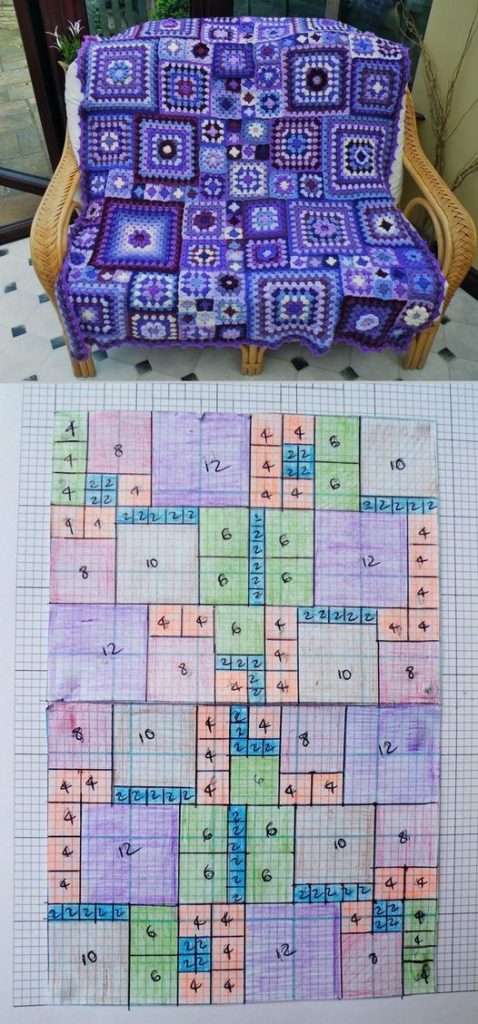
- Join-As-You-Go Method: Instead of sewing multiple granny squares together, use the join-as-you-go technique for a seamless connection.
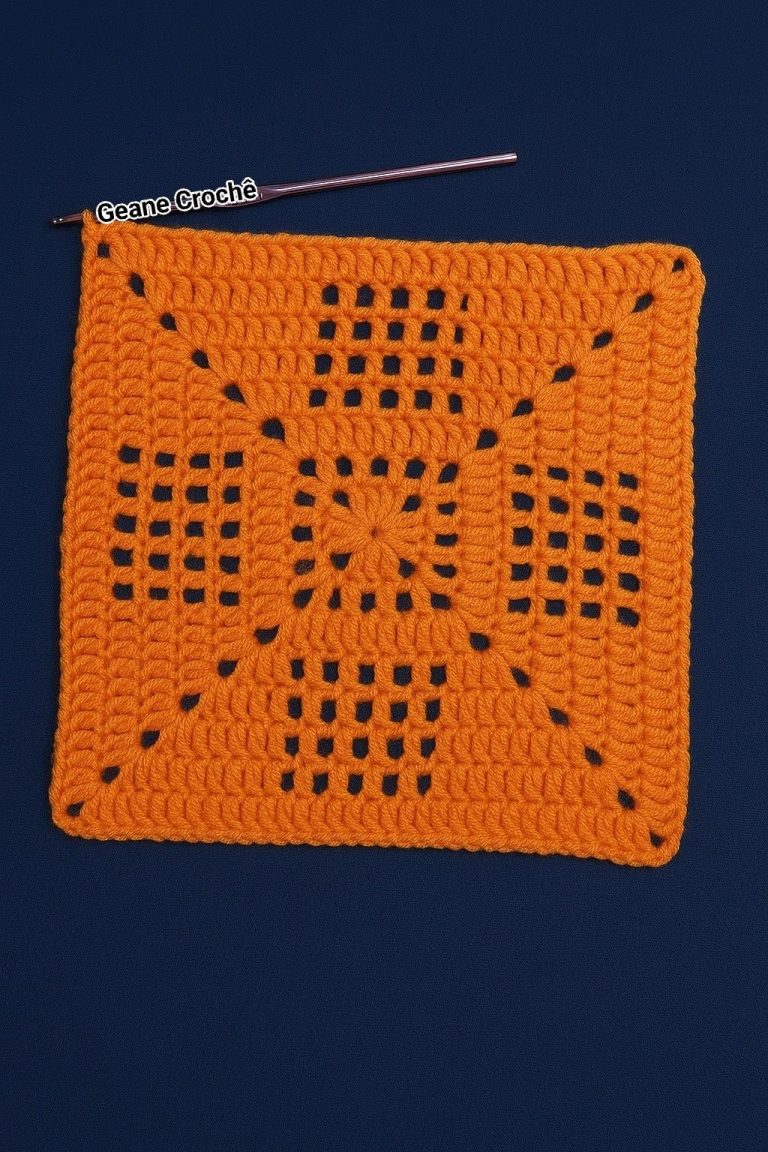
- Lacy Granny Squares: Use chain stitches and open spaces to create a lacy and lightweight granny square design.
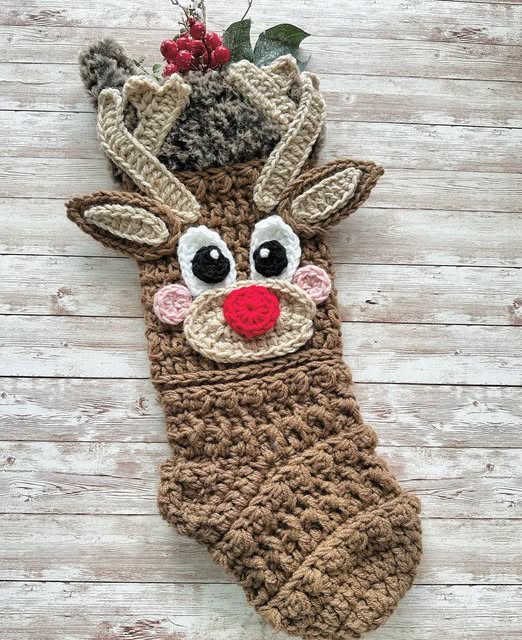
- Themed Patterns: Create granny squares inspired by seasonal themes, such as Christmas, Halloween, or floral motifs for spring.
Customizing your Great Granny Square Pattern allows you to make truly unique and personal projects that reflect your creativity.
Expert Tips for a Perfect Granny Square
To achieve the best results with your Great Granny Square Pattern, keep these expert tips in mind:
- Maintain Consistent Tension: Uneven tension can result in wavy or misshapen squares. Keep your stitches even for a professional finish.
- Count Your Stitches: Always count stitches in each round to ensure accuracy and prevent mistakes.
- Use Quality Yarn: Durable yarn ensures that your granny square projects last for years without fraying.
- Block Your Squares: Blocking helps to even out stitches and gives a polished appearance to your final project.
- Weave in Ends Securely: Securely weaving in ends prevents unraveling over time.
- Practice Different Techniques: Try different hook sizes and stitch techniques to see what works best for your project.
FAQ
1. What is a granny square used for? Granny squares can be used for blankets, clothing, pillow covers, bags, and home decor items.
2. How do I stop my granny square from curling? Ensure you’re maintaining even tension and blocking your finished square to prevent curling.
3. What is the best yarn for granny squares? Acrylic, cotton, and wool yarns work best, depending on the desired texture and durability.
4. Can I make granny squares without holes? Yes! Using a solid granny square pattern or adjusting stitch placement can reduce holes.
5. How do I join granny squares? You can join squares using slip stitches, whip stitches, or the join-as-you-go method.
Join our VIP broadcast list and gain access to exclusive patterns, all for free. As a VIP member, you’ll receive the best patterns daily, delivered directly to your device. ✨📱 It’s a unique opportunity to stay up-to-date with the latest trends and designs, curated just for you. Don’t miss out on enhancing your projects and discovering new inspirations with the best patterns every day! 🎨🔝
Conclusion
The Great Granny Square Pattern: A Comprehensive Guide has covered everything you need to create stunning and versatile crochet pieces. From gathering materials to step-by-step instructions and expert tips, this guide ensures success in your granny square projects.
We’d love to hear your thoughts! Have you tried this pattern? Share your experiences, tips, and suggestions in the comments below. Happy crocheting!