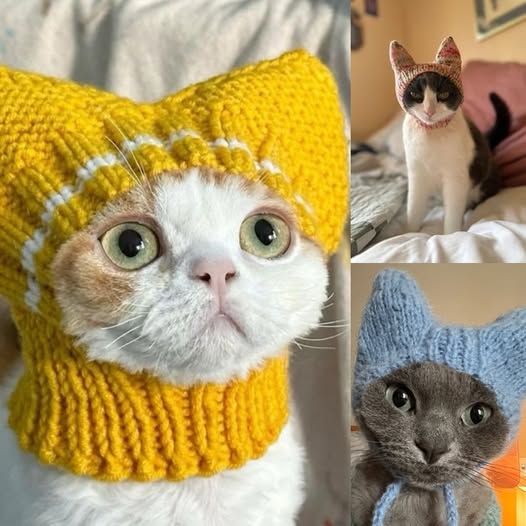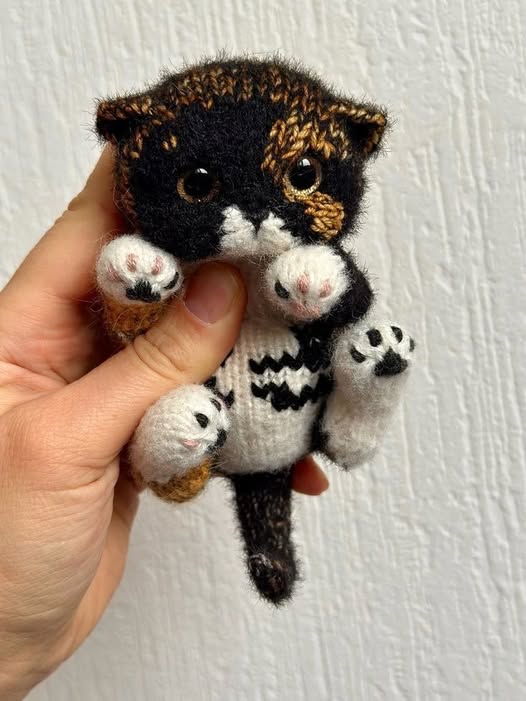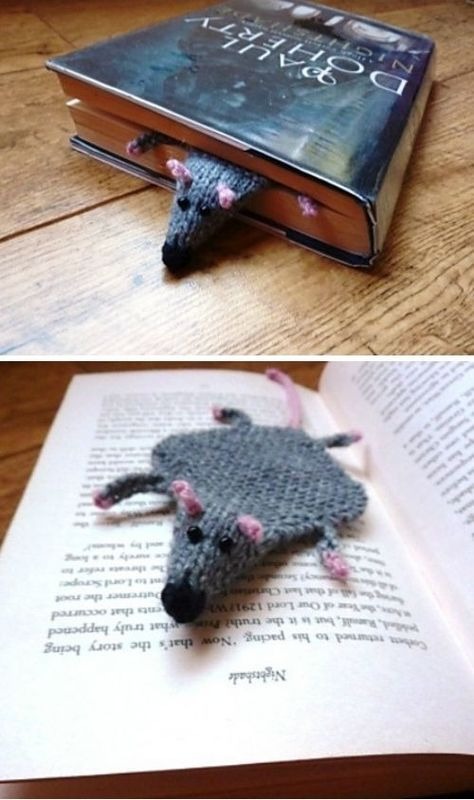
11 Animal Bookmarks Free Knitting Patterns

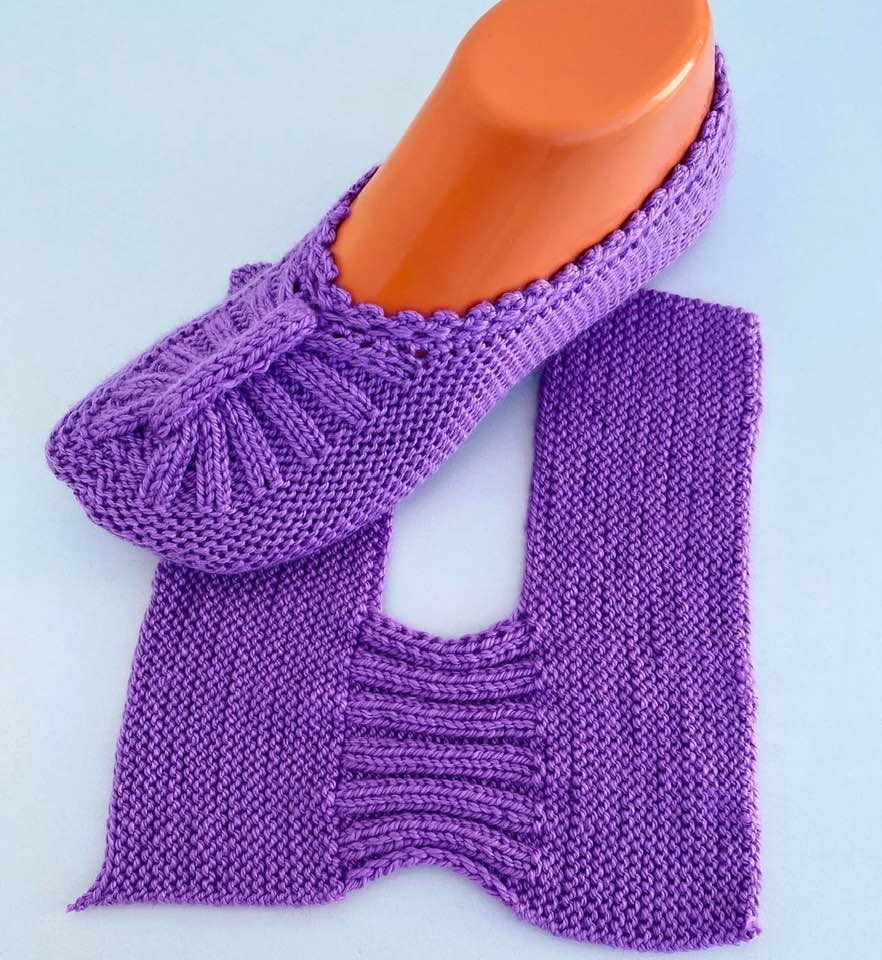
If you’re looking for a cozy and practical project, the Easy Knit Slipper – Pattern is a wonderful choice. Whether you’re new to knitting or a seasoned pro, creating your own pair of soft, handmade slippers is both rewarding and enjoyable.
With just a few materials and some basic skills, you can knit comfortable slippers that are perfect for lounging at home or giving as a thoughtful gift.
The Easy Knit Slipper – Pattern uses straightforward techniques and simple shaping, making it a great option for beginners. It’s also a fantastic way to use up leftover yarn, especially when you’re looking to create something useful and cute.
These slippers can be personalized with colors, buttons, or even little embellishments, adding a unique flair to your finished piece.
One of the best things about this Easy Knit Slipper – Pattern is its versatility. You can easily adjust the size, color scheme, or yarn thickness to suit your needs. Knitting these slippers is a peaceful, calming activity—and once you make your first pair, you’ll likely want to create more for friends and family.
The foundation of any good slipper starts with the right yarn. For the Easy Knit Slipper – Pattern, using a soft, warm yarn is essential. Wool or wool blends are perfect because they provide both warmth and stretch. Acrylic yarns are a good budget-friendly alternative and are machine washable, which is ideal for footwear.
Needles play a big role in the final texture of your slippers. Most patterns recommend using size US 8 (5mm) or US 9 (5.5mm) needles, but this can vary based on the yarn. It’s important to knit a small swatch before starting to ensure your gauge is correct. This helps your slippers fit perfectly.
Bulky yarns make for thick, plush slippers that are quick to knit. They also give the slippers a cushion-like feel that’s perfect for colder weather. Thinner yarns, on the other hand, will give a more lightweight result, suitable for warmer seasons or indoor-only use.
Color choice is another fun part of this pattern. Solid colors look classic and elegant, while multicolored or variegated yarn adds a touch of personality. You can even mix two strands of yarn together for a marled effect and extra thickness.
Consider yarn that has some elasticity, especially if the slippers don’t use ribbing or elastic bands. This helps them stay snug on the foot without slipping off. Always check the yarn label for care instructions, especially if the slippers will be gifted.
Lastly, don’t forget stitch markers and a tapestry needle. These small tools are invaluable during knitting and assembly. Stitch markers help you keep track of decreases or shaping, and the tapestry needle is essential for sewing seams and weaving in ends.
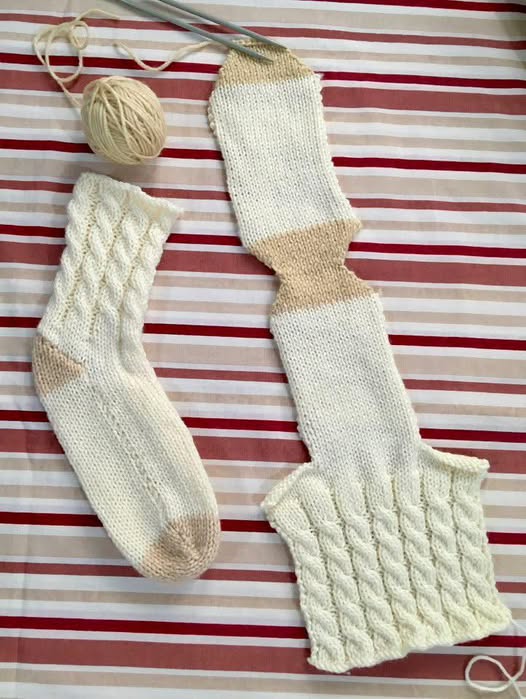
The Easy Knit Slipper – Pattern usually starts with casting on stitches for the toe section. This area determines the width and fit of the front of the slipper, so be sure to count your stitches carefully. Most beginners will use the long-tail cast-on method for a stretchy edge.
Once the toe is complete, the next section involves knitting the body of the slipper. This is often done in garter stitch, which is created by knitting every row. Garter stitch adds texture and makes the slipper more elastic and durable.
After reaching the right length for your foot, it’s time to shape the heel. This is often done by binding off some stitches and continuing with short rows. Short rows help create the natural curve of the heel without bulky seams.
When the knitting part is finished, you’ll need to fold the piece and sew the edges together. Use a whip stitch or mattress stitch to create a neat seam. Be sure to leave the top open and the heel area correctly shaped.
Some patterns include an optional cuff. Adding a ribbed cuff can help the slippers stay on better and provide extra warmth around the ankles. This part can be added after the main slipper is sewn, or knitted as part of the body.
After completing your Easy Knit Slipper – Pattern, give your slippers a gentle block if needed. Blocking helps even out stitches and gives the slipper a more professional look. Avoid aggressive blocking for wool-based yarns, as they can lose shape.
One of the joys of the Easy Knit Slipper – Pattern is how easily you can customize it. Start with size adjustments—adding or removing rows will help tailor the fit. If you’re making a pair for a child or someone with small feet, reduce the cast-on stitches accordingly.
You can also customize the slipper’s texture. Although the base pattern uses garter stitch, you can try stockinette, ribbing, or even seed stitch for added texture. Just keep in mind that stockinette tends to curl, so you may need a border to prevent this.
Decorative elements are another way to make your slippers unique. Add buttons, bows, or pom-poms to give them personality. You could even embroider small designs on the top, such as hearts or initials.
To add more warmth and durability, consider knitting a double sole. This involves knitting a second piece for the bottom of the slipper and sewing it onto the existing sole. It adds a cozy, cushioned layer and increases wear time.
Colorwork is a fun way to enhance the design. Try stripes, color blocks, or Fair Isle patterns for a playful touch. Keep it simple to avoid overwhelming the slipper, especially if it’s a small size.
For more structure, you can knit the sole in a tighter gauge and use a felt insert or rubber slipper bottom. These additions make the slipper more suitable for indoor walking and help prevent slipping on smooth floors.
Caring for your Easy Knit Slipper – Pattern properly ensures they last a long time. First, always check the yarn label for washing instructions. Wool slippers often require hand washing in cold water and flat drying.
To wash, use a gentle detergent designed for delicates or wool. Avoid twisting or wringing out the slippers, as this can cause felting or misshaping. Gently press out excess water with a towel and reshape them as they dry.
Storing your slippers properly also helps extend their life. Keep them in a cool, dry place away from direct sunlight. Avoid storing them in airtight containers, which can cause humidity and mold growth.
If your slippers start to lose shape, try steaming them lightly. Place a towel between the slipper and the steam source to avoid damaging the fibers. This trick works well for wool or blends that are prone to stretching.
For added longevity, rotate between different pairs. Wearing the same slippers every day wears them out faster. Having a few pairs on hand means each one gets less wear and lasts longer.
Finally, if holes or thinning appear, consider darning them. This traditional method of repairing knitted fabric is easy with a bit of practice and greatly extends the life of your handmade footwear.
What is the best yarn for knit slippers?
Wool or wool-blend yarns are the best choices for knit slippers due to their warmth and flexibility. Acrylic yarns also work well and are machine-washable.
Can beginners knit this pattern?
Yes, the Easy Knit Slipper – Pattern is ideal for beginners. It uses basic stitches and simple construction techniques.
How long does it take to knit a pair?
Depending on your skill level and the thickness of the yarn, it usually takes between 2–5 hours to complete a pair of slippers.
Can I make these slippers in different sizes?
Absolutely. You can customize the number of stitches and rows to adjust the size for children, adults, or even extra-large feet.
Are knit slippers machine washable?
Some are, depending on the yarn used. Always read the yarn label. Acrylic yarns are typically safe for machines, while wool may need hand washing.
What if my slippers are too loose or too tight?
You can adjust the pattern by changing your needle size or altering the number of stitches. Gauge swatches help prevent sizing issues.
The Easy Knit Slipper – Pattern is not only a fantastic beginner-friendly project but also a rewarding one for knitters of all levels. With just a few materials, some creativity, and a bit of time, you can create cozy, customizable slippers that add comfort and warmth to your daily routine.
From choosing the right yarn to adding your personal touch, every step of this project offers an opportunity to enjoy the art of knitting. Whether you’re crafting for yourself or as a heartfelt gift, these slippers are sure to be a hit.
We hope this guide inspired you to pick up your needles and get started. If you’ve tried this Easy Knit Slipper – Pattern, feel free to share your thoughts, experiences, or suggestions in the comments. Your feedback helps us improve and inspire more crafters like you!