
Pie Carrier Sewing Pattern

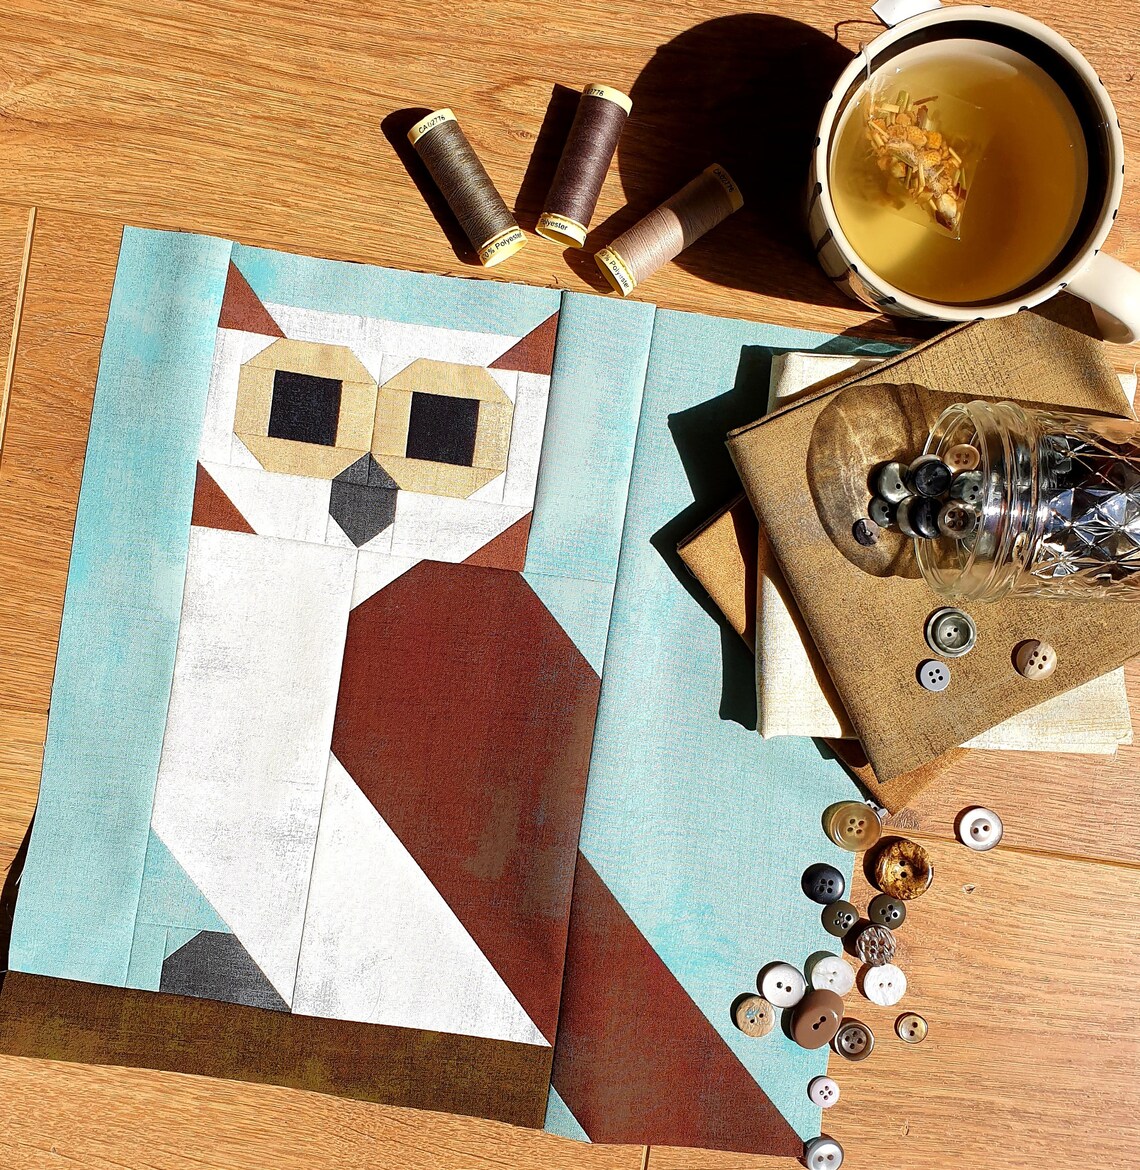
If you’re looking to add a touch of woodland charm to your next quilting project, the Owl Quilt Block Pattern is a delightful and beginner-friendly choice.
With its adorable features, simple shapes, and endless customization options, this block is a favorite among both new and experienced quilters.
Whether you want to create a cozy baby quilt, a decorative wall hanging, or a forest-themed throw, an owl block adds personality and warmth.
The beauty of the Owl Quilt Block Pattern lies in its versatility. You can play with colors, use fun prints, or even incorporate applique techniques to bring your owl to life. It’s also a great way to use up fabric scraps, making it not only a creative project but also an eco-conscious one.
In this article, we’ll walk you through the benefits of this charming pattern, the materials you need, step-by-step construction tips, and fun ways to personalize your design. Plus, we’ll answer the most common questions about owl quilt blocks in a helpful FAQ section.
The Owl Quilt Block Pattern is more than just cute—it’s a fantastic block to learn and practice various quilting techniques.
First, the owl shape allows for both piecing and applique, depending on your preference. This flexibility means you can start with simpler versions and progress to more detailed ones as you gain confidence in your skills.
Second, this block offers a whimsical design that appeals to children and adults alike. Owls are often associated with wisdom, nature, and even magic, making them a meaningful and charming theme for any quilt.
Third, this pattern is excellent for scrap quilting. You can easily mix and match small pieces of fabric for the wings, belly, eyes, and beak. It’s a creative way to use what you already have in your fabric stash.
Fourth, owl blocks are highly customizable. You can change the expression, add eyelashes or glasses, use button eyes, or even incorporate embroidery for extra personality.
Fifth, it’s a great project for themed gifts. From nursery quilts to storybook-inspired wall hangings, the Owl Quilt Block Pattern can adapt to any style or occasion.
Lastly, this block teaches basic shape assembly, symmetry, and color planning—skills that benefit quilters at any stage in their creative journey.
Before you start sewing, let’s talk about what you’ll need to create your own Owl Quilt Block Pattern.
You’ll need several small pieces of fabric in coordinating or contrasting colors. Plan for a main color for the owl’s body, a lighter one for the belly, and smaller scraps for the eyes, beak, and wings. Solid colors or small prints work best for facial features to keep the details clear.
Quilting cotton is ideal, but feel free to experiment with flannel or batik for added texture. Fusible web is helpful if you’re doing applique, especially for the beak and eyes. It helps secure your pieces before stitching.
For pieced blocks, a rotary cutter, cutting mat, and quilting ruler are essential. Accuracy is key when dealing with small fabric sections.
You’ll also need coordinating thread, pins or clips, and a sewing machine with a straight stitch setting. Optional: embroidery floss for detailing and buttons or safety eyes for embellishment.
Batting and backing fabric will be needed if you’re turning the block into a finished quilt or mini wall hanging. For a single block, a 12.5″ square is a good standard size.
Having all your materials ready will make assembling your Owl Quilt Block Pattern a fun and relaxing experience.
Now let’s walk through the process of assembling your own Owl Quilt Block Pattern step-by-step.
Start by cutting your fabric pieces. For a basic owl block, you’ll need:
If you’re using applique, apply fusible web to the back of your feature fabrics and cut out the shapes. Arrange them onto your background square and press them in place.
Sew down your appliqué shapes with a zigzag, blanket, or straight stitch close to the edges. Begin with the body, then the wings, belly, eyes, and beak. Save any embellishments, like embroidery or buttons, for the very end.
If piecing the owl, sew the smaller fabric pieces together to create the shape of the owl. This may include half-square triangles for ears, rectangles for the wings, and curved piecing if you’re feeling advanced.
Press your seams as you go to keep your block neat and flat. Accurate seams make a big difference, especially when aligning the eyes and beak.
Once your owl is fully stitched, square up the block to your desired size, usually 12.5 inches. Now it’s ready to be joined with other blocks or quilted as a single motif.
Don’t forget to admire your work—each owl takes on its own personality and charm!
After finishing your Owl Quilt Block Pattern, there are countless ways to incorporate it into larger projects or decorative items.
Combine multiple owl blocks in different colors for a full-size quilt. Each owl can represent a family member or friend, creating a meaningful and personalized gift.
Make a baby quilt with pastel owls on a soft white or gray background. Add clouds, stars, or forest trees for a complete nursery scene. This makes a wonderful gift for newborns or baby showers.
Turn a single owl block into a wall hanging or pillow. Add a border, some hand quilting, and maybe a quote or child’s name with embroidery for a heartfelt touch.
Use your owl block in seasonal decor—think Halloween owls with dark colors or Christmas owls with scarves. It’s an easy way to refresh your home each season with handmade flair.
Create a matching set of placemats or pot holders. Owl-themed kitchen decor is charming, and the block size works perfectly for functional items.
If you enjoy teaching or quilting with kids, the Owl Quilt Block Pattern is a fun and achievable project. Children can help choose colors or place pieces, and the final product becomes a shared creation.
Q: Is the owl block beginner-friendly?
A: Yes! Whether you use applique or piecing, the shapes are simple and forgiving, making it ideal for beginners.
Q: What size should the block be?
A: A 12.5″ x 12.5″ block is standard, but you can scale it down or up depending on your project needs.
Q: Can I use applique and piecing together?
A: Absolutely. Many quilters mix techniques—for example, a pieced body with applique eyes and beak.
Q: How do I secure the applique pieces before stitching?
A: Use fusible web or temporary fabric glue to hold pieces in place, then sew with a secure stitch.
Q: Are there owl quilt patterns for paper piecing?
A: Yes, some designers offer paper pieced owl patterns for a more stylized look, which can be fun for experienced quilters.
Q: Can I machine quilt over the owl design?
A: Yes, just be gentle around any embellishments like buttons or embroidery. Echo quilting around the owl also works beautifully.
The Owl Quilt Block Pattern offers a wonderful blend of fun, creativity, and skill-building for quilters of all levels. Whether you’re adding woodland magic to a baby quilt or designing a cute pillow for your home, this pattern invites you to express yourself through fabric and stitches.
From choosing your materials to experimenting with colors and expressions, the process is as joyful as the result. Now that you’ve learned the basics, why not start your own owl-themed project today?
We’d love to hear from you! Share your thoughts, tips, or finished blocks in the comments. Your feedback helps inspire our crafting community—and we can’t wait to see what your owls look like!


