
Pie Carrier Sewing Pattern

If you are searching for a practical and stylish project, this Shoulder Bag Tutorial is exactly what you need. Making your own shoulder bag is not only rewarding but also allows you to create a functional accessory that fits your style perfectly. Whether you’re a beginner or an experienced crafter, this guide will help you through every step.
The beauty of this Shoulder Bag Tutorial is that it combines creativity with utility. You can choose your own fabrics, colors, and features to make a bag that is both fashionable and highly functional. Plus, handmade bags often have better quality and durability than mass-produced ones.
In this detailed guide, we will cover everything from the materials you need to the sewing techniques involved, including how to add pockets, linings, and straps. Follow along as we walk you through the process of creating your very own Shoulder Bag that is as unique as you are.
Before starting this Shoulder Bag Tutorial, gathering the right materials is essential for a successful project. Having everything ready will make the sewing process smooth and enjoyable.
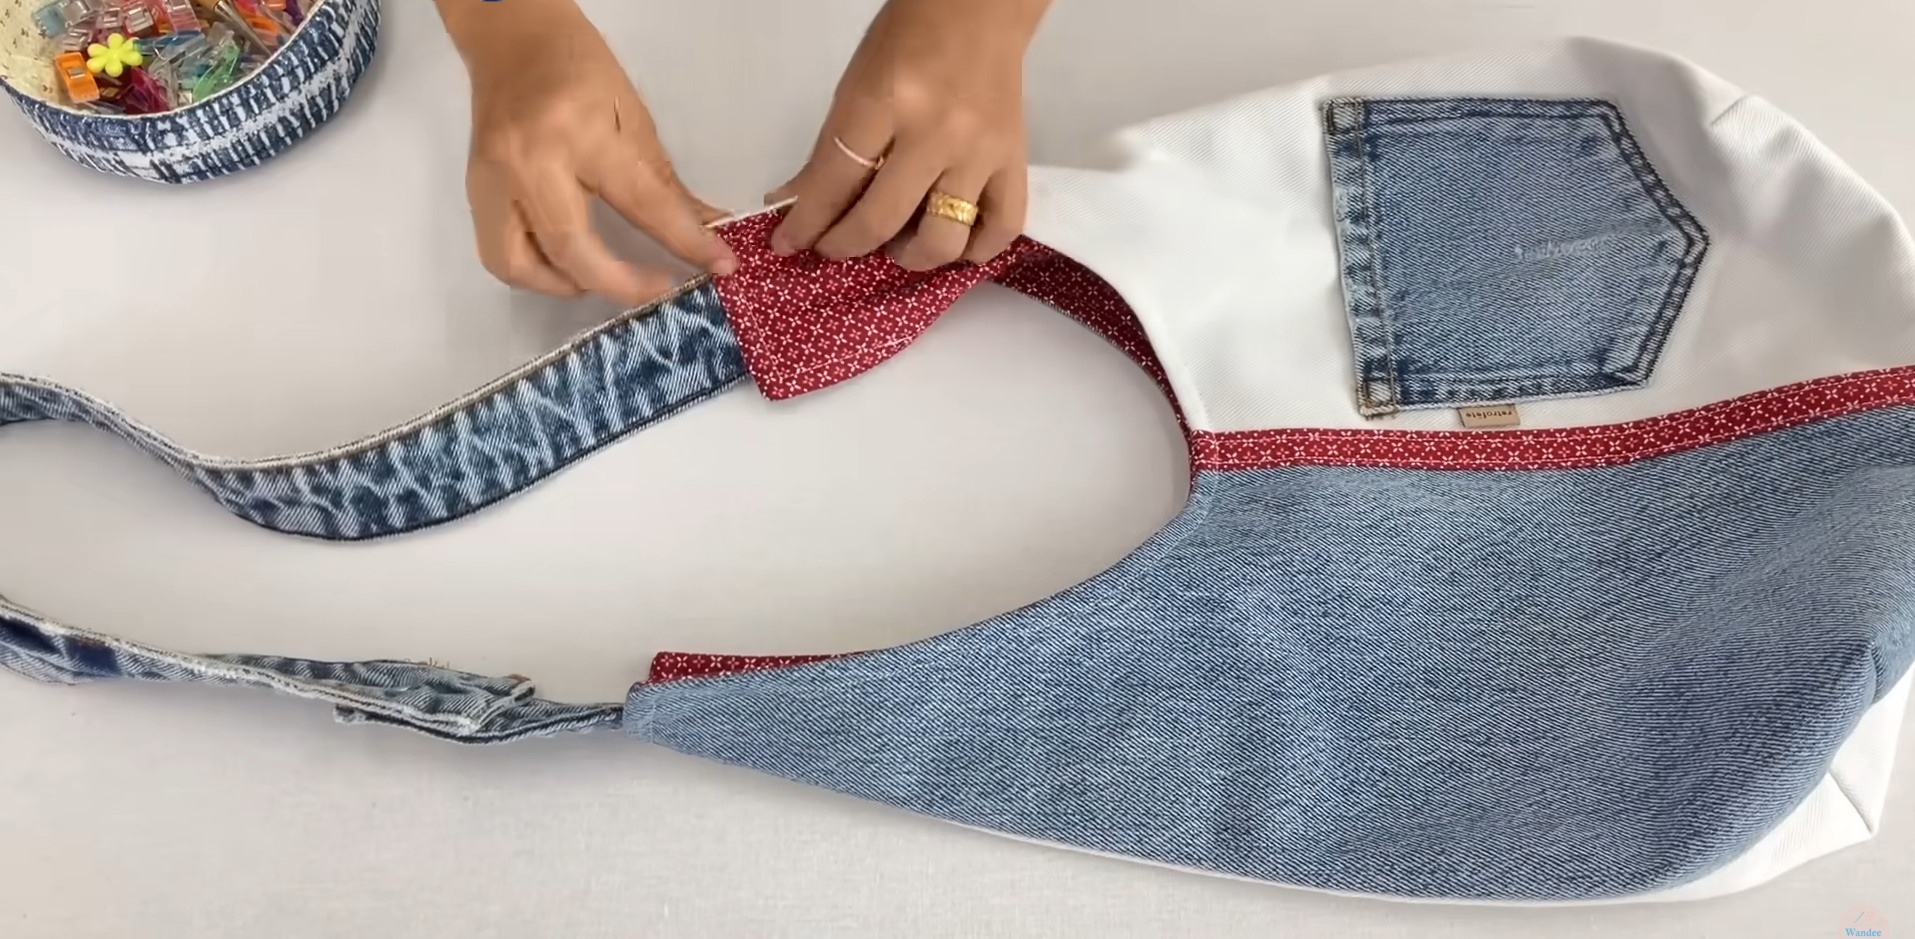
First, select your fabric. Cotton canvas, denim, faux leather, or upholstery fabric are excellent choices because they are sturdy and durable. Choosing a high-quality fabric ensures your shoulder bag will hold its shape and withstand daily use.
For the lining, you can use lighter fabrics like cotton or polyester. A nice lining not only makes the inside of your bag look professional but also protects your belongings and adds strength.
You’ll also need interfacing to add structure to your bag. Fusible interfacing is a great choice because it adheres to the fabric with heat, making the bag stiffer and more durable without being too bulky.
Essential tools include fabric scissors, a rotary cutter, a cutting mat, sewing clips or pins, a measuring tape, and a sewing machine. If you plan to work with thick fabrics like faux leather, make sure your sewing machine can handle it.
Don’t forget the hardware. Depending on your design, you may need magnetic snaps, zippers, D-rings, sliders for adjustable straps, and possibly rivets to reinforce stress points on the bag.
Finally, choose matching or contrasting thread based on your design preference. Strong polyester thread is recommended for sewing bags as it holds up better than cotton when carrying heavier items.
The next step in this Shoulder Bag Tutorial is cutting and preparing your fabric pieces accurately. Precision here will make sewing much easier and your finished bag look polished.
Start by deciding the dimensions of your shoulder bag. A typical size might be 12 inches wide by 10 inches tall with a depth of 3 inches, but you can adjust based on your needs.
Cut the main fabric pieces: two for the front and back, one for the bottom, and two for the sides. You will also need matching pieces from the lining fabric and the interfacing.
Fuse the interfacing to the wrong side of the exterior fabric pieces using an iron, following the manufacturer’s instructions. This adds stiffness and helps the bag hold its shape.
If you want pockets, now is the time to cut them out. Consider adding an exterior pocket with a zipper or a slip pocket for easy access to phones or keys. Interior pockets are great for organization.
Prepare the strap by cutting a long strip of fabric, typically around 3 inches wide and as long as needed to comfortably wear on the shoulder. If you prefer an adjustable strap, cut a longer piece and prepare sliders or buckles.
Lastly, prepare any closure elements such as magnetic snaps, button loops, or zippers. Mark their placement on the fabric so they’re ready to install during assembly.
Now we begin the exciting part of the Shoulder Bag Tutorial—sewing the pieces together to form your bag. This is where your project starts to take shape.
Start by sewing any pockets onto the exterior and lining pieces. If you’re adding a zipper pocket, stitch it carefully with topstitching for a clean, professional look.
Next, assemble the exterior shell of the bag. Sew the front and back pieces to the sides, then attach the bottom panel. Use a ½ inch seam allowance unless you prefer otherwise.
Once the exterior shell is complete, repeat the same process with the lining fabric. Remember to leave a 3-4 inch opening at the bottom of the lining. This will allow you to turn the bag right side out later.
Install any closures at this stage. If using a magnetic snap, attach one side to the lining’s front panel and the other to the exterior or the lining’s flap if you are adding one.
Prepare the strap by folding the strip in half lengthwise, wrong sides together, then open it and fold each side toward the center. Fold in half again and topstitch along both edges. Add hardware like D-rings or sliders if you want an adjustable strap.
With the exterior and lining prepared, place them right sides together and sew along the top edge, making sure the strap is positioned between the layers with ends sticking out at the seams. This secures the strap perfectly when you turn the bag.
We are in the final stages of the Shoulder Bag Tutorial, where we bring all the elements together and add the finishing touches that make the bag look polished and professional.
Turn the bag right side out through the opening in the lining. Gently push out the corners and edges with a blunt tool, like the end of a pen or a chopstick, to get crisp, clean corners.
Sew the opening in the lining closed. You can do this by hand with an invisible ladder stitch or simply topstitch close to the edge with your machine.
Push the lining down into the bag, adjusting it so it fits smoothly inside. Once positioned, topstitch around the top edge of the bag to give it a neat finish and reinforce the seam.
Check all seams and corners for any loose threads or missed stitches. Reinforce high-stress points like where the strap connects to the bag by adding extra stitching or small rivets if desired.
Now is the time to add any decorative elements like labels, buttons, or fabric appliqués. You can even embroider your initials or a small design to personalize your Shoulder Bag.
Test your finished shoulder bag by filling it with common items to make sure everything fits properly and the bag holds its shape. Once satisfied, your handmade bag is ready to use, gift, or sell.
Is this Shoulder Bag Tutorial suitable for beginners?
Yes, this tutorial is designed with beginners in mind. As long as you are familiar with basic sewing techniques, you can follow the steps easily.
What is the best fabric for making a shoulder bag?
Sturdy fabrics like canvas, denim, faux leather, and upholstery fabric are best for durability. Cotton is great for the lining.
How do I make the strap adjustable?
Use a slider buckle. Thread the strap through the buckle following the typical method for bag hardware, allowing you to change the length easily.
Can I add more pockets to this Shoulder Bag?
Absolutely. You can customize the bag with as many interior and exterior pockets as you like, including zippered, slip, or patch pockets.
Do I need a special sewing machine for this project?
A regular home sewing machine works for most fabrics. However, if you’re using heavy materials like faux leather, make sure your machine has a strong needle and can handle thicker layers.
How long does it take to complete the Shoulder Bag Tutorial?
For beginners, expect about 4 to 6 hours, including cutting, sewing, and finishing. Experienced sewists might finish it in under 3 hours.
In this comprehensive Shoulder Bag Tutorial, you’ve learned how to select materials, cut fabric accurately, sew each part, and assemble a stylish and durable shoulder bag. Whether you’re crafting for personal use, gifts, or small business, this bag is versatile and fun to make.
The process of creating your own Shoulder Bag is incredibly rewarding. You get a functional accessory tailored to your taste, and you gain valuable sewing skills along the way.
I hope this guide has inspired you to start your project today. If you have any questions, feedback, or suggestions for future tutorials, please leave a sincere comment below. Your opinion means a lot and helps us grow this creative community. Happy sewing!


