
Crochet Multi-Purpose Blouse, Shawl, Runner Model

The Granny Stripe Stitch – Crochet Tutorial introduces a timeless and versatile crochet technique that is beloved by crafters worldwide.
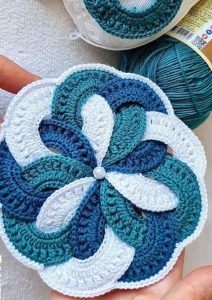
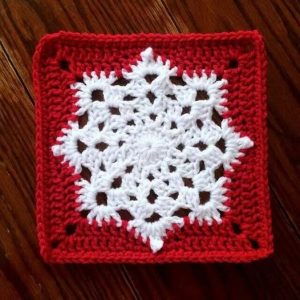
Known for its classic appeal and adaptability, the Granny Stripe Stitch is an ideal choice for creating blankets, scarves, and other beautiful handmade items.
Whether you’re a beginner or an experienced crocheter, mastering this stitch will open up endless creative possibilities.
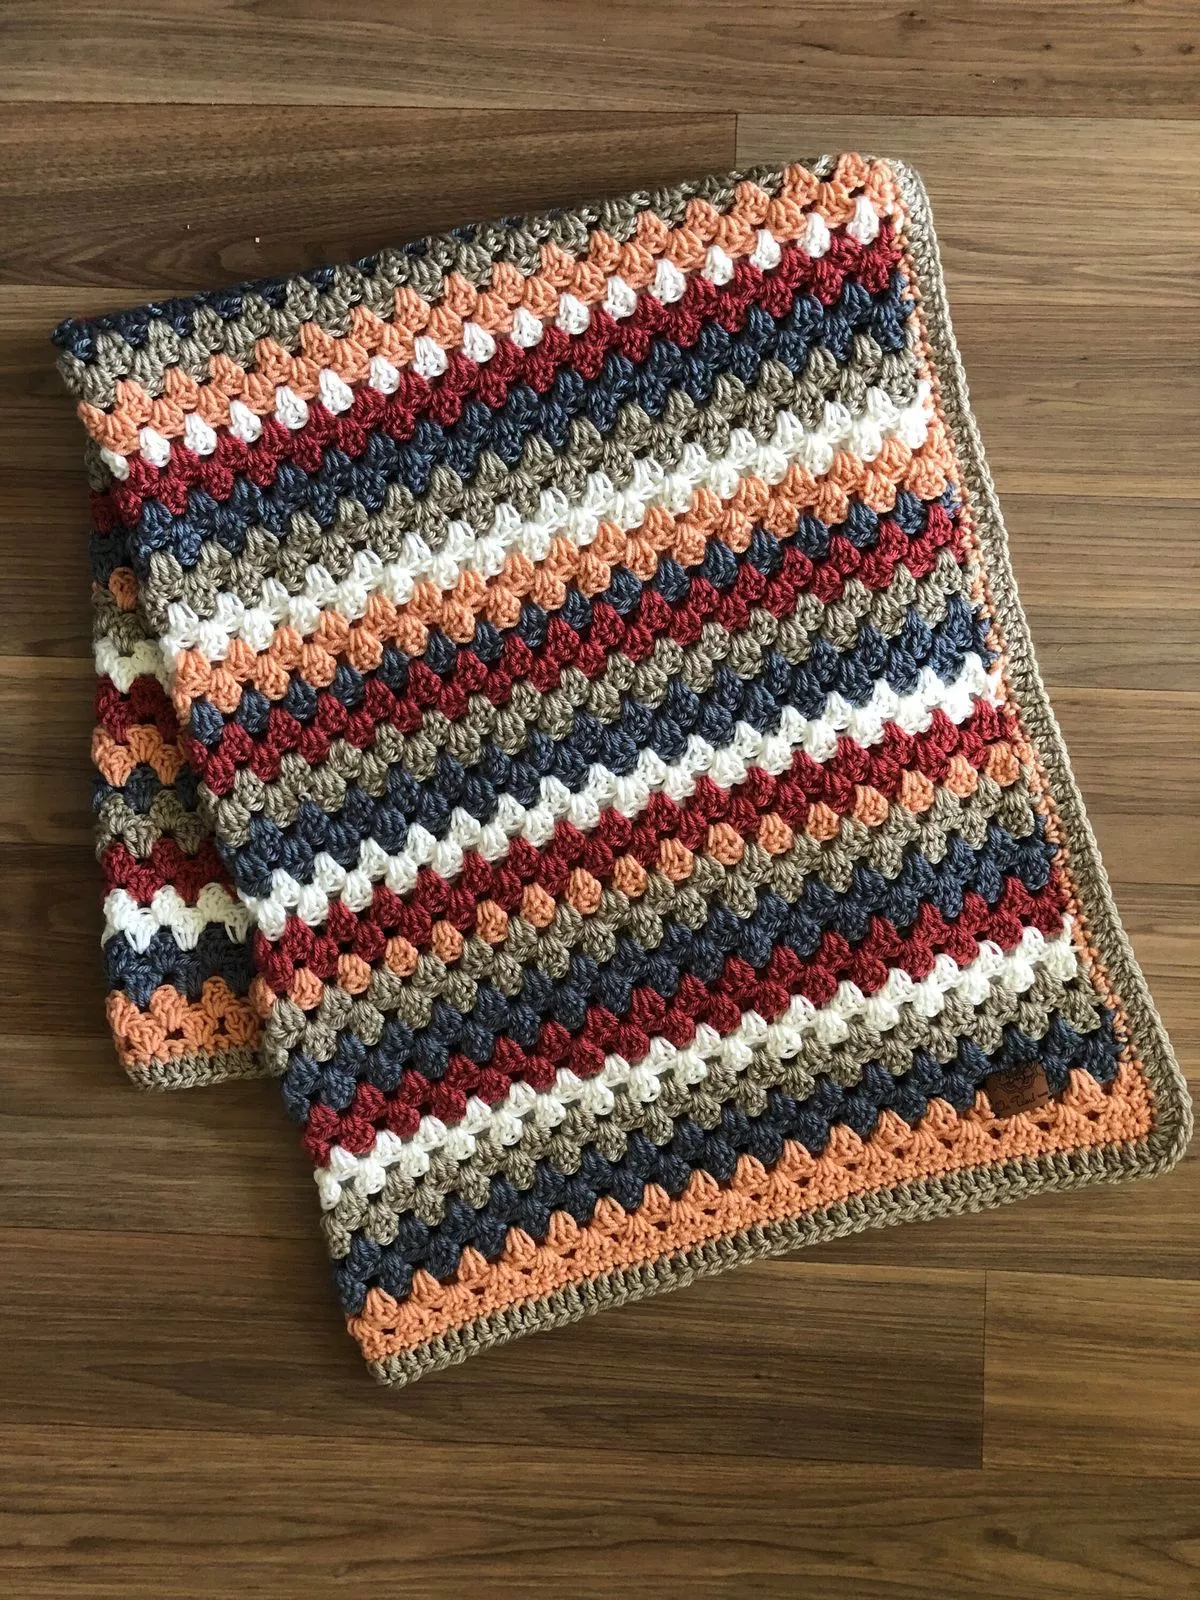
Image from google.
The Granny Stripe Stitch stands out for its simplicity and visual appeal. Its repetitive pattern creates a textured and colorful design, making it a favorite among crocheters who enjoy experimenting with different yarn colors.
This tutorial will guide you through the basics of the stitch, providing tips to help you achieve a polished finish.
As you learn The Granny Stripe Stitch, you’ll discover that its charm lies in its balance of tradition and creativity. Let’s dive into this step-by-step guide and bring this delightful crochet pattern to life.
Understanding the fundamentals of The Granny Stripe Stitch is the first step in mastering this technique.
The Granny Stripe Stitch is a variation of the classic granny square, a crochet pattern dating back to the early 19th century.
This pattern is suitable for various projects, from cozy blankets to stylish garments and accessories.
The Granny Stripe Stitch is characterized by its row-by-row construction of clusters, creating a striking striped effect.
Its repetitive nature makes it a relaxing stitch for beginners, while experienced crocheters appreciate its design potential.
This stitch is ideal for showcasing bold color combinations, gradient yarns, or leftover scraps.
To get started, gather yarn in your preferred colors and a crochet hook suitable for your yarn weight.
Before you begin, ensure you have everything needed for a successful project.
Select a yarn type that suits your project, such as soft acrylics for blankets or cotton for garments.
Match your crochet hook size to the yarn label recommendations for the best results.
Keep your yarn tangle-free by rolling it into balls or using a yarn bowl.
Practice maintaining an even tension to ensure uniform stitches throughout your project.
If you’re new to crochet, familiarize yourself with chain stitches (ch) and double crochet (dc), as these are essential for the Granny Stripe Stitch.
Plan your color scheme to create a harmonious or bold effect, depending on your design preferences.
Follow these steps to master the Granny Stripe Stitch.
Start by making a chain in multiples of three, plus two extra stitches for turning.
Begin by skipping the first two chains and creating three double crochet stitches in the next chain.
Skip two chains, then make three double crochet stitches in the next chain. Repeat this pattern across the row.
At the end of the row, turn your work and chain three to start the next row.
In the second row, create three double crochet stitches in the spaces between clusters from the previous row.
Repeat these steps, alternating colors if desired, to achieve the length and pattern of your choice.
These expert tips will help you achieve a flawless finish.
Ensure consistent edge stitches by chaining three at the start of each row.
Securely tie off and weave in ends when switching colors to avoid loose threads.
Customize the width and length of your project by altering the number of foundation chains and rows.
Combine yarns of similar weights but different textures to add visual interest.
Block your finished piece to enhance the stitch definition and achieve a professional look.
Incorporate other stitch patterns or embellishments for a unique twist on the classic design.
Q: Is the Granny Stripe Stitch suitable for beginners?
A: Yes, its repetitive pattern makes it an excellent choice for those new to crochet.
Q: Can I use different types of yarn for this stitch?
A: Absolutely! Just ensure the yarn weights are consistent to maintain even tension.
Q: How do I avoid uneven edges?
A: Be mindful of edge stitches and chain the correct number at the beginning of each row.
Q: What projects can I make with the Granny Stripe Stitch?
A: Popular projects include blankets, scarves, pillow covers, and baby accessories.
Q: How do I change colors seamlessly?
A: Change colors at the end of a row by tying off and starting the new color with a slip knot.
Q: Do I need to block my finished piece?
A: Blocking is optional but recommended for enhancing stitch definition and overall appearance.
Join our VIP broadcast list and gain access to exclusive patterns, all for free. As a VIP member, you’ll receive the best patterns daily, delivered directly to your device. ✨📱 It’s a unique opportunity to stay up-to-date with the latest trends and designs, curated just for you. Don’t miss out on enhancing your projects and discovering new inspirations with the best patterns every day! 🎨🔝
The Granny Stripe Stitch – Crochet Tutorial opens the door to endless creative possibilities. This stitch’s simplicity and versatility make it a must-learn for any crochet enthusiast. Whether you’re crafting a vibrant blanket or a stylish scarf, the Granny Stripe Stitch offers a perfect balance of tradition and innovation.
We hope this guide inspires you to start your own crochet project. Share your feedback, show us your creations, and let us know what tutorials you’d like to see next. Happy crocheting!


