
The cozy charm of handmade home decor never goes out of style, and nothing combines function and creativity better than a Rectangular Crochet Rug – Free Pattern. Whether you’re new to crochet or a seasoned maker, creating your own rug brings warmth, texture, and a personal touch to any room.
It’s the perfect project to refresh your space while also enjoying the meditative rhythm of crochet.
Crocheted rugs are durable, customizable, and a fantastic way to use up leftover yarn or try new stitches on a larger scale. The rectangular crochet rug is particularly popular for its versatility—it works beautifully in entryways, kitchens, bathrooms, and even as a bedside accent.
Plus, with a free pattern, you have nothing to lose and everything to gain from trying it out!
In this guide, we’ll walk you through everything you need to know about making your own Rectangular Crochet Rug – Free Pattern, from choosing the best materials and stitches to exploring creative variations and finishing touches. Get ready to crochet something beautiful and practical for your home.
1. Materials and Tools You’ll Need
To begin your Rectangular Crochet Rug – Free Pattern, you’ll want to choose the right materials for durability, texture, and style. A rug needs to be sturdy but also soft underfoot, so your material selection is key.
Yarn Selection:
Choose a thick, sturdy yarn such as cotton, t-shirt yarn, bulky acrylic, or even recycled textile yarn. Cotton is absorbent and easy to clean, making it great for kitchens and bathrooms. T-shirt yarn is soft yet strong, ideal for entryways or high-traffic areas.
Hook Size:
Depending on your yarn thickness, use a large crochet hook—typically between 8 mm and 12 mm. Always check your yarn label for recommendations or adjust for desired tightness.
Optional Tools:
You may also need scissors, a measuring tape, stitch markers, and a yarn needle for weaving in ends. A non-slip rug pad or backing fabric can be added for stability if the rug will be placed on hardwood or tile.
Pattern Preparation:
Print or download your free pattern in advance. Many rectangular crochet rugs are simple in shape but use stitch repetition or color changes to add visual interest. Be sure to read the pattern thoroughly before you start.
Color Choices:
Neutrals like gray, cream, or navy work well in any home, but don’t be afraid to get creative! Stripes, gradients, or bold solid colors can make your rug a true centerpiece.
2. Basic Steps to Crochet a Rectangular Rug
Once you’ve gathered your materials, it’s time to dive into the fun part: crocheting! The Rectangular Crochet Rug – Free Pattern usually follows simple construction that’s perfect for relaxation and creativity.
Start with a Foundation Chain:
Begin by chaining the desired length of your rug’s short side. This will be the width of your rectangle. Remember, the longer the chain, the wider the rug.
Work Row by Row:
Use basic stitches like single crochet, half double crochet, or double crochet for the main body. These stitches offer great structure and durability. Continue adding rows until your rug reaches the desired length.
Keep It Flat:
Make sure your stitches stay even and your edges don’t curl. This keeps your rectangular crochet rug looking clean and professional. Use stitch markers at the ends of each row if needed.
Change Colors or Textures:
If desired, switch yarn colors every few rows for a striped look. You can also alternate stitches to add texture, such as combining rows of single crochet with rows of puff stitch or bobble stitch.
Check Measurements:
Periodically lay your rug flat to check its shape and size. It’s easier to adjust earlier in the process if something isn’t aligning quite right.
Fasten Off and Weave Ends:
Once the rug reaches your desired size, fasten off your yarn and carefully weave in all loose ends using a yarn needle.
3. Creative Variations and Stitch Ideas
One of the best things about the Rectangular Crochet Rug – Free Pattern is how easy it is to personalize. You’re not limited to just one look or texture—there are many fun and creative ways to make your rug unique.
Striped Rugs:
Use multiple yarn colors to create stripes. Alternating between two or three colors adds energy to a space. Try wide color blocks or narrow striping for different effects.
Textured Rugs:
Use stitches like the moss stitch, waffle stitch, or the alpine stitch to give your rug a dimensional feel. These stitches are easy to master but add big impact.
Gradient or Ombre Effect:
Start with a dark shade and gradually transition to lighter tones (or vice versa). This creates a modern, elegant design that works well in minimalist interiors.
Fringe or Tassels:
Add decorative fringe to the short ends of your rug for a cozy, bohemian vibe. Tassels can be made with leftover yarn and tied on securely.
Reversible Rugs:
Try using a stitch like thermal stitch that makes the rug extra thick and reversible. This is perfect for high-traffic areas that get dirty quickly.
Incorporate Motifs:
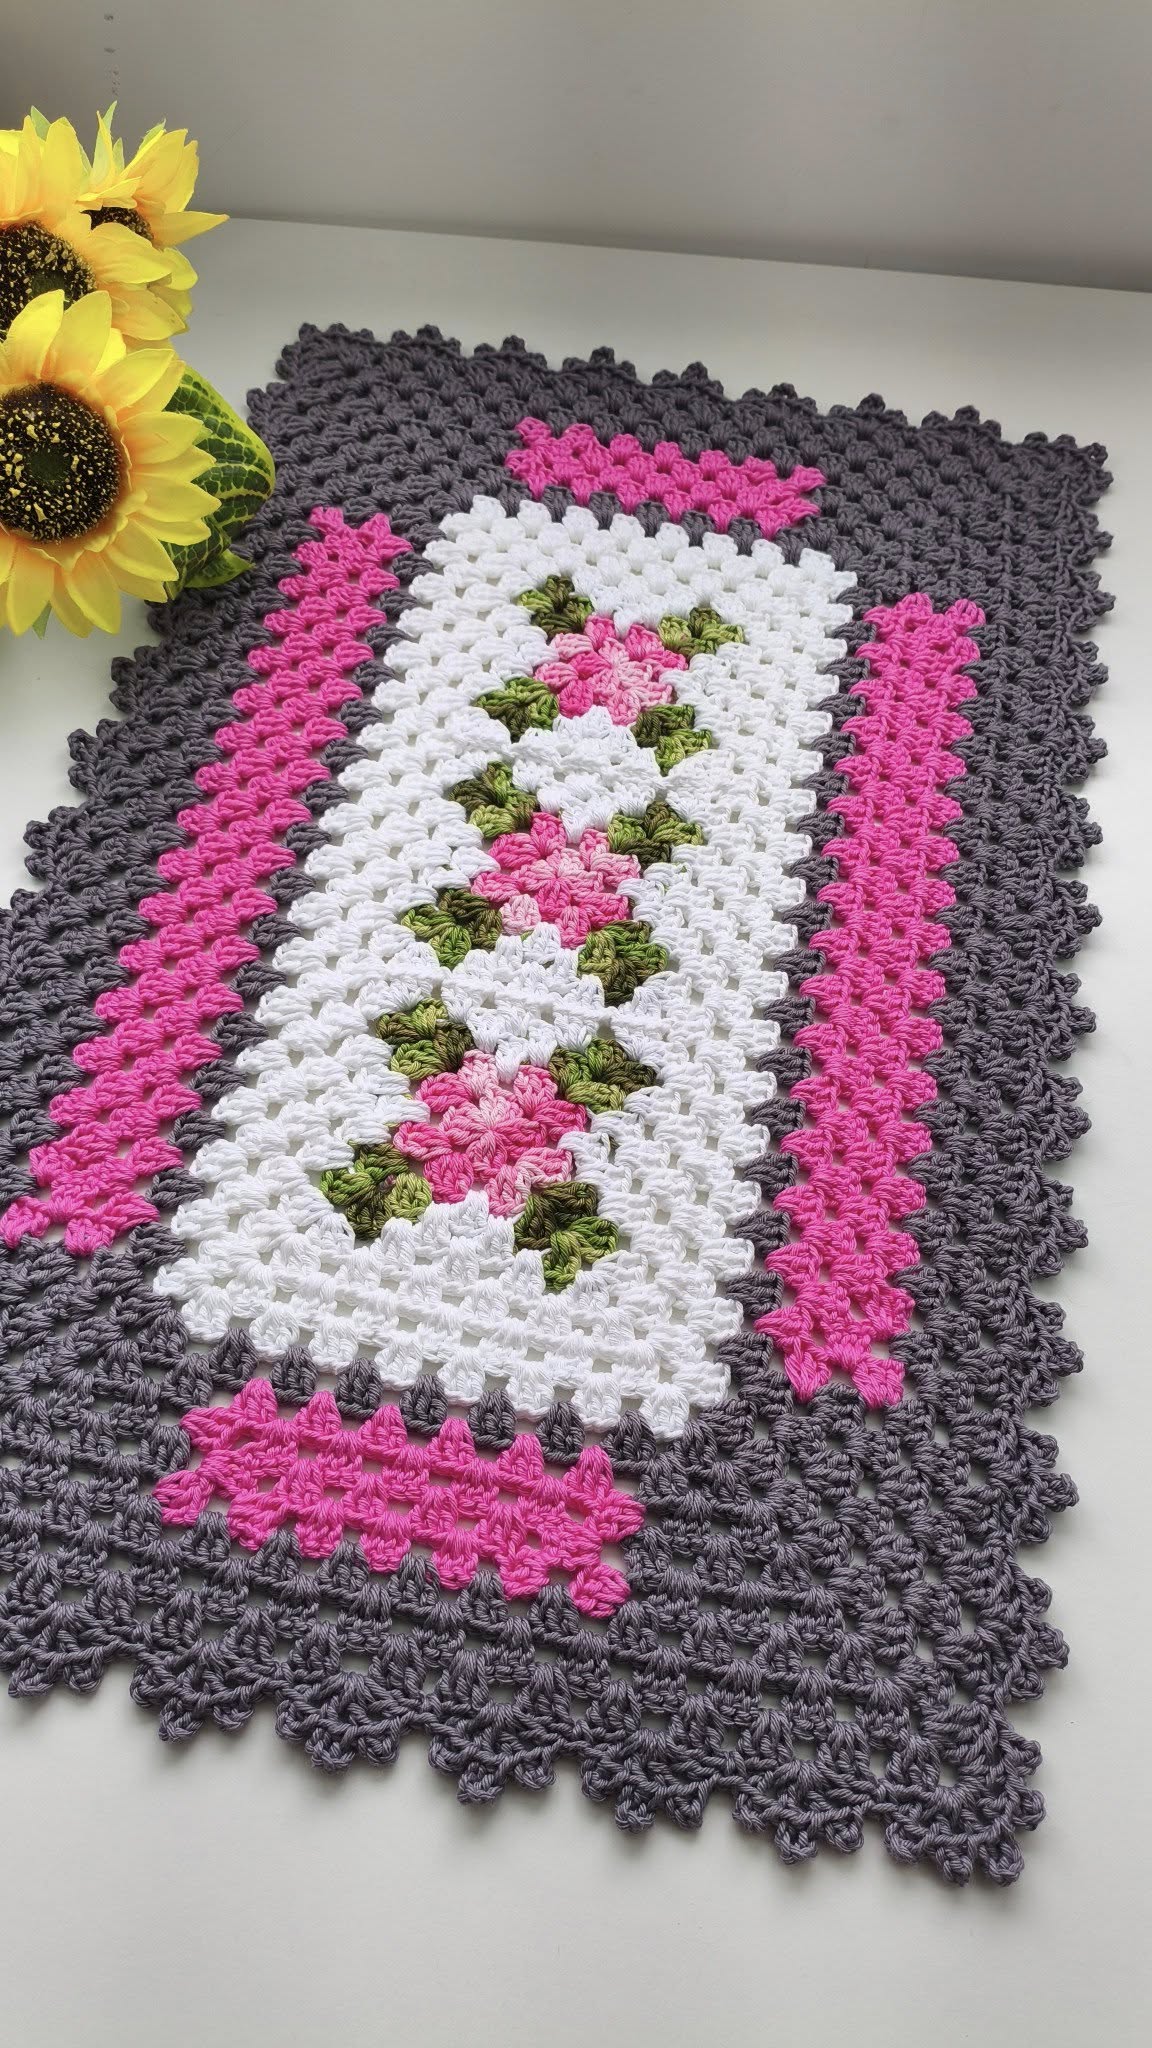
Some patterns allow you to crochet motifs or shapes—like hearts, flowers, or geometric blocks—into the main rug. These accents can reflect your personality or seasonal décor.
4. Care, Maintenance & Safety Tips
Your new Rectangular Crochet Rug – Free Pattern deserves to last for many years. Proper care and placement will help keep it looking fresh and safe for daily use.
Washing and Cleaning:
Most cotton or acrylic rugs can be machine washed on gentle cycles. For handmade rugs, always spot test first. T-shirt yarn or recycled fabric rugs may be better hand washed to avoid stretching.
Drying:
Air drying is the safest option. Lay the rug flat on a dry towel to avoid warping. Do not wring or twist the fibers.
Adding a Rug Pad:
If your rug will be placed on smooth flooring like wood or tile, consider sewing or gluing on a non-slip backing or using a rug pad. This prevents sliding and ensures safety.
Storage Tips:
If you plan to store your rug seasonally, make sure it’s clean and completely dry before folding. Store it in a cool, dry place, away from sunlight and moisture.
Repairing Snags or Holes:
If a stitch gets pulled, gently tug the surrounding area to redistribute tension. For holes, re-crochet the section using matching yarn and reweave ends.
Rotate Periodically:
Rotating your rug every few months helps it wear evenly, especially if it’s in a high-traffic area like a hallway or entryway.
FAQ – Rectangular Crochet Rug – Free Pattern
Q1: How long does it take to crochet a rug?
A1: It depends on the size and stitch you choose. A small bathroom rug may take a few hours, while a larger entryway rug might take several days.
Q2: Can I use leftover yarn for my rug?
A2: Absolutely! Rugs are great stash-buster projects. Just make sure the yarns are of similar weight for even stitching.
Q3: What stitch is best for a sturdy rug?
A3: Single crochet, moss stitch, and thermal stitch are all excellent choices for durability and texture.
Q4: Is a rug beginner-friendly?
A4: Yes! A Rectangular Crochet Rug – Free Pattern typically uses simple stitches, making it a perfect project for beginners.
Q5: How do I keep the rug from sliding on the floor?
A5: Add a rug pad or sew on a non-slip backing. This ensures safety and keeps your rug in place.
Q6: Can I make this rug using recycled fabric or t-shirt yarn?
A6: Definitely. T-shirt yarn is a popular and eco-friendly choice for rugs. It’s soft, strong, and washable.
Conclusion
Making your own Rectangular Crochet Rug – Free Pattern is a fun, rewarding, and practical way to express your creativity. Whether you choose bold stripes, elegant textures, or simple solid colors, your handmade rug will be a unique addition to your home.
Throughout this article, we’ve explored materials, stitches, variations, and care tips to help you succeed in your rug-making journey. With just yarn, a hook, and a little patience, you can craft something truly special.
VIDEO TUTORIAL
Have you tried this pattern or created your own twist on it? We’d love to hear your thoughts! Leave a comment with your experience, share a photo of your rug, or suggest what patterns you’d like to see next. Your feedback helps us grow and inspires others!


