
Macrame Heart Bracelet - Free Tutorial

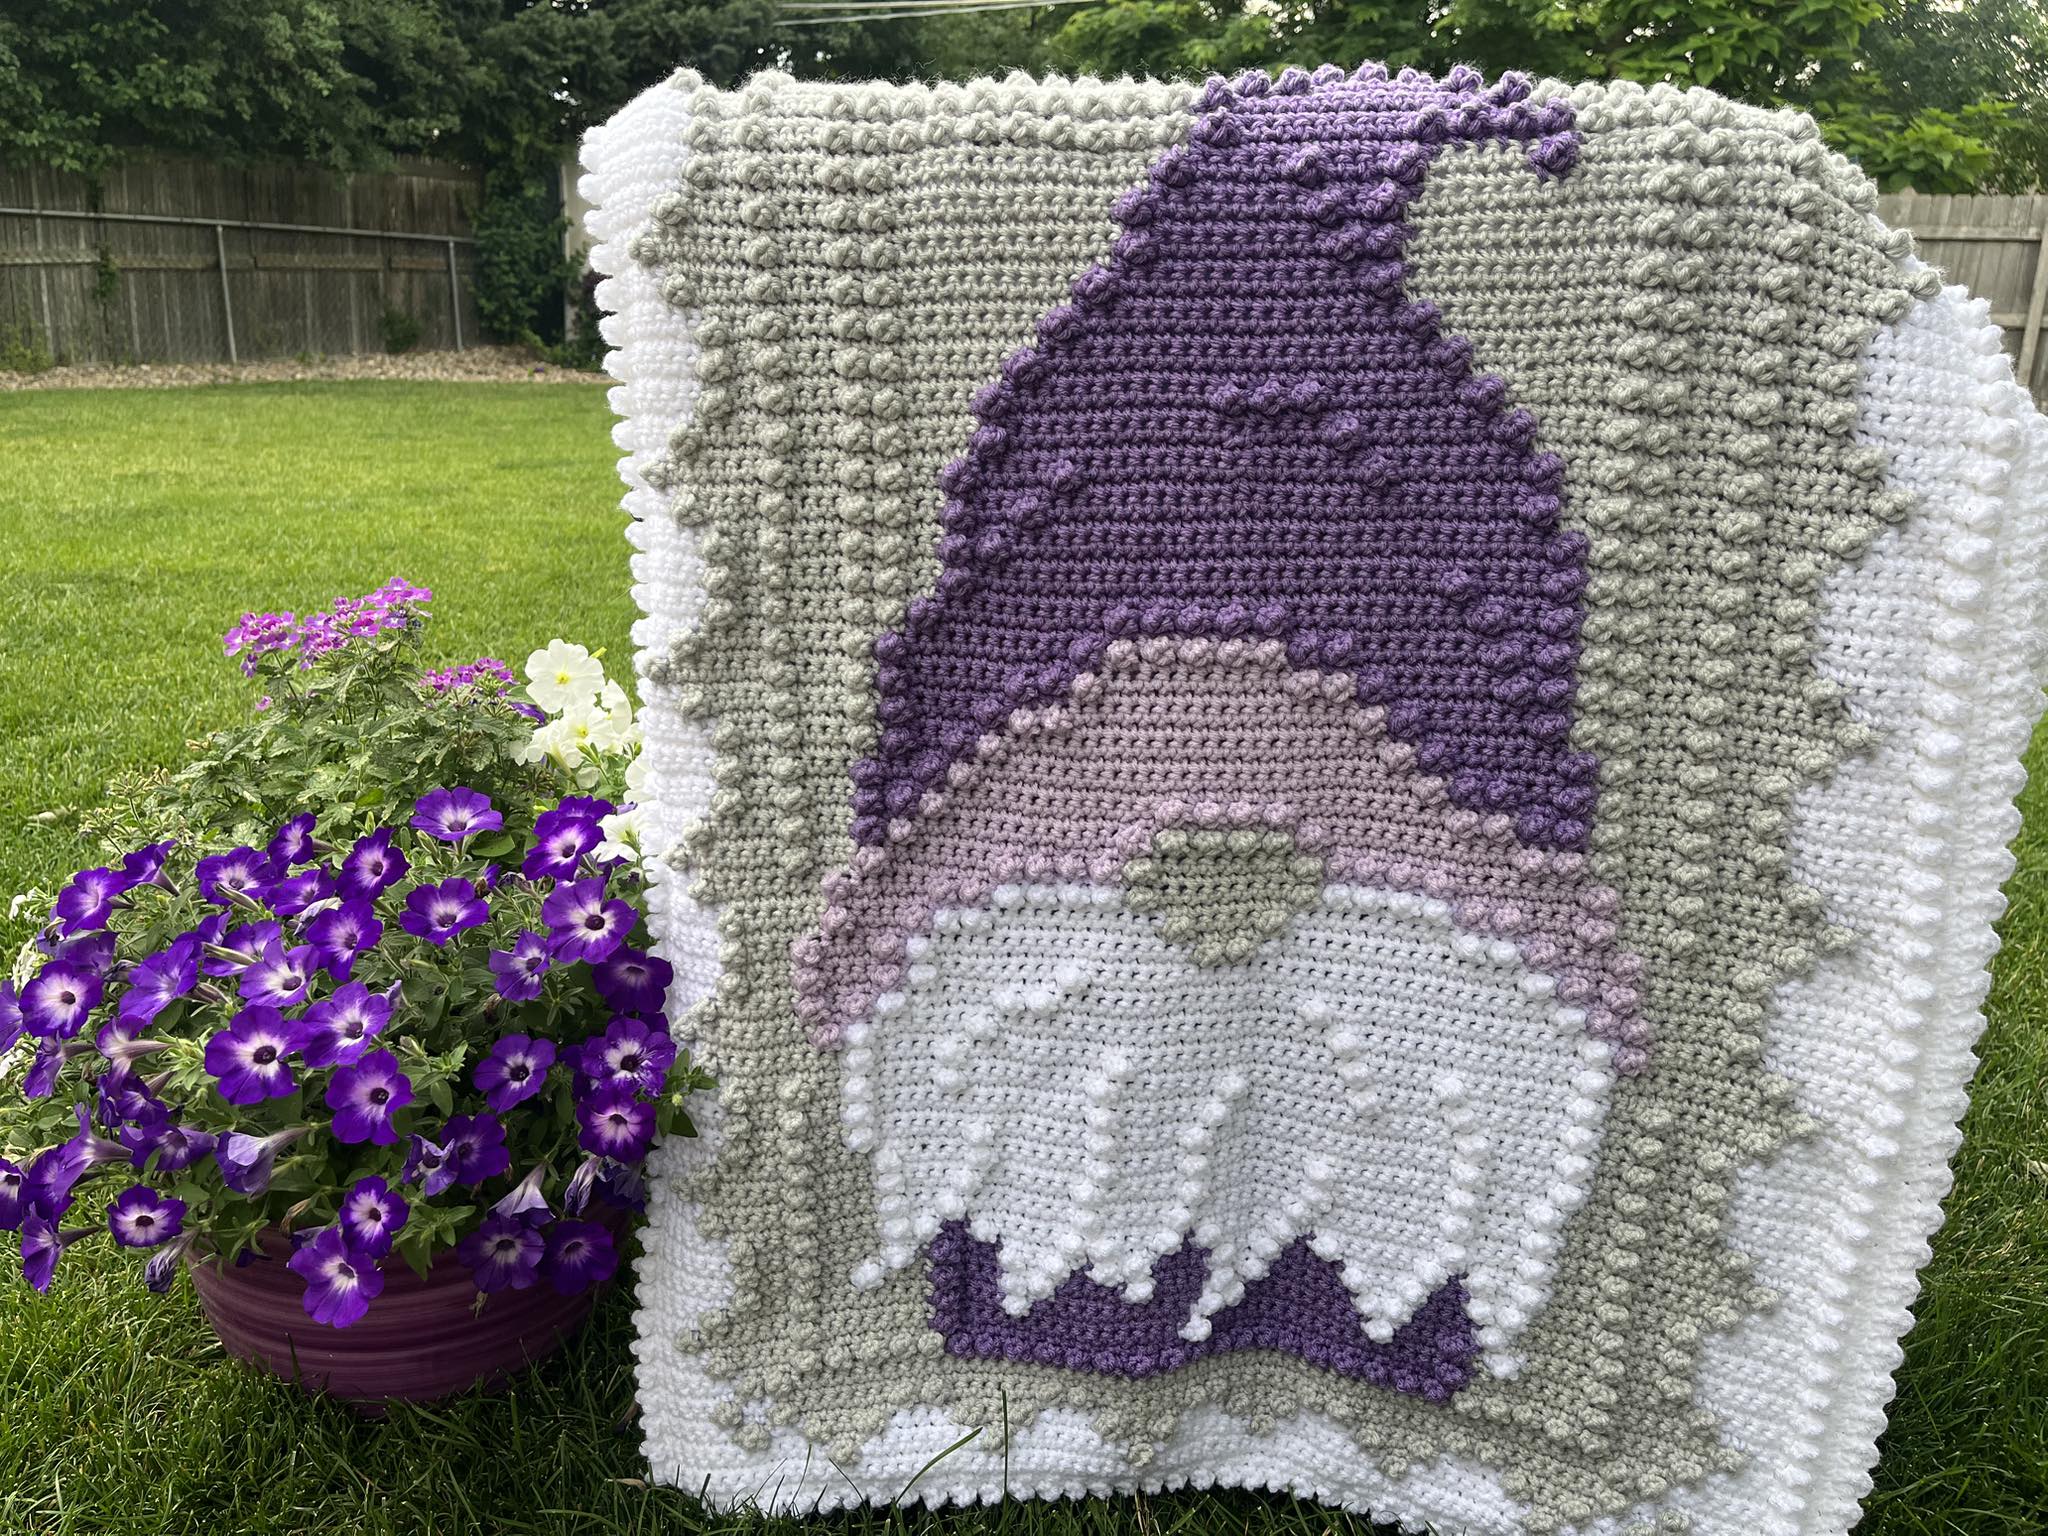
If you’re looking for a cozy, magical project that brings charm and comfort into your home, the Gnome Blanket – Crochet Pattern is just what you need.
Gnomes have become a beloved symbol in home décor, especially during the colder seasons, and now you can incorporate them into your crochet creations with this delightful blanket pattern.
The Gnome Blanket – Crochet Pattern is perfect for all skill levels. Whether you’re a beginner who wants a fun project or an experienced crocheter looking to make a memorable gift, this pattern combines simple stitches with creative design to produce a heartwarming blanket. It’s a great way to use up yarn scraps, explore color play, and practice motif assembly.
In this article, we’ll walk you through everything you need to know to successfully crochet your own Gnome Blanket, including choosing materials, working with motifs, personalizing your project, and tips for perfect finishing. Let’s get started with some crochet magic!
Before starting your Gnome Blanket – Crochet Pattern, gather all the supplies you’ll need. This project is beginner-friendly but does require a bit of planning in terms of colors and motif assembly.
You’ll need the following materials:
Choose a soft, machine-washable yarn for durability and comfort—especially if your gnome blanket will be used by children or in high-traffic areas. Yarn with good stitch definition will help highlight the gnome design.
Don’t be afraid to play with color! Traditional red hats and white beards are a classic gnome look, but pastel shades or bold brights can create a whimsical twist. Solid or tonal yarns tend to show the design best.
Depending on the size of your blanket, you might create 12 to 25 gnome squares. Be sure to calculate your yardage based on the number of motifs you plan to make.
The heart of the Gnome Blanket – Crochet Pattern lies in the individual gnome squares. Each square is a self-contained crochet motif featuring an adorable gnome with a hat, beard, and nose.
Most gnome motifs begin with a basic granny square or solid square background. From there, you’ll crochet and attach small appliqué elements such as:
Each piece is crocheted separately and then stitched or crocheted onto the base square. Many crafters find this step satisfying because it allows flexibility and creativity in designing each gnome.
You can make each gnome square look slightly different. Vary the hat shapes, beard textures, and even add fun details like a flower or pom-pom to the hats. This personal touch gives your Gnome Blanket charm and personality.
Once you’ve created enough gnome squares, block them lightly to ensure they are uniform in size and shape. This makes joining them together much easier and results in a polished final look.
After your squares are ready, it’s time to put them together to form your Gnome Blanket. The joining method you choose can dramatically affect the final appearance of your project.
Some popular methods include:
Arrange your gnome squares on a flat surface and play with layout options. You might place similar colors together for a gradient effect or alternate them for a checkerboard look.
Once your squares are joined, it’s time to add a border. A simple single crochet border or a few rounds of granny stitch will frame your blanket beautifully. You can also add a scalloped edge or picot trim for extra whimsy.
Weaving in your ends thoroughly will ensure your Gnome Blanket – Crochet Pattern stays secure and neat for years to come. Take your time with this step—it makes all the difference in the final result.
The Gnome Blanket – Crochet Pattern is not just for bedspreads or throws. With a little creativity, you can adapt this pattern for a wide range of projects and styles.
Some ideas include:
You can also adjust the yarn weight and hook size to create a lighter or heavier blanket. Using DK or sport-weight yarns will give you a finer finish, while bulky yarns create a warm and chunky look.
Adding embellishments like buttons for noses (for decorative items only), embroidery on hats, or even small crochet flowers can further personalize your Gnome Blanket.
This pattern also makes a wonderful gift. Crochet one for a housewarming, holiday present, or even a wedding keepsake—everyone loves a handmade blanket full of charm.
Is the Gnome Blanket suitable for beginners?
Yes! The gnome blanket is made up of simple shapes and stitches. Even beginners can follow along with patience and practice.
How many gnome squares do I need for a full-size blanket?
A standard throw-size blanket might require 20–25 squares, depending on your square size and desired dimensions.
Can I wash the gnome blanket in a machine?
If you use machine-washable yarn, absolutely. Always check the yarn label for care instructions before washing.
How long does it take to make the gnome blanket?
This depends on your speed and the size of the blanket. On average, each motif might take 1–2 hours, plus time for joining and finishing.
Do I have to sew the pieces together?
Not necessarily. You can use crochet joins like slip stitch or single crochet for a clean and sturdy seam.
Can I use different yarn weights?
Yes, but be aware that changing yarn weight will affect the size and drape of your blanket. Adjust your hook size accordingly.
The Gnome Blanket – Crochet Pattern is a joyful and creative project that blends classic crochet skills with playful storytelling. With its charming characters and customizable design, this blanket is sure to become a treasured part of your home—or a heartfelt gift to someone special.
Throughout this tutorial, we explored how to gather materials, crochet individual gnome motifs, join your squares, and finish the blanket with love and detail. From cozy winter nights to whimsical home décor, the gnome blanket brings warmth and personality wherever it goes.
🧶 We’d love to hear from you! Have you made your own gnome blanket? Share your experience in the comments, and feel free to suggest patterns you’d like to see next. Your feedback inspires our next free tutorials!


