
Crochet Multi-Purpose Blouse, Shawl, Runner Model

The holiday season is a time for creativity, and one of the best ways to celebrate is by making handmade decorations. If you’re looking for a fun, whimsical craft project, then gnome ornaments with crochet hearts might just be the perfect choice.
These cute, little gnomes bring a cozy and festive atmosphere to your home, and the addition of crochet hearts makes them even more special.
Whether you’re an experienced crafter or a beginner, this whimsical holiday craft is simple to make and adds a personalized touch to your holiday décor.

Creating gnome ornaments with crochet hearts is a fun and rewarding experience. These adorable decorations are not only perfect for hanging on your Christmas tree, but they also make fantastic gifts or holiday décor for your mantel or windows.
With just a few basic materials and some crochet skills, you can make a whole family of gnomes that will bring joy to your home.
In this tutorial, we’ll guide you through the process of creating your very own gnome ornaments with crochet hearts.
We’ll cover everything from the materials you need, step-by-step instructions, and helpful tips for finishing your project. Let’s dive into this fun craft and bring a little extra magic to your holiday season.
Before you start crafting your gnome ornaments with crochet hearts, it’s essential to gather all the materials you’ll need. These items are simple to find and may already be in your craft box. Here’s a list of supplies to get you started:
To create the gnome ornaments, you’ll need yarn in several colors. Traditional gnome colors like red, white, and gray work well, but feel free to get creative! For the crochet hearts, choose a soft, contrasting color that complements the gnome’s outfit.
A crochet hook is essential for creating the crochet hearts. A size H (5mm) crochet hook is perfect for most yarn types, but you can adjust based on the thickness of your yarn.
For the gnome’s body, you’ll need some soft stuffing material like fiberfill or cotton batting. This will give the gnome shape and make it nice and plush.
Felt is great for crafting gnome hats, noses, and other accessories. Choose felt in colors that will complement your yarn and add visual interest to your gnome ornament.
A hot glue gun is an easy way to attach the crochet hearts to the gnome body and add small embellishments like a nose or buttons. Just be sure to use it carefully to avoid burns.
Scissors are essential for cutting yarn, felt, and any other fabric or embellishments.
If you’re new to crocheting or need a little extra help with your stitches, stitch markers can keep track of where you are in your crochet pattern. They’re a useful tool, especially when making the crochet hearts.
The first step in making your gnome ornaments with crochet hearts is creating the body of the gnome. This part is simple and quick, and it sets the stage for the rest of your ornament.
To begin, create a small crochet sphere for the gnome’s body. Start with a magic ring and work single crochet stitches in a round to create a tight, even ball. Increase the number of stitches as you go around, and fill the sphere with fiberfill or cotton batting to give it shape and firmness.
The gnome’s hat is another fun part of the project. Crochet a cone-shaped hat using your chosen color of yarn. The gnome hat can be as tall or short as you prefer, and you can even add a fun little pom-pom at the top for extra charm.
Once you’ve crocheted the hat, attach it to the top of the gnome body. Use your hot glue gun or a simple whip stitch to secure it in place. Make sure the hat fits snugly and stays in place.
Next, make a small crochet circle or use a small wooden bead to create the gnome’s nose. Attach the nose just below the edge of the hat, using a bit of hot glue or a few stitches. This is a key feature of the gnome and adds to its whimsical charm.
To finish the body, make sure it’s properly stuffed with fiberfill. The gnome should be firm but still soft to the touch. Shape it so that it sits comfortably on its base. Once you’re happy with the shape, you’re ready to move on to the next part of the project.
Finally, you can add little details like buttons or small crocheted accessories to personalize your gnome even further. Don’t forget, the crochet hearts will be the finishing touch to complete the ornament.
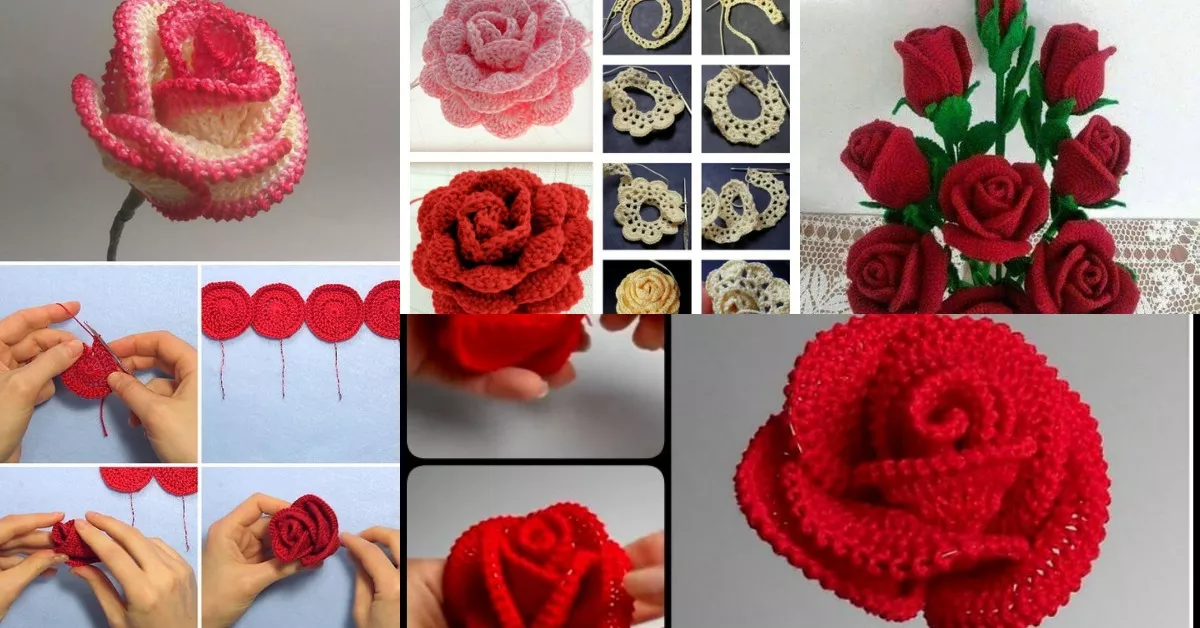
Now that you’ve completed the base of the gnome, it’s time to move on to one of the most delightful parts of the project—the crochet hearts. These hearts will be attached to your gnome ornament and add a festive touch.
To crochet a heart, start by making a chain and then work in double crochet stitches to form the shape. There are plenty of crochet heart tutorials available online, but most involve creating a small loop and working stitches to form the two halves of the heart.
Choose a color for your heart that contrasts nicely with the rest of the gnome. Red, pink, or white are traditional choices, but don’t be afraid to experiment with other colors that fit your theme.
Depending on how many gnomes you’re making, you’ll need to crochet multiple hearts. You can even make different sizes of hearts to vary the look of your ornaments. Each heart will add a unique element to your finished gnome.
Once your crochet hearts are complete, it’s time to attach them to the gnome. You can either sew them directly onto the gnome’s body or use a hot glue gun for a quick and easy application. Place the heart in the center of the gnome’s body or anywhere that feels right.
Once glued or sewn into place, ensure that the hearts are securely attached. You don’t want them to come loose over time, so double-check that they’re firmly fixed.
You can embellish the crochet hearts with small beads, sequins, or even a little embroidery to make them pop. This extra detail can elevate the ornament and give it a more personalized feel.
With the gnome’s body and crochet hearts completed, it’s time to hang your ornaments and enjoy the holiday cheer they bring. Here are some tips for making sure your gnome ornaments are ready to be displayed.
To hang your gnome ornament, crochet a small loop using a bit of yarn. You can also use a ribbon or string. Attach the loop to the top of the gnome’s hat or body using a small knot or a few stitches.
Once your ornament is ready, choose the perfect spot to hang it. Whether you’re decorating your Christmas tree or using the gnome ornament as part of a garland, these little gnomes will bring a smile to everyone who sees them.
Hang your gnome ornaments with crochet hearts in a place where their whimsical charm can be fully appreciated. Whether it’s on your tree, a wreath, or as part of a holiday centerpiece, they’ll certainly add a cozy, handmade touch to your decorations.
These gnome ornaments make perfect holiday gifts as well. You can personalize them further by adding a name or special date to the crochet hearts. Give them as thoughtful presents to friends, family, or even neighbors.
After the holiday season is over, store your gnome ornaments with crochet hearts carefully for next year. They make wonderful keepsakes and can be used year after year.
Take a moment to appreciate your handiwork. These little gnome ornaments will surely bring joy to your home for the holidays.
Q: Can I make these gnome ornaments in different sizes?
A: Yes! You can adjust the size of the gnome by using different yarns and altering the number of stitches for the body and hat. Larger gnomes make great tabletop décor, while smaller ones are perfect for tree ornaments.
Q: What other embellishments can I add to my gnome ornament?
A: Feel free to get creative with embellishments! You can add little bells, sequins, or tiny crocheted flowers to give your gnome even more charm.
Q: How long does it take to make one gnome ornament?
A: On average, making a gnome ornament with crochet hearts will take about 2 to 3 hours, depending on your skill level and how many details you include.
Q: Can I make these gnomes using other techniques?
A: While crochet is the most popular method, you can use other crafting techniques, such as knitting or even sewing, to create the body of the gnome.
Q: Are there any other holiday crafts I can try with crochet hearts?
A: Absolutely! Crochet hearts are versatile and can be used in many holiday crafts, such as wreaths, garlands, or as appliqué on holiday sweaters or stockings.
Join our VIP broadcast list and gain access to exclusive patterns, all for free. As a VIP member, you’ll receive the best patterns daily, delivered directly to your device. ✨📱 It’s a unique opportunity to stay up-to-date with the latest trends and designs, curated just for you. Don’t miss out on enhancing your projects and discovering new inspirations with the best patterns every day! 🎨🔝
In this tutorial, we explored how to make gnome ornaments with crochet hearts—a whimsical and festive craft that’s perfect for the holiday season. From creating the gnome’s body to crocheting the hearts and adding finishing touches, you now have the knowledge to create a delightful collection of these charming ornaments. Whether you’re crafting for your tree or as gifts, these gnome ornaments will add a personal, handmade touch to your celebrations.
VIDEO TUTORIAL
We’d love to hear about your experience making these gnome ornaments! Please feel free to leave a comment below with your thoughts and any suggestions for future projects. Happy crafting!


